How to Install Insulated Outdoor Curtains for Winter
Sep 07,2026 | Snowcity
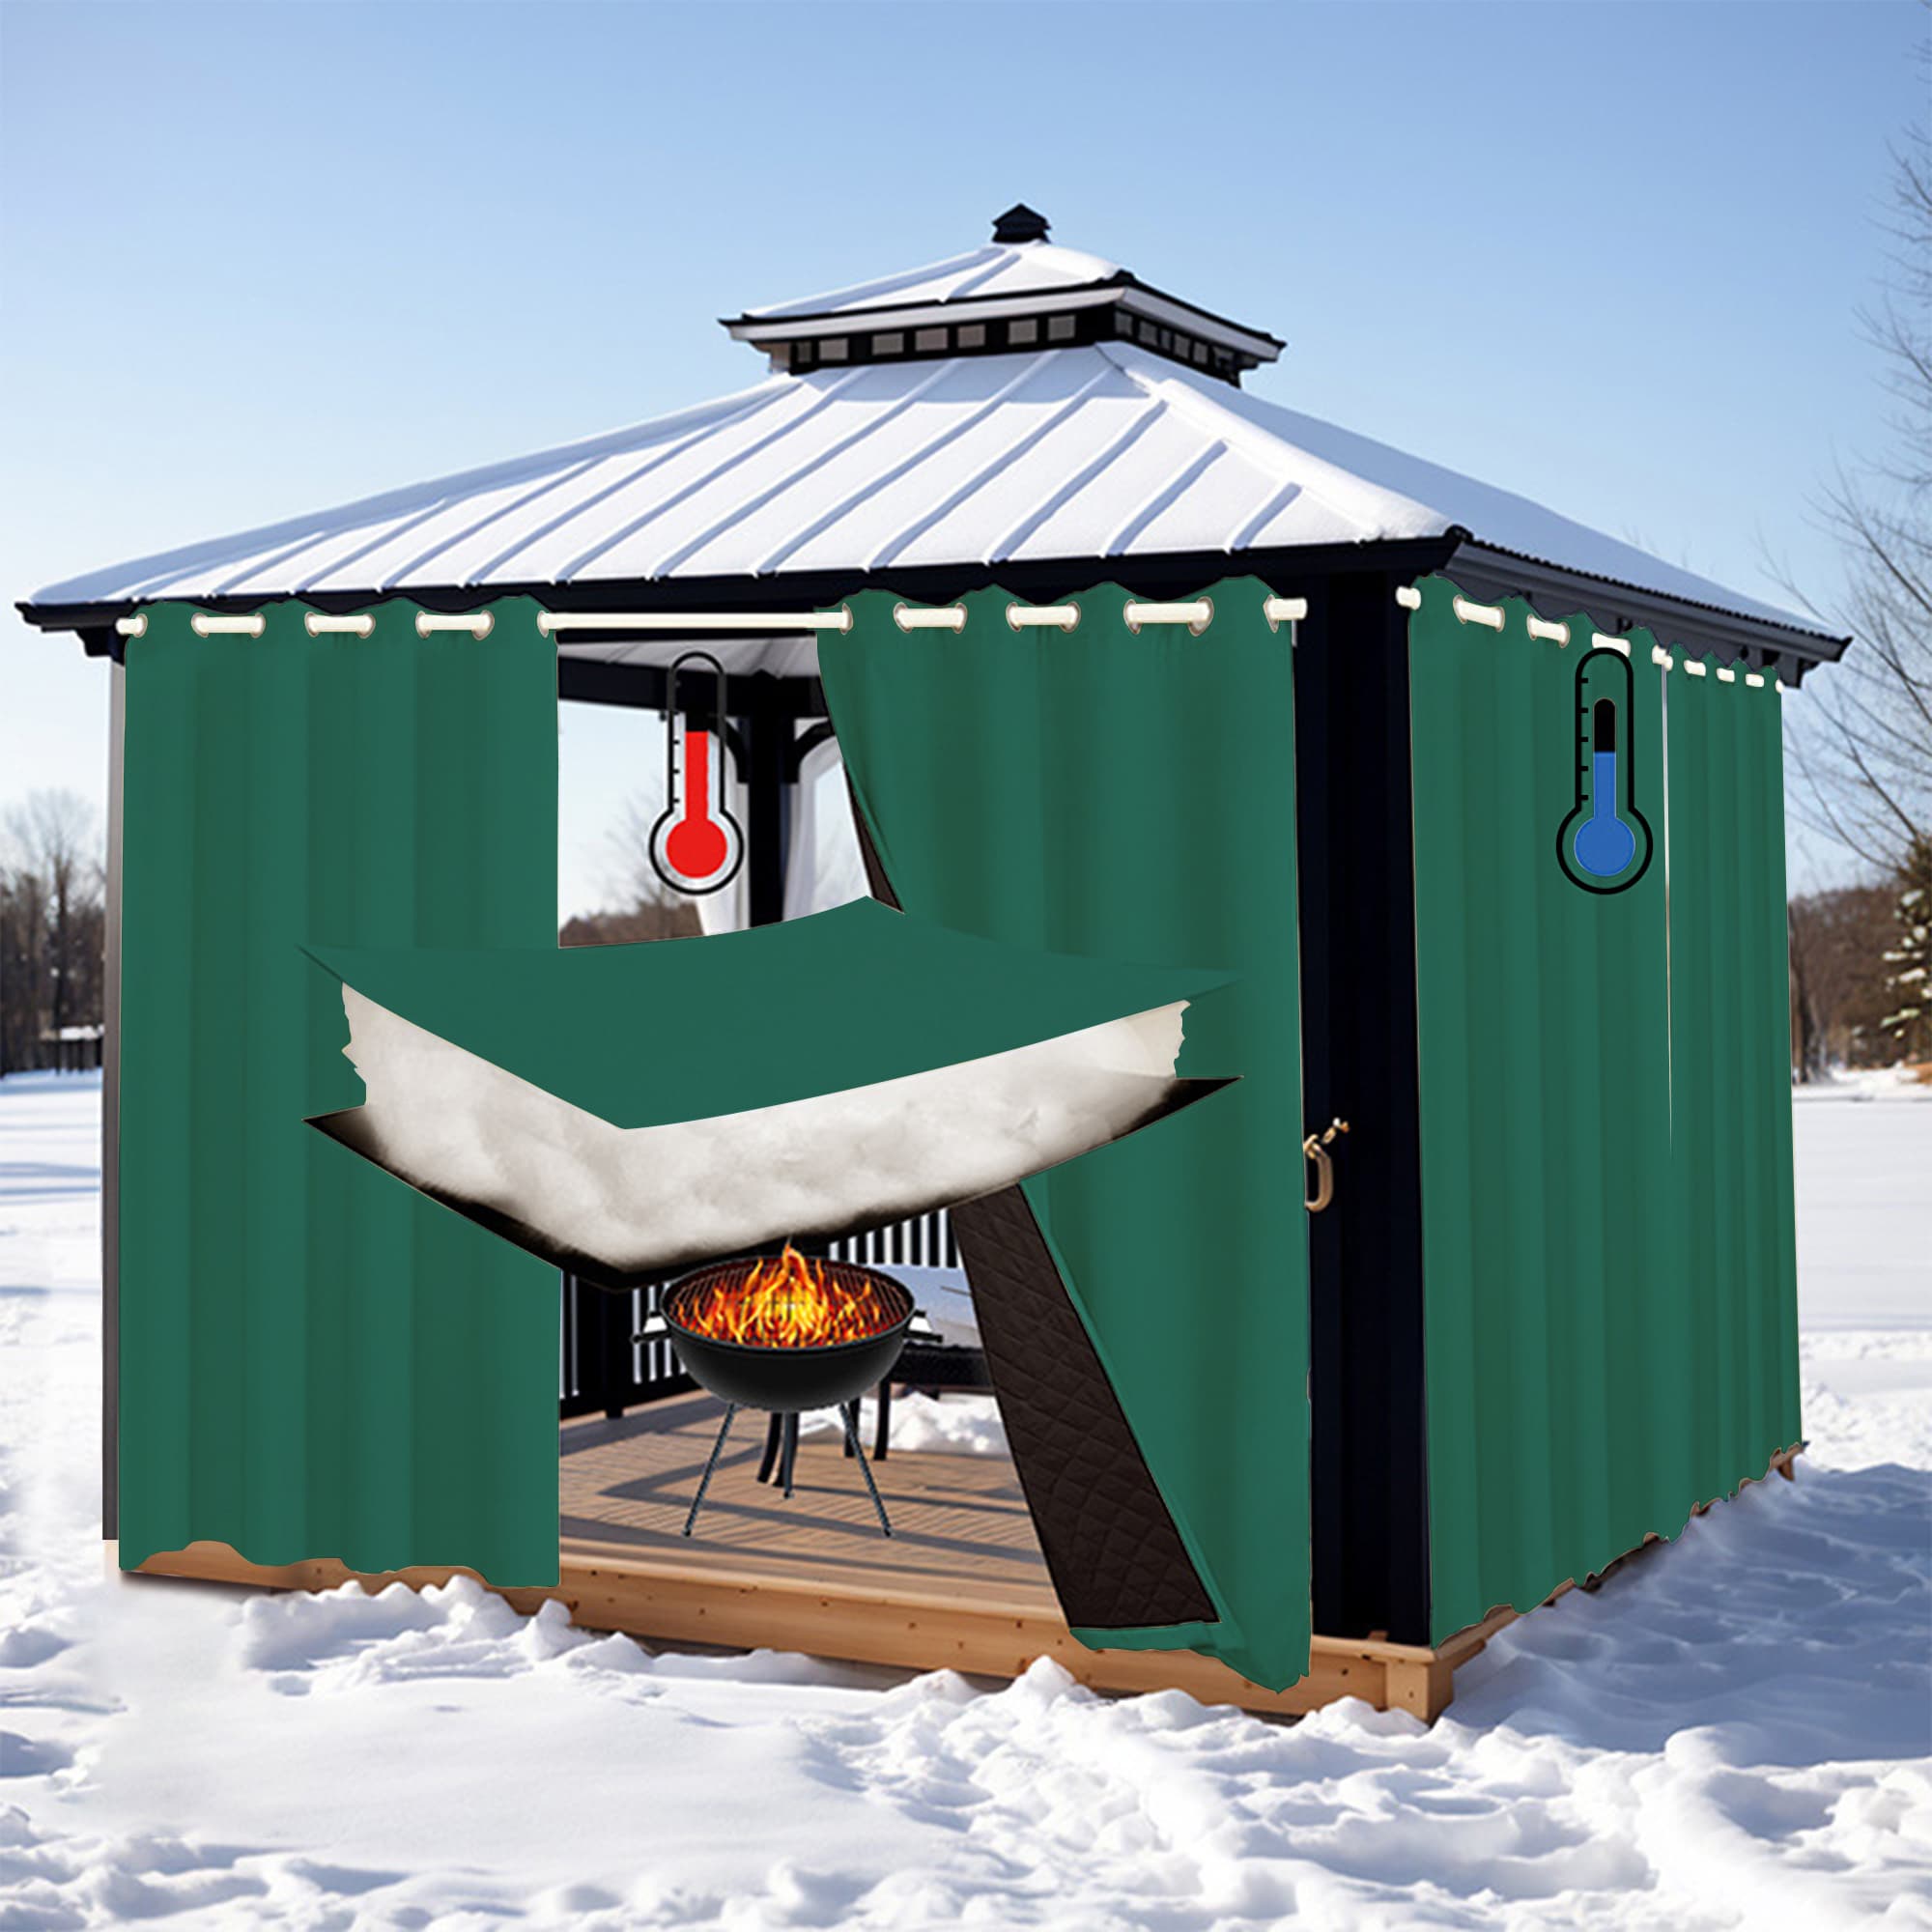
Installing insulated outdoor curtains for winter starts with a clear plan for the opening, the mounting surface, and the way people will use the space. A well-fitted panel can add an adjustable layer at a covered patio, porch, gazebo, or pergola opening. It is not a sealed wall or a substitute for structural weather protection, so the goal is a secure, practical installation that still preserves access and ventilation.
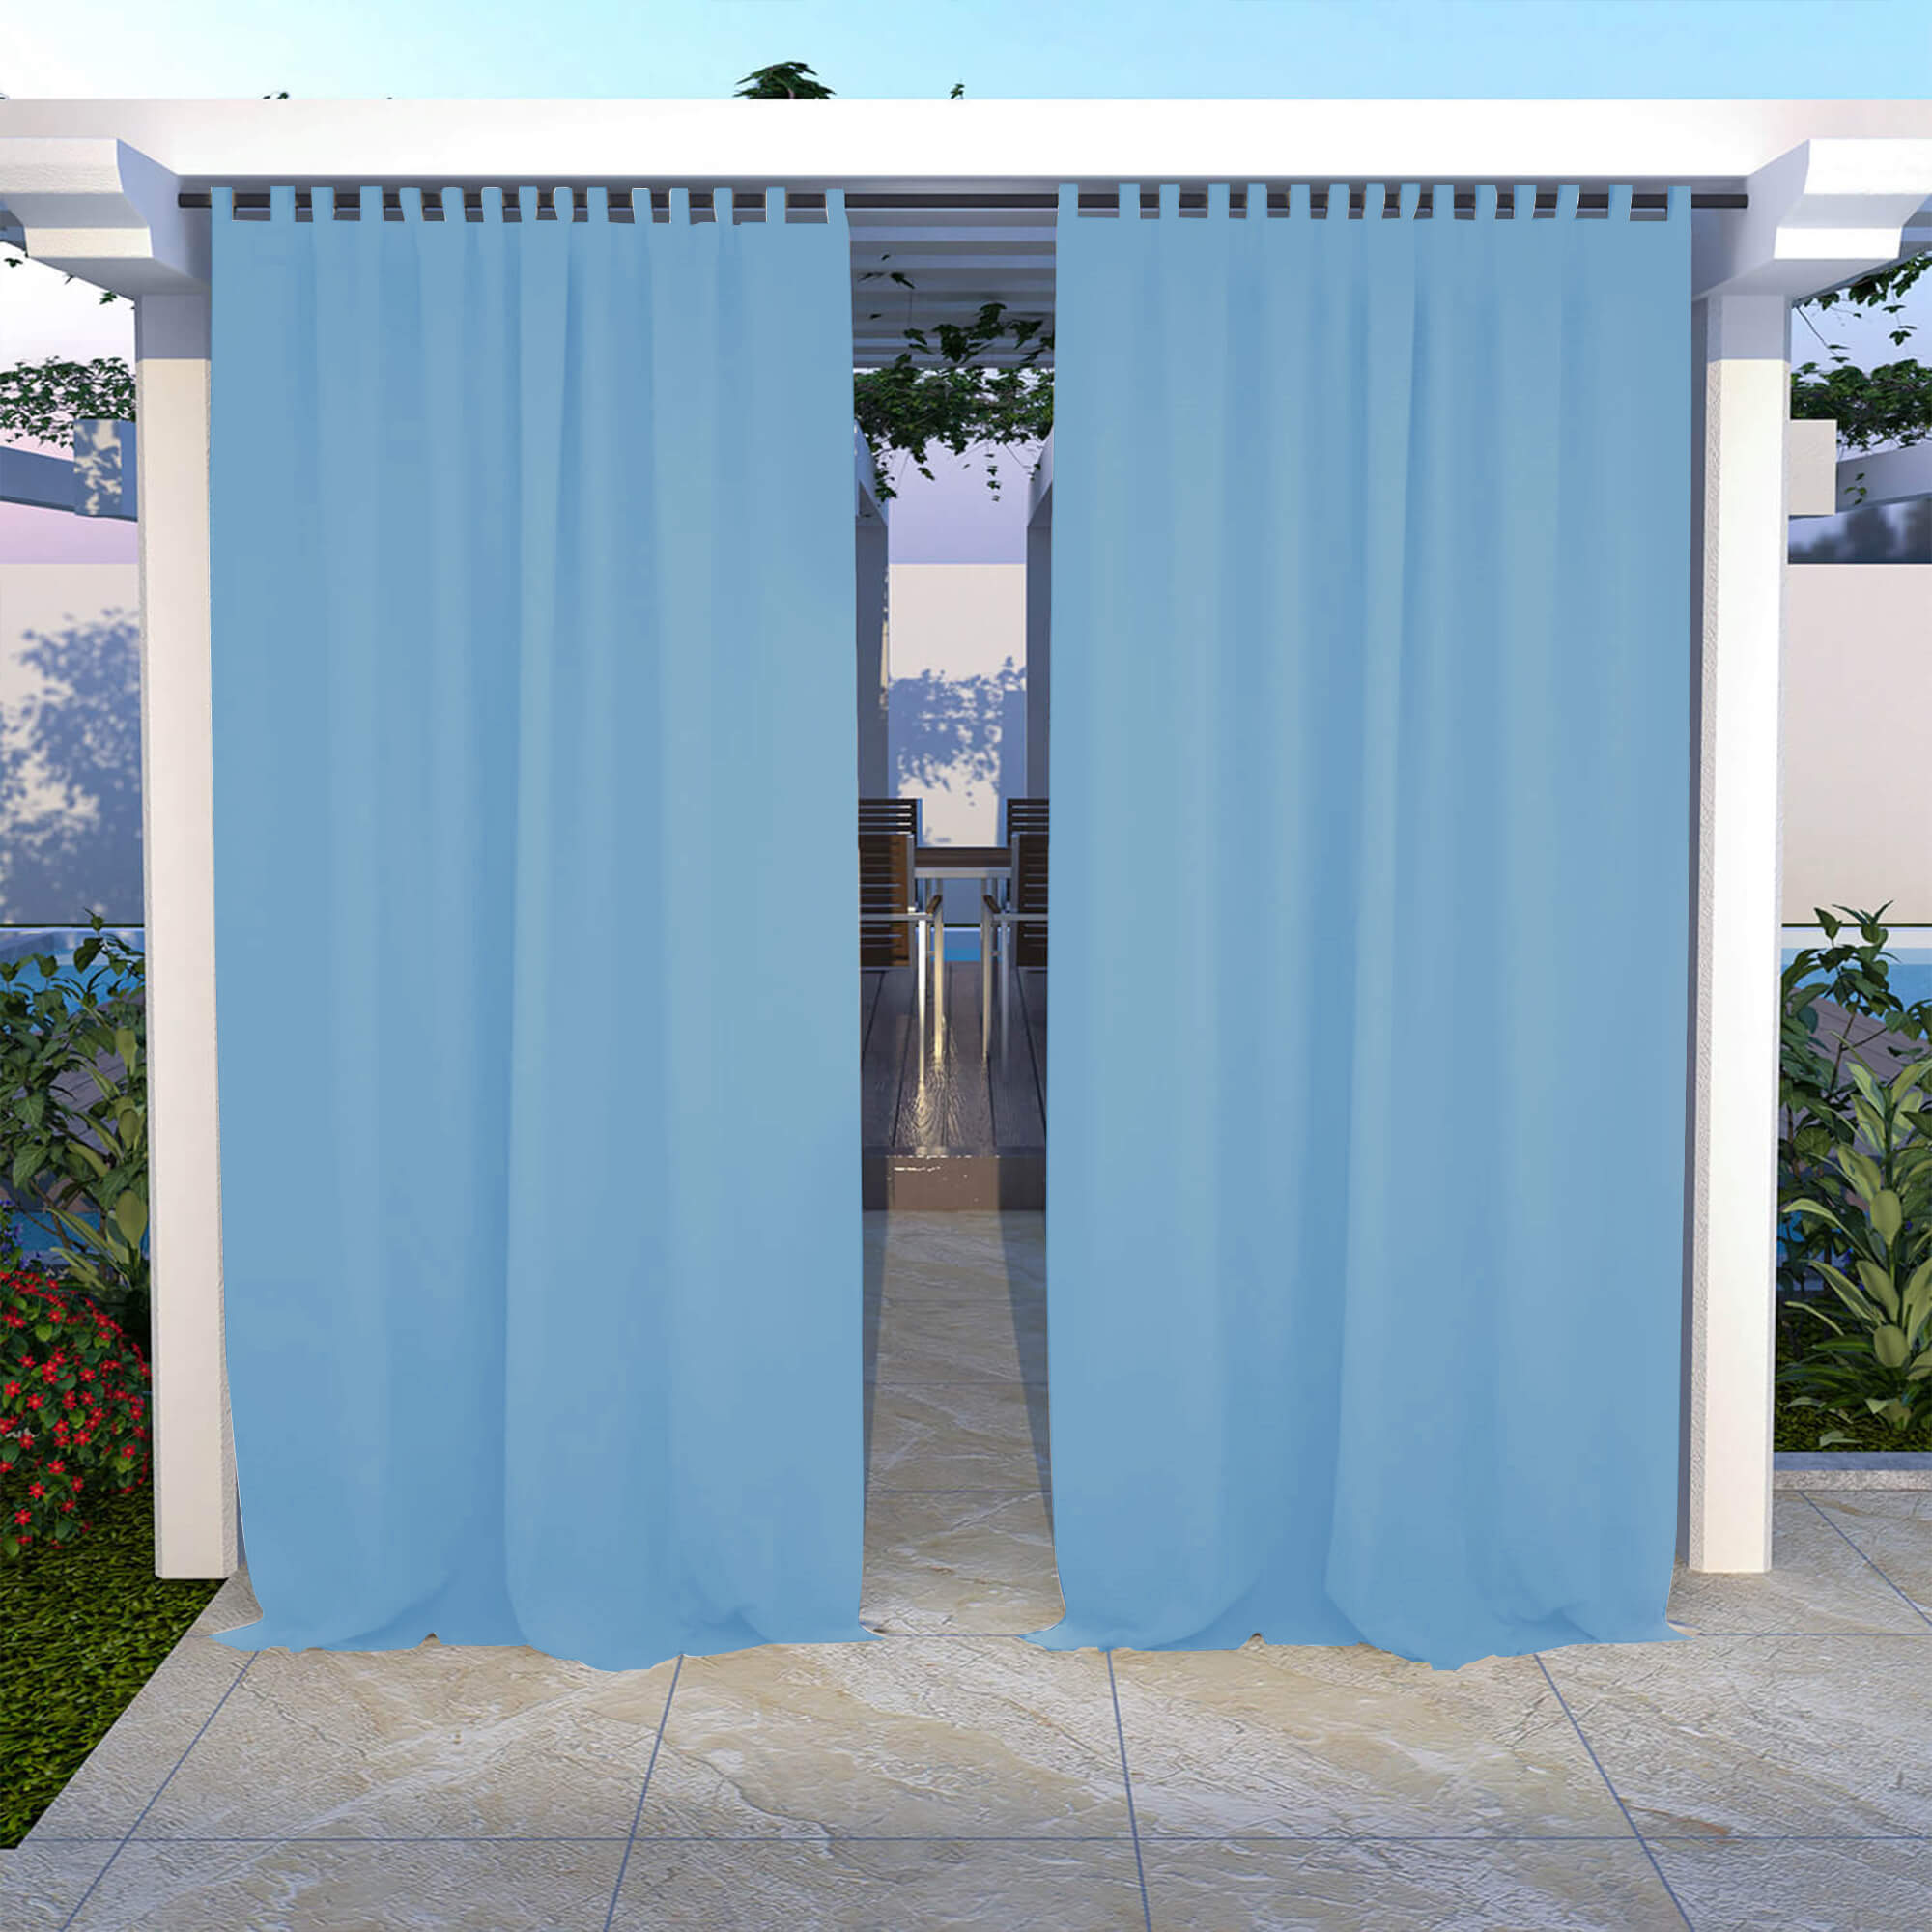
Before ordering, compare the current options in the Snowcity Insulated Outdoor Curtains for Winter collection. The collection and product listing help you match the panel arrangement and header style to the location rather than treating every opening the same way.
Tools and planning for an outdoor curtain installation
Start with a tape measure, pencil, level, and the tools appropriate for the rod, track, brackets, or fasteners you plan to use. Mounting hardware should be suited to the structure and the load; a rail, post, or beam needs to be stable enough for the curtain system. Follow the hardware maker's instructions, and use a qualified installer if the structure or attachment method is uncertain.
Plan the panel's travel before drilling. Note where it will stack when open, where a tie-back can sit, and whether a door, stair, gate, or path must remain clear. Do not use a curtain arrangement to block an exit or required access route. In exposed conditions, follow the product and hardware guidance for securing or drawing back the panels.
Measure the opening and mounting line
Measure at the exact line where the rod, track, or hooks will be installed—not only the empty gap between posts. Record the width, finished hanging height, and obstructions such as lights, trim, railings, or downspouts. For wide spans, decide whether one panel or paired panels will give you the access and overlap you need.
Snowcity's Measurement Method is a useful planning reference. It recommends measuring the full pole length and using a 1.5–2 fullness ratio where appropriate. Also leave practical clearance above the finished surface so the hem does not drag through standing water, ice, or a walkway.
Choose the mount height and allow for overlap
Mount the hardware high enough that the finished panel covers the intended opening while clearing the deck, pavers, or threshold. Account for the header, rings, hooks, and any gap created by the hardware. A level mounting line helps the panel hang and travel more predictably.
For two panels meeting in the middle, allow enough combined width for the center to overlap and for each outer edge to reach its intended post or attachment point. The right amount depends on the opening, header style, and how much gathering you want. A panel that is too narrow can leave avoidable side gaps; one that is excessively long can become harder to manage safely.
Hang grommet curtains carefully
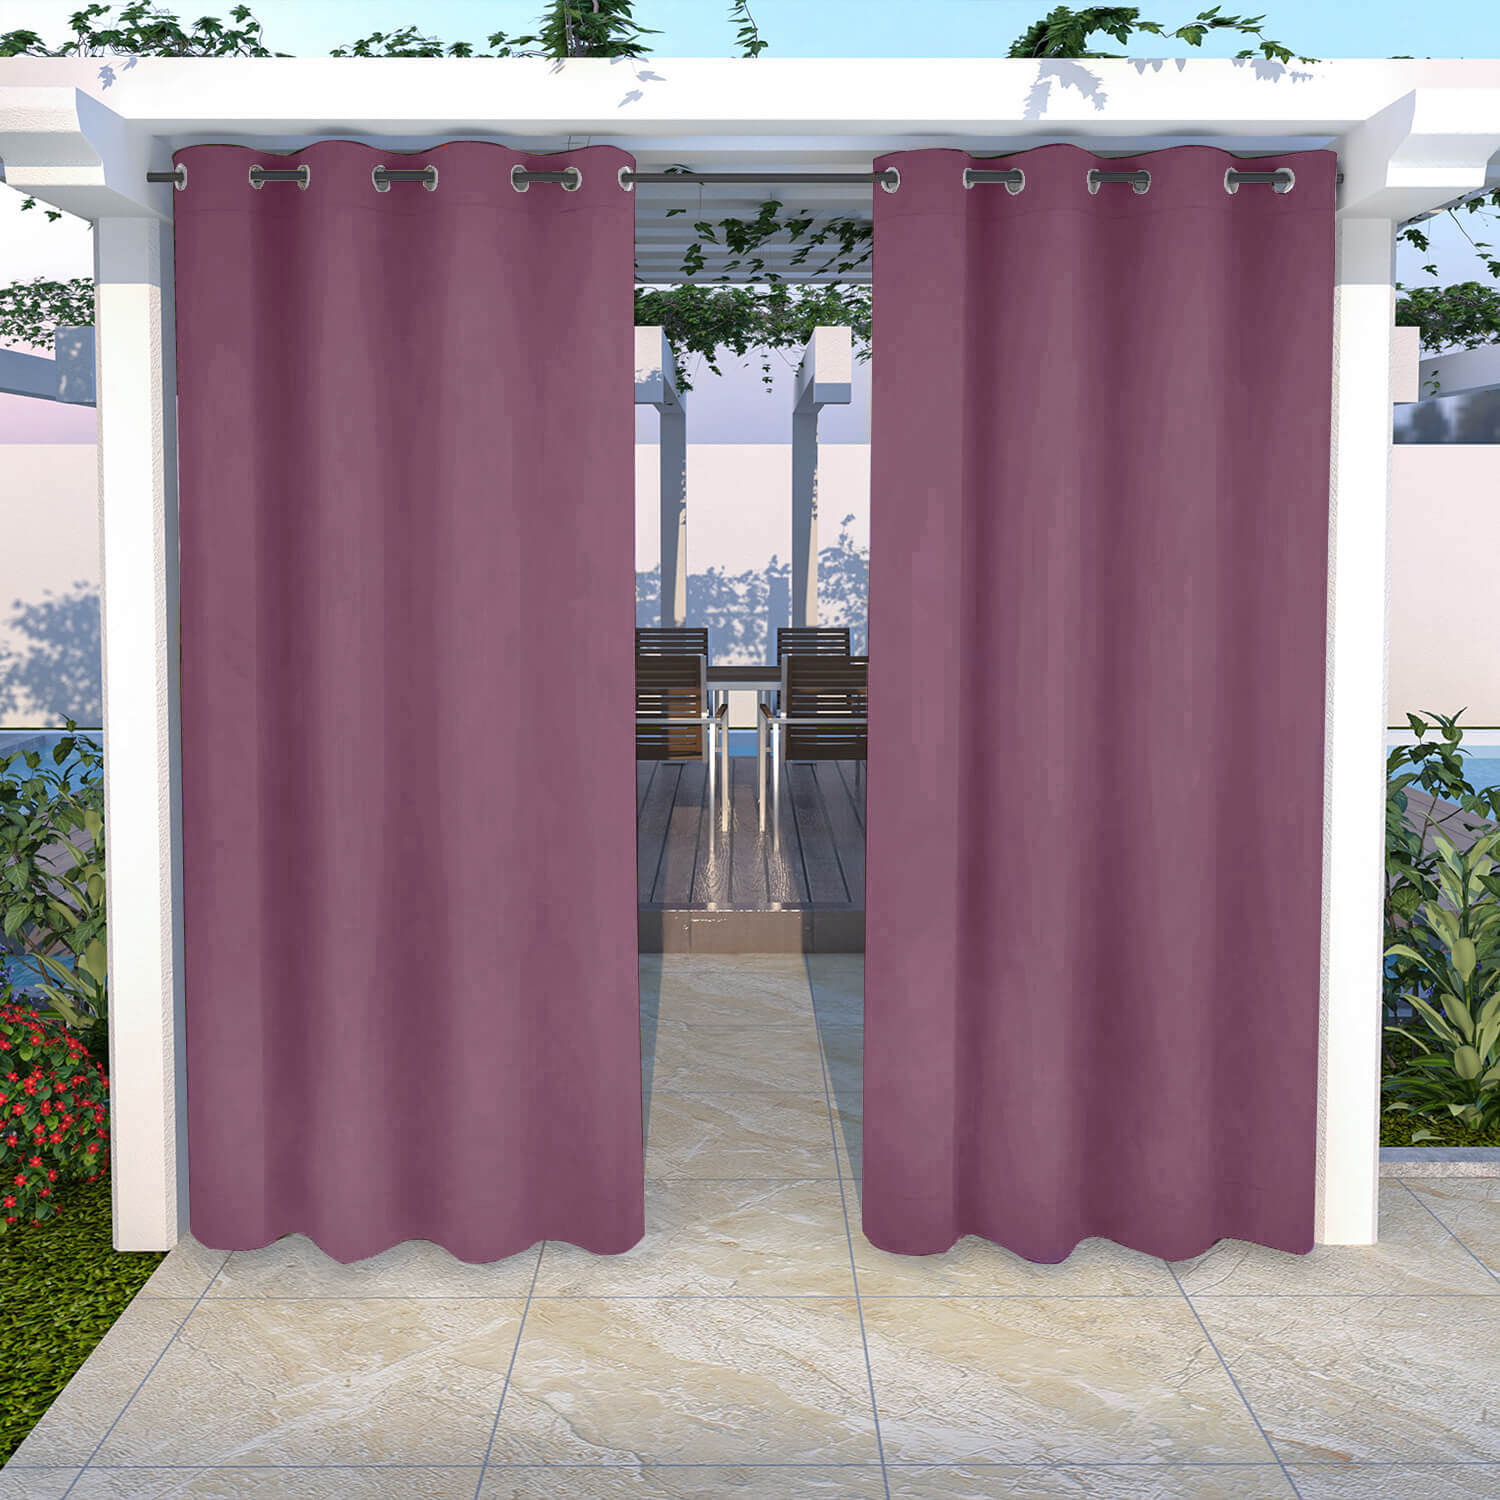
Grommet-top curtains are designed to slide directly over a compatible rod. Install the rod and brackets first, confirm that the rod is level and fully supported, then feed the grommets onto the rod before securing the end finials or stops. Move the panel across the opening several times to check for rubbing, snagging, or a bracket that limits travel.
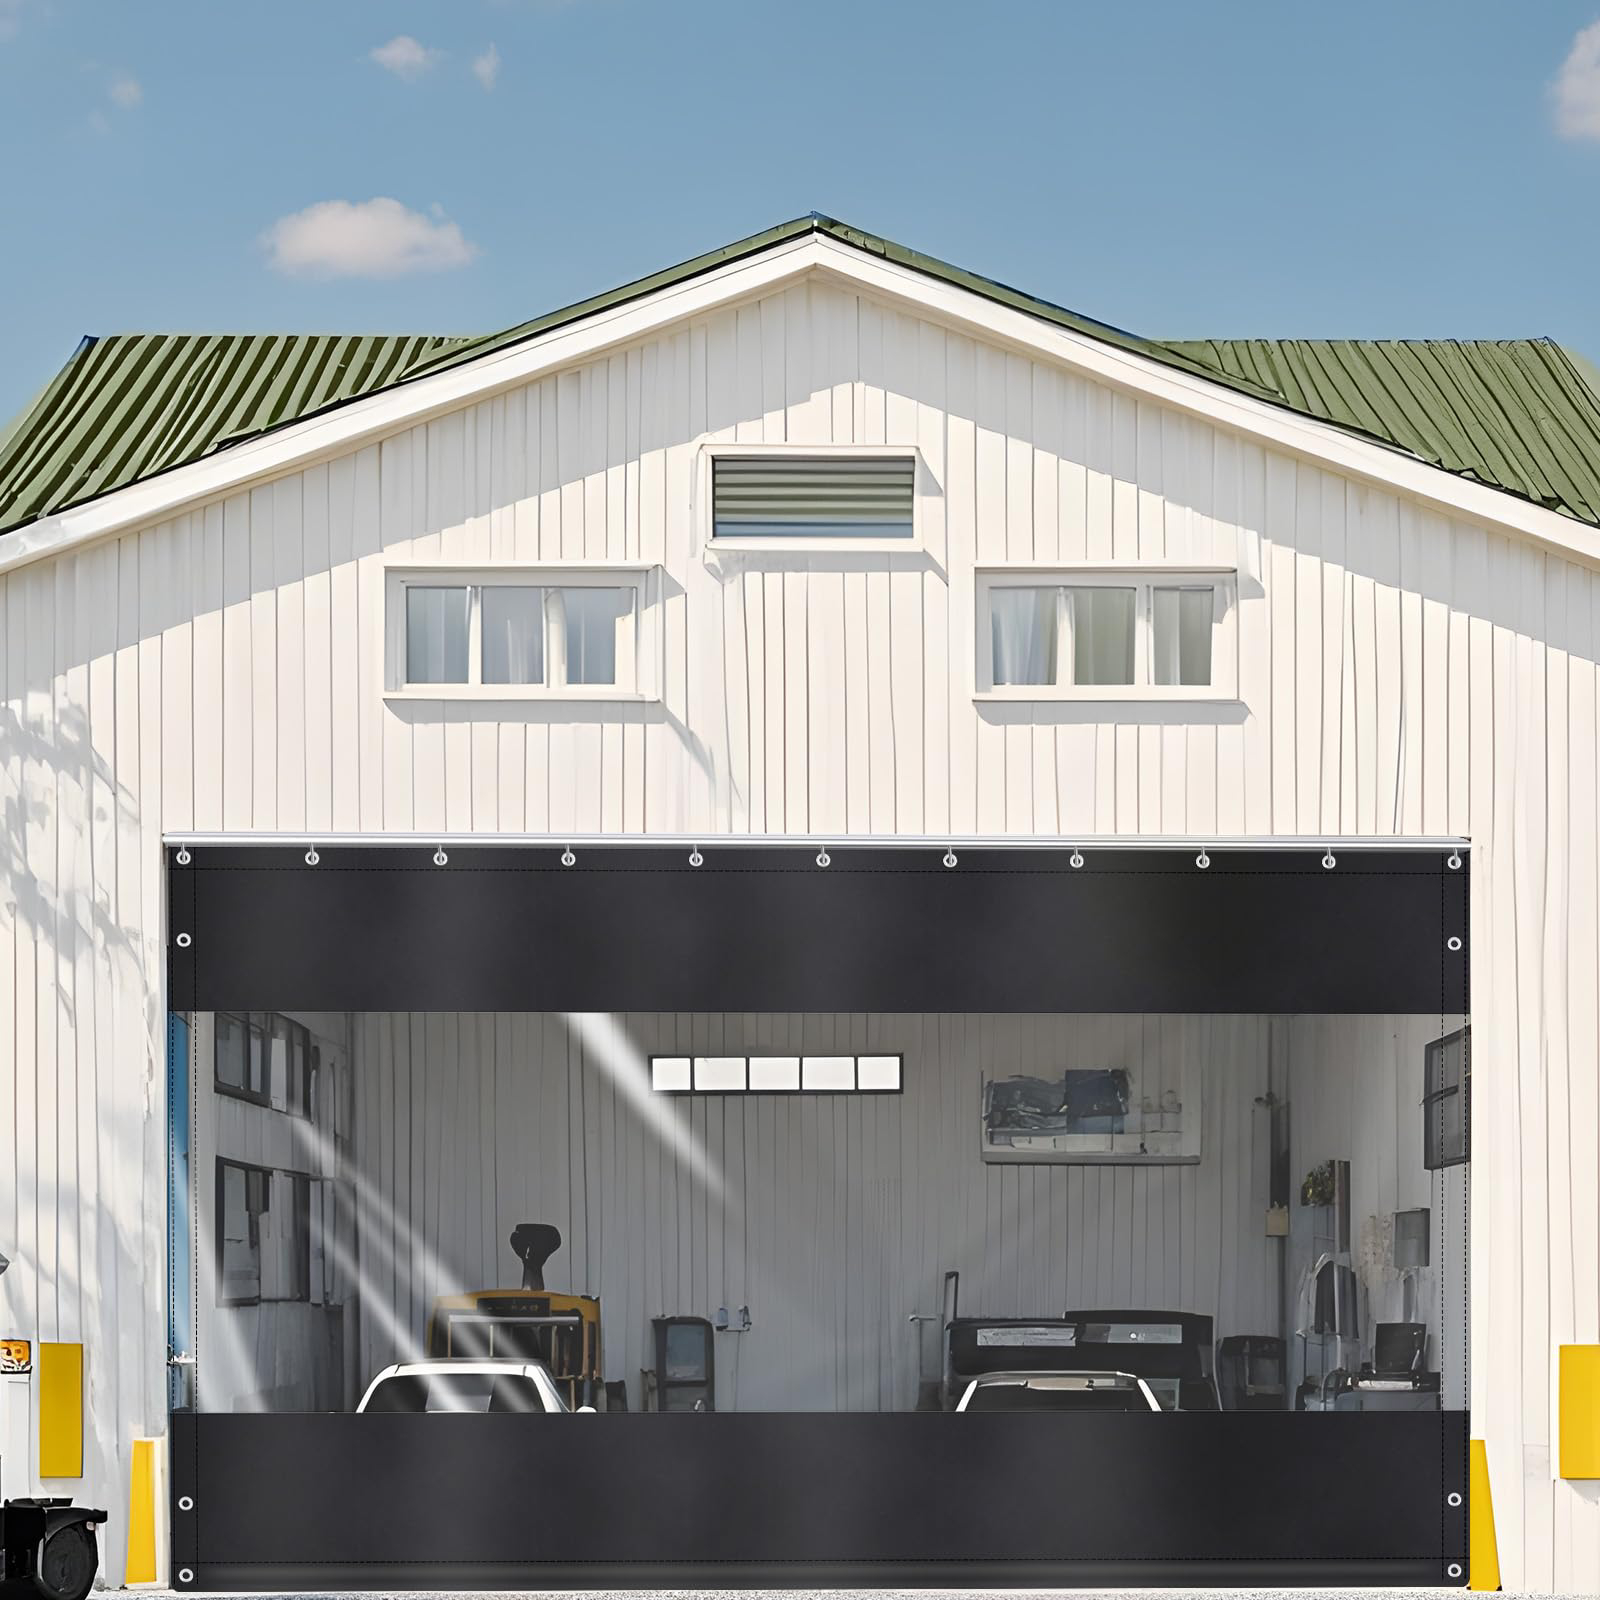
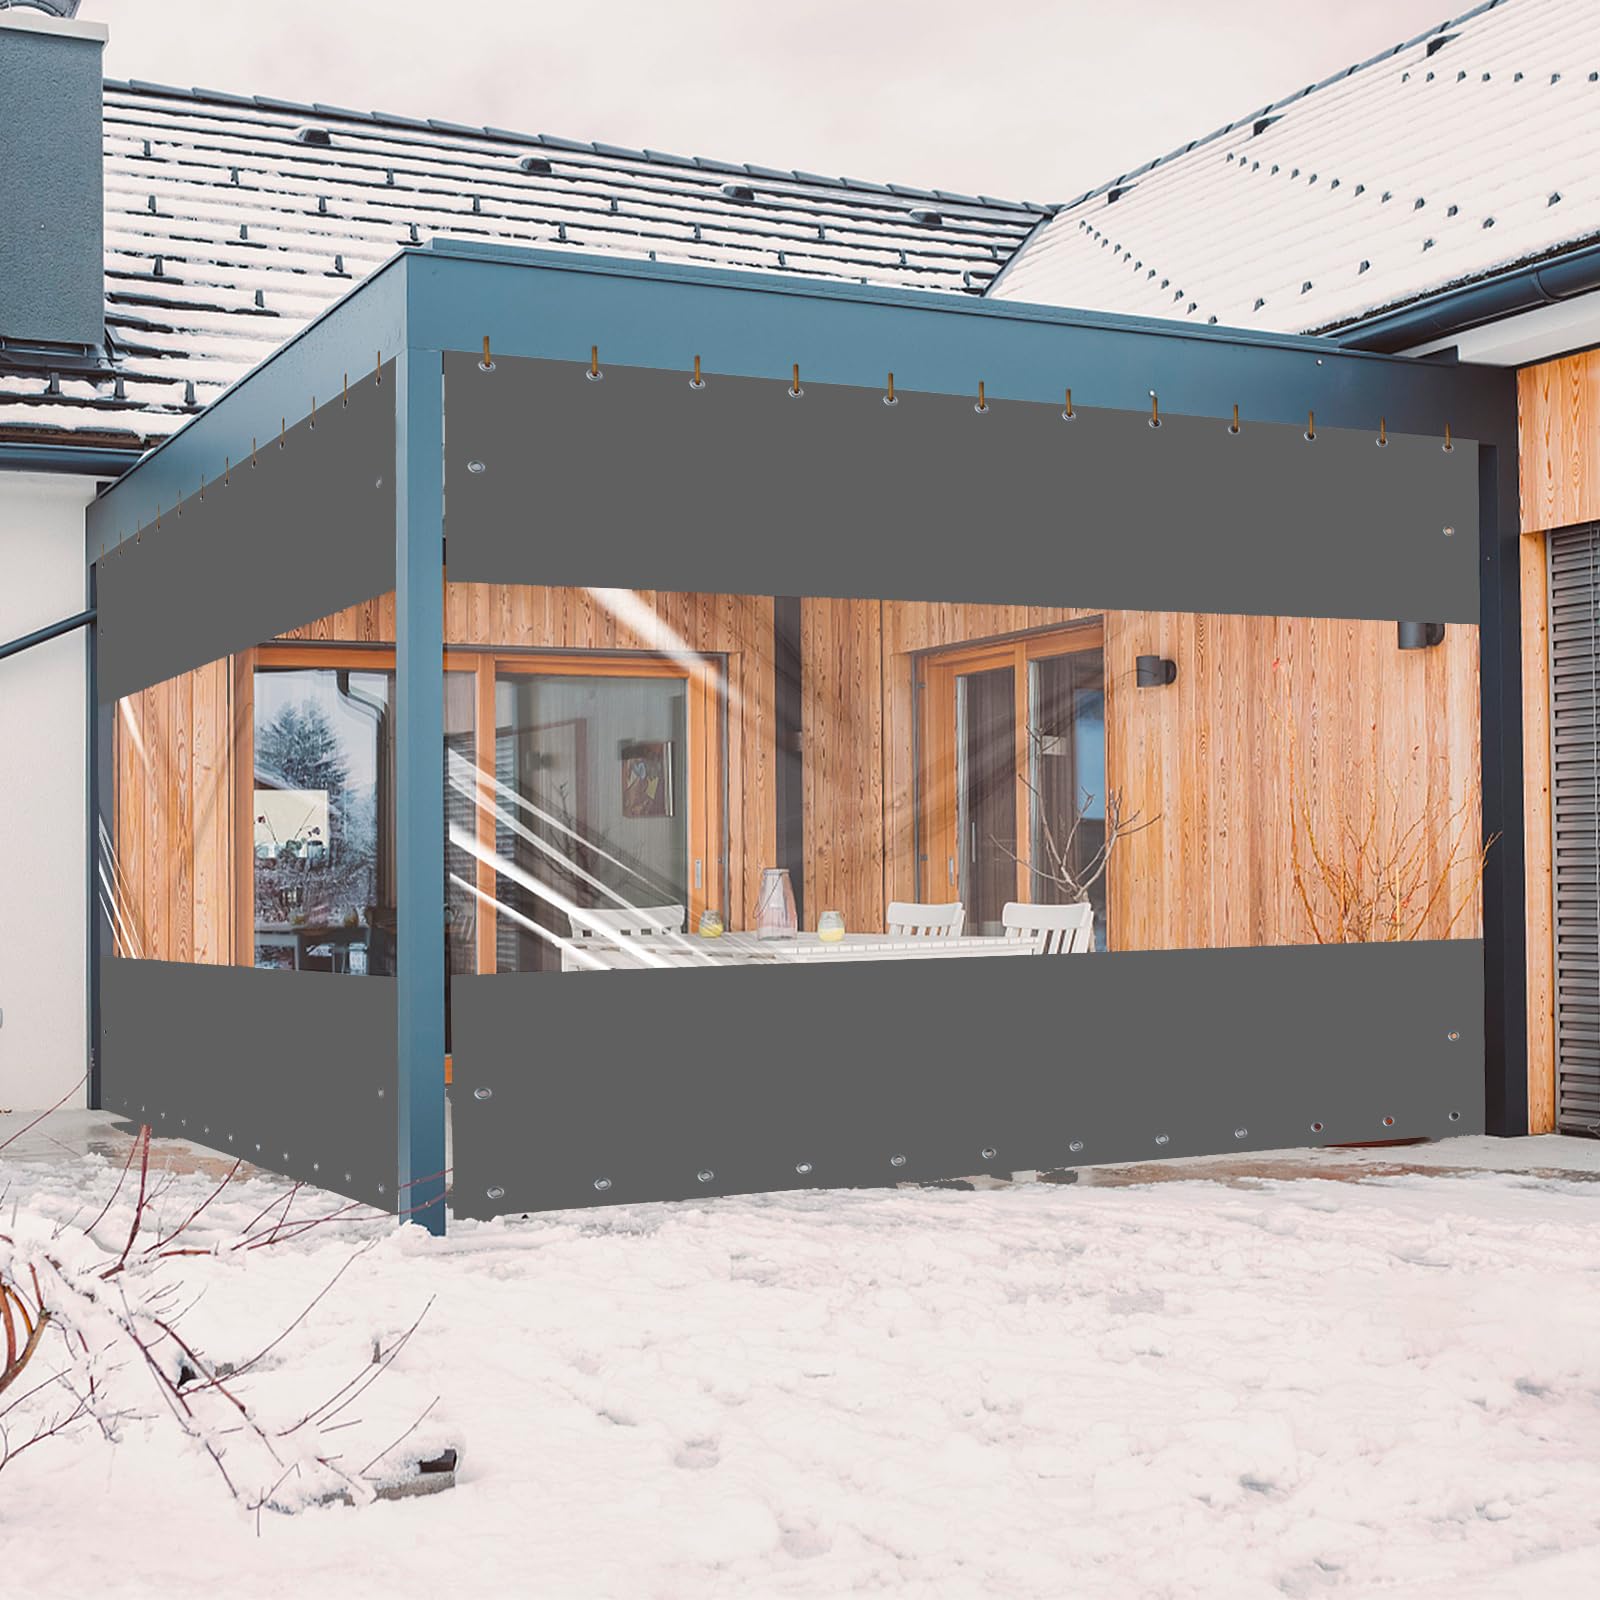
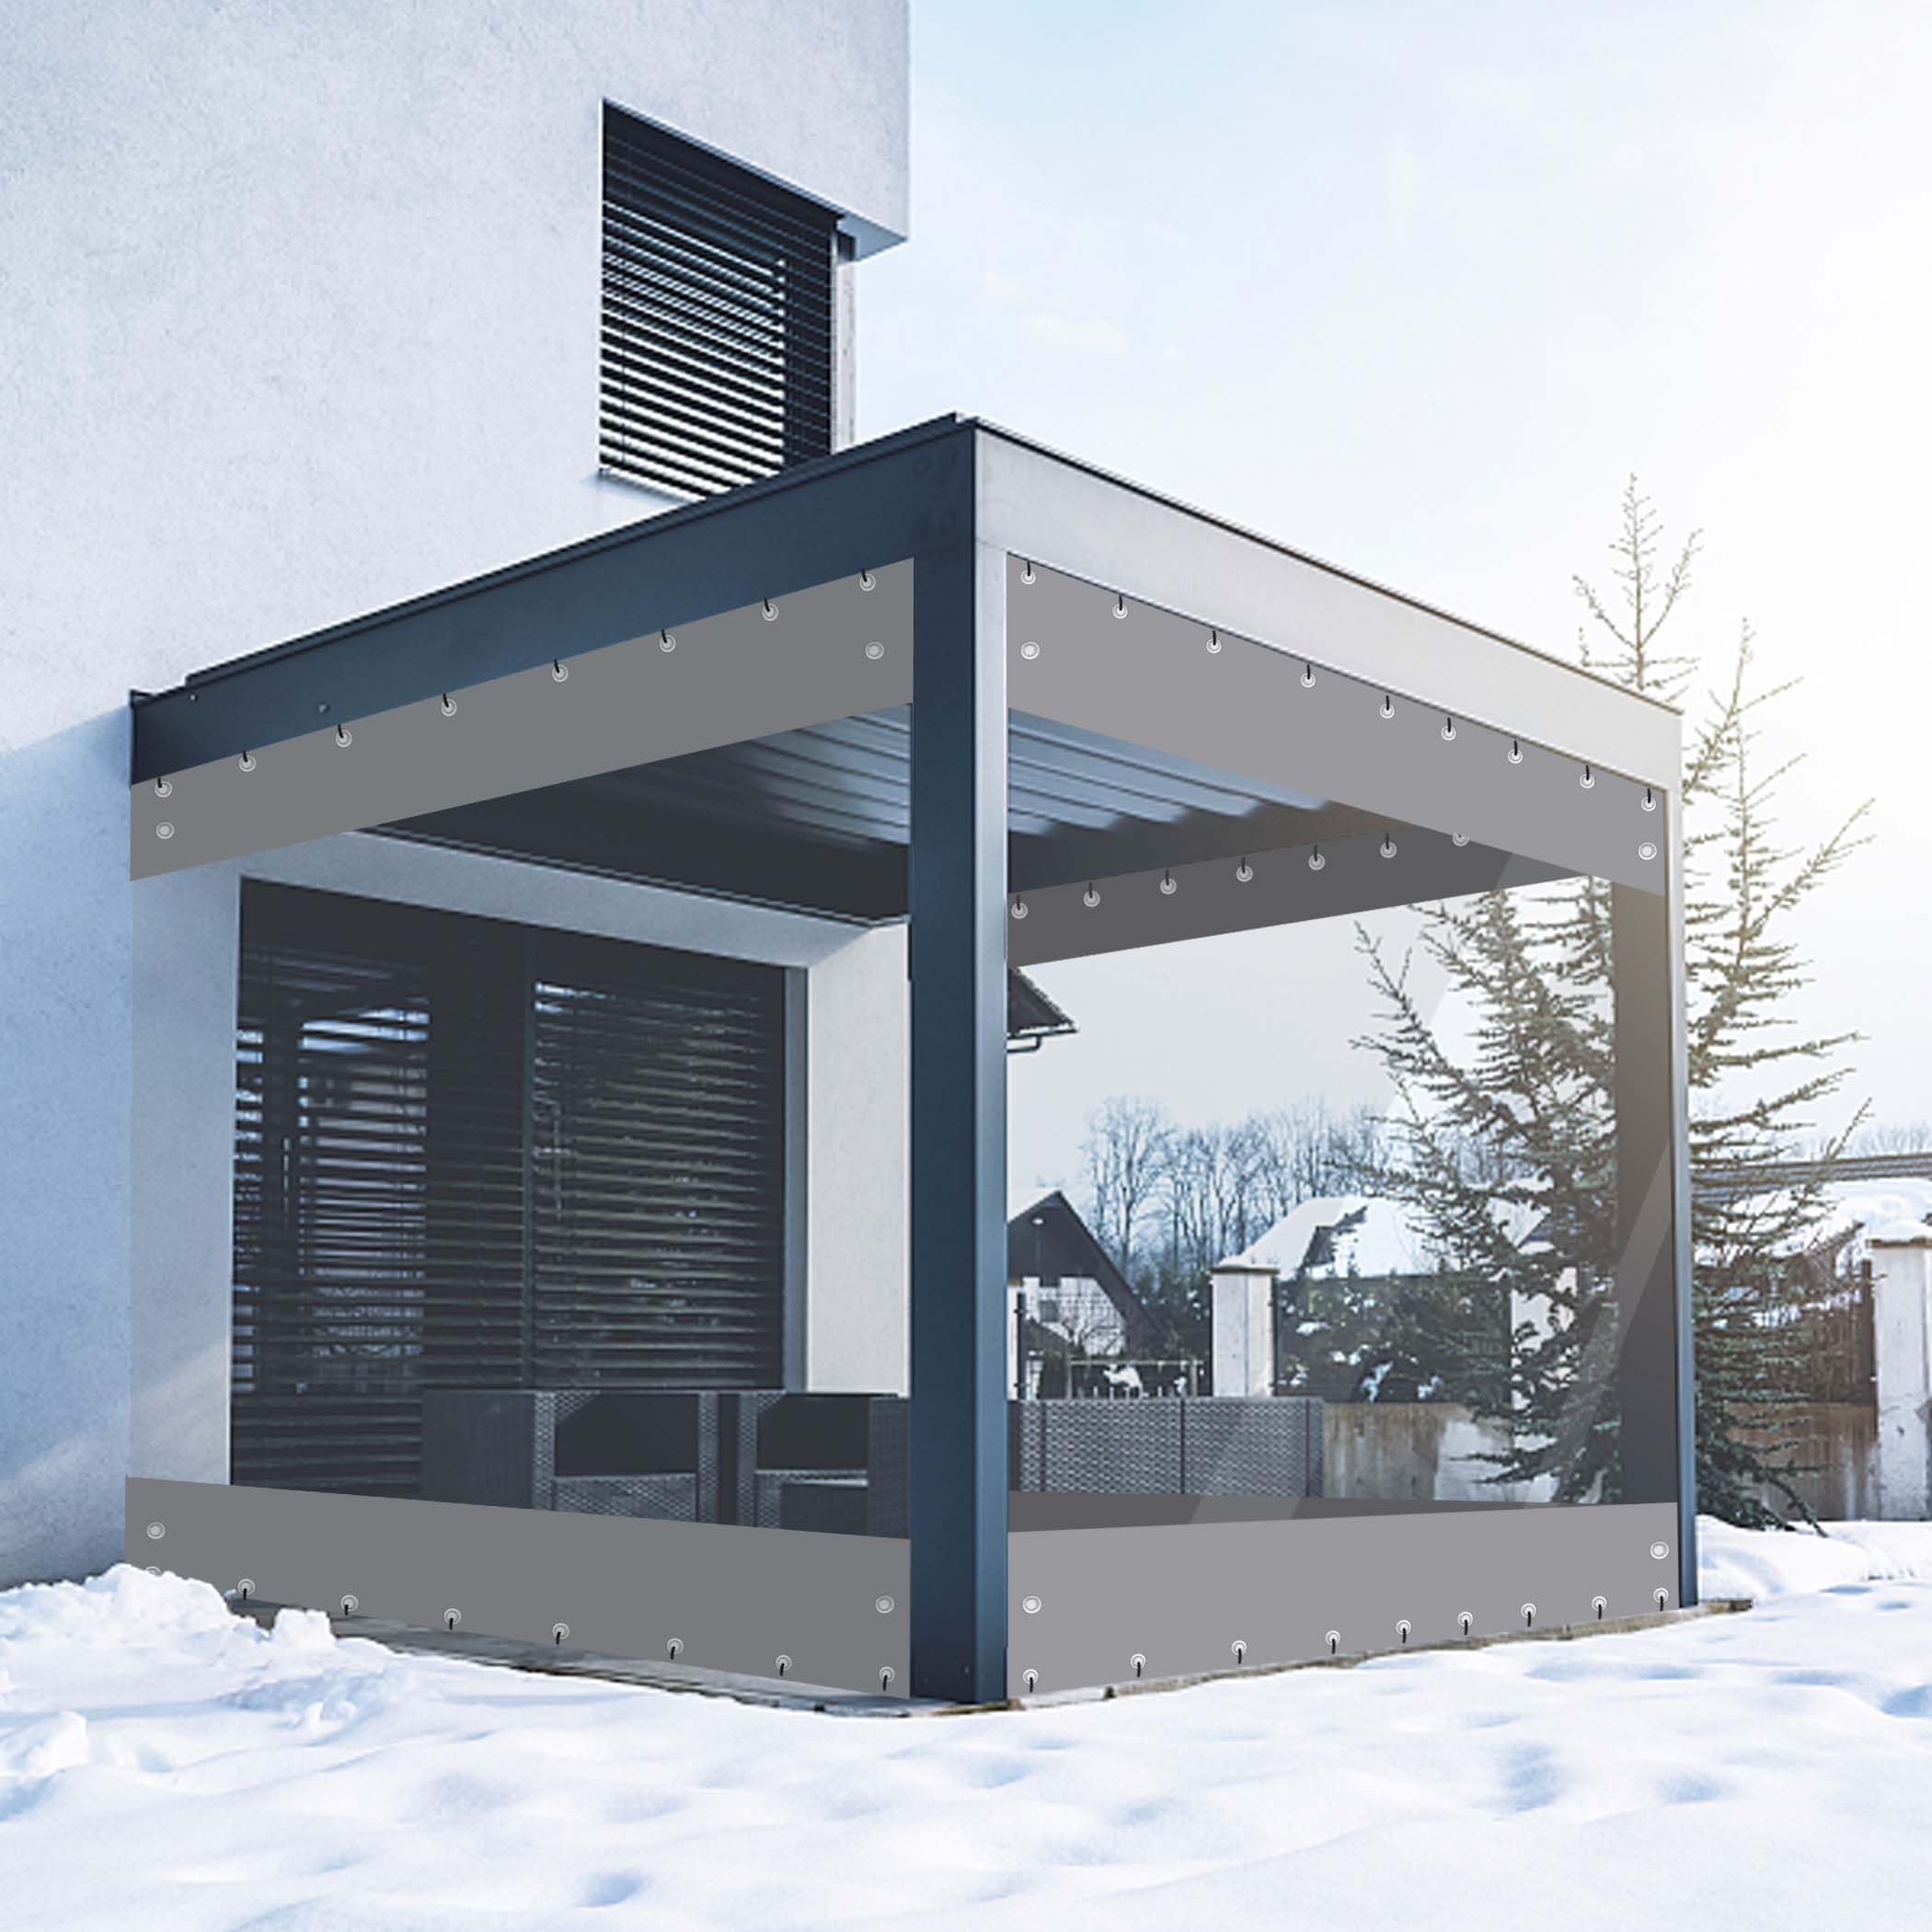
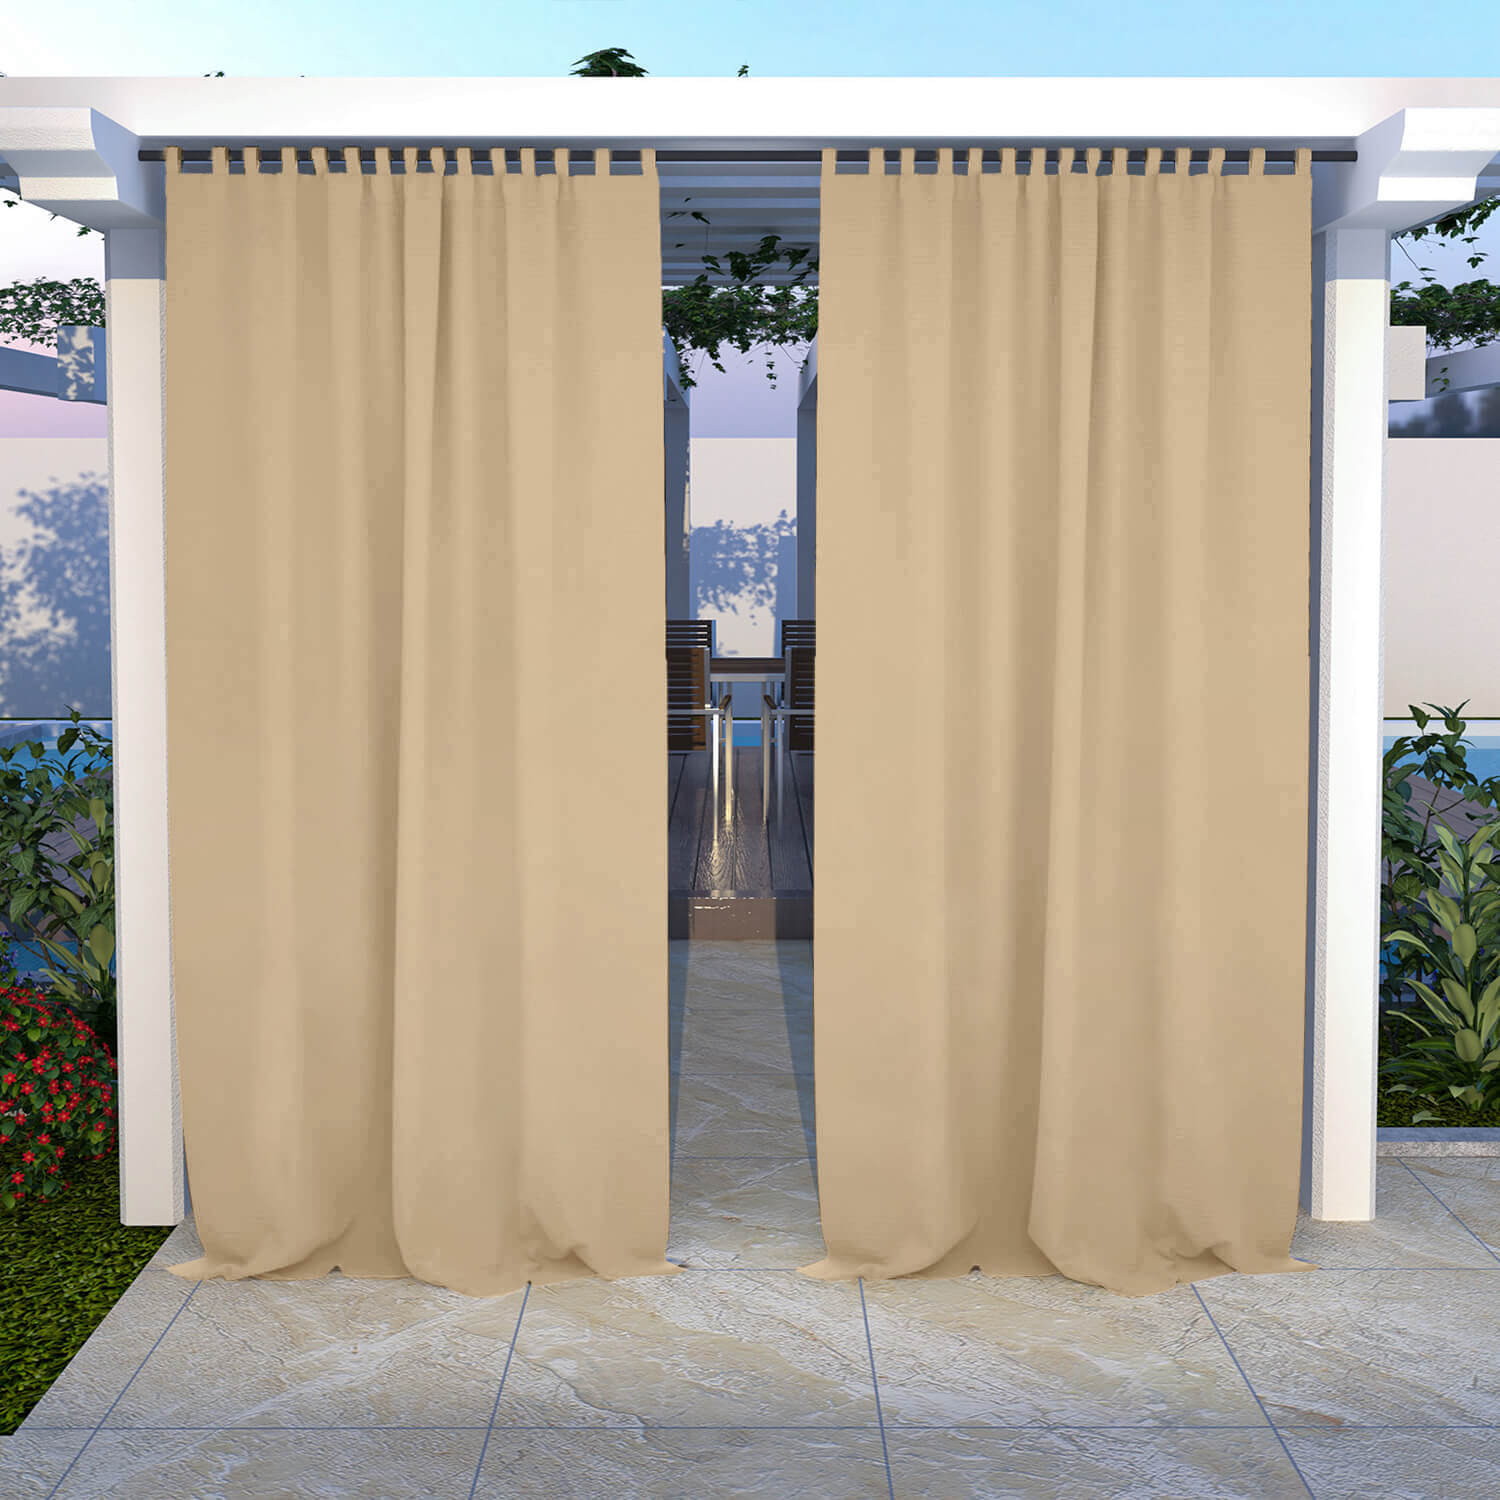
Snowcity offers configuration choices including Feature Top Grommet & Bottom Perforated Tape, Grommet Top, and Grommet Top & Bottom. Review the live Light Beige Insulated Outdoor Curtain page and the available custom options before ordering so the header and lower attachment approach match the mounting plan.
Reduce side and bottom movement
Outdoor panels can move in changing air conditions. Select a restraint only where it is compatible with the curtain, the supporting structure, and the required access path. The aim is to manage movement, not to turn fabric into a rigid or weatherproof enclosure.
- Bottom grommets or perforated tape: A compatible lower rod, cable, or fastener can guide the hem where a stable, planned attachment is appropriate.
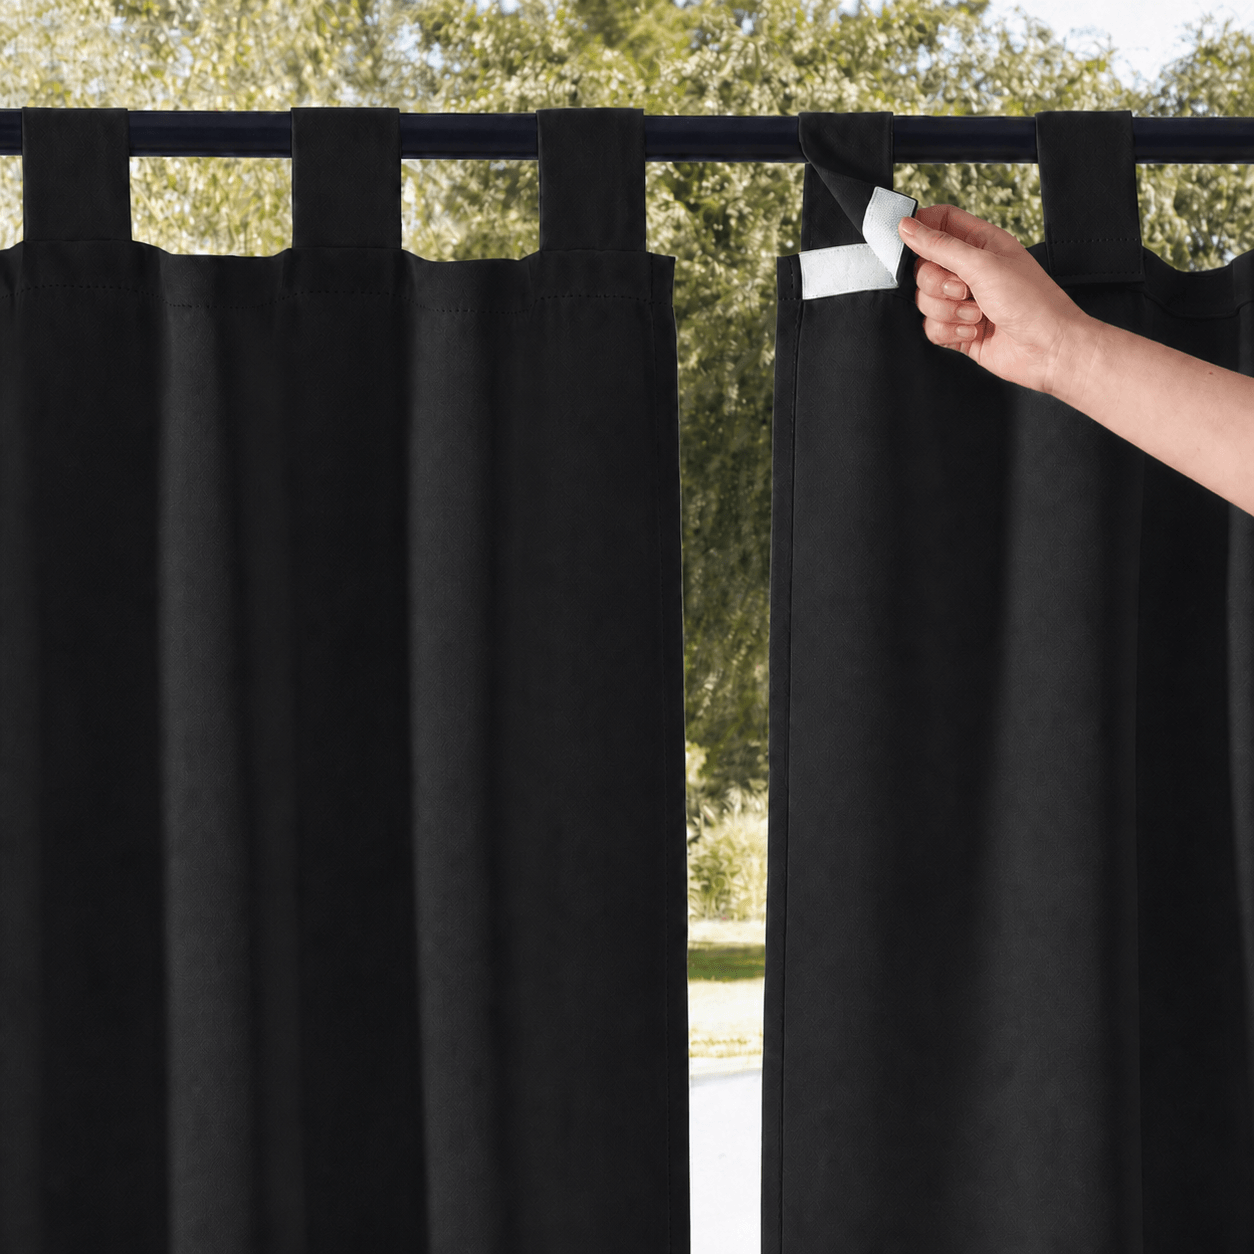
- Velcro: This can suit a removable side connection when both surfaces are clean, compatible, and placed away from an access route.
- Magnets: Magnetic attachment may be useful only with a suitable metal receiving surface and enough hold for the specific setting; test it before relying on it.
- Zippers: A zipper option can help join compatible panels or create a managed opening, but it should be specified around the intended entry and closing routine.
Do not improvise a bottom attachment that creates a trip hazard, damages the deck, or prevents a curtain from being opened quickly. Keep fabric and hardware clear of heaters, grills, flames, and any required ventilation zone. Those clearances must follow the equipment manufacturer's instructions, not a curtain installation estimate.
Test the installation before relying on it
With the panel installed, open and close it from both sides. Check that the curtain moves without excessive strain, that the bottom stays clear of the walking surface, and that any tie-back or lower attachment can be operated without forcing the fabric. Test the access route in daylight and low light, especially if the opening is used often.
Recheck brackets, screws, stops, and attachment points after the first few uses. If conditions become unusually windy or severe, use the product guidance and secure or draw back the curtain as appropriate. Routine checks are more reliable than assuming a single installation will suit every weather condition.
Frequently asked questions
What hardware do I need for insulated outdoor curtains?
You need a compatible rod or track, correctly rated brackets or supports, and mounting fasteners suitable for the structure. The exact hardware depends on the panel header, opening width, and mounting surface.
How do I hang grommet curtains outdoors?
Install and level a compatible rod first, slide the grommets onto it, add the end stops or finials, and test the panel's travel. Confirm that the mounting points and hardware are appropriate for the location and load.
Which bottom attachment should I choose?
Choose based on the curtain option, the surface, wind exposure, and how often the opening must be used. Bottom grommets, Velcro, magnets, and zippers solve different installation needs; none is a universal replacement for sound mounting and safe access.
Choose the right Snowcity header and custom options for your installation. Start with accurate measurements, select a mounting method suited to the structure, and review the Insulated Outdoor Curtains for Winter collection before ordering.
Comment