How to Measure Insulated Outdoor Curtains
Sep 08,2026 | Snowcity
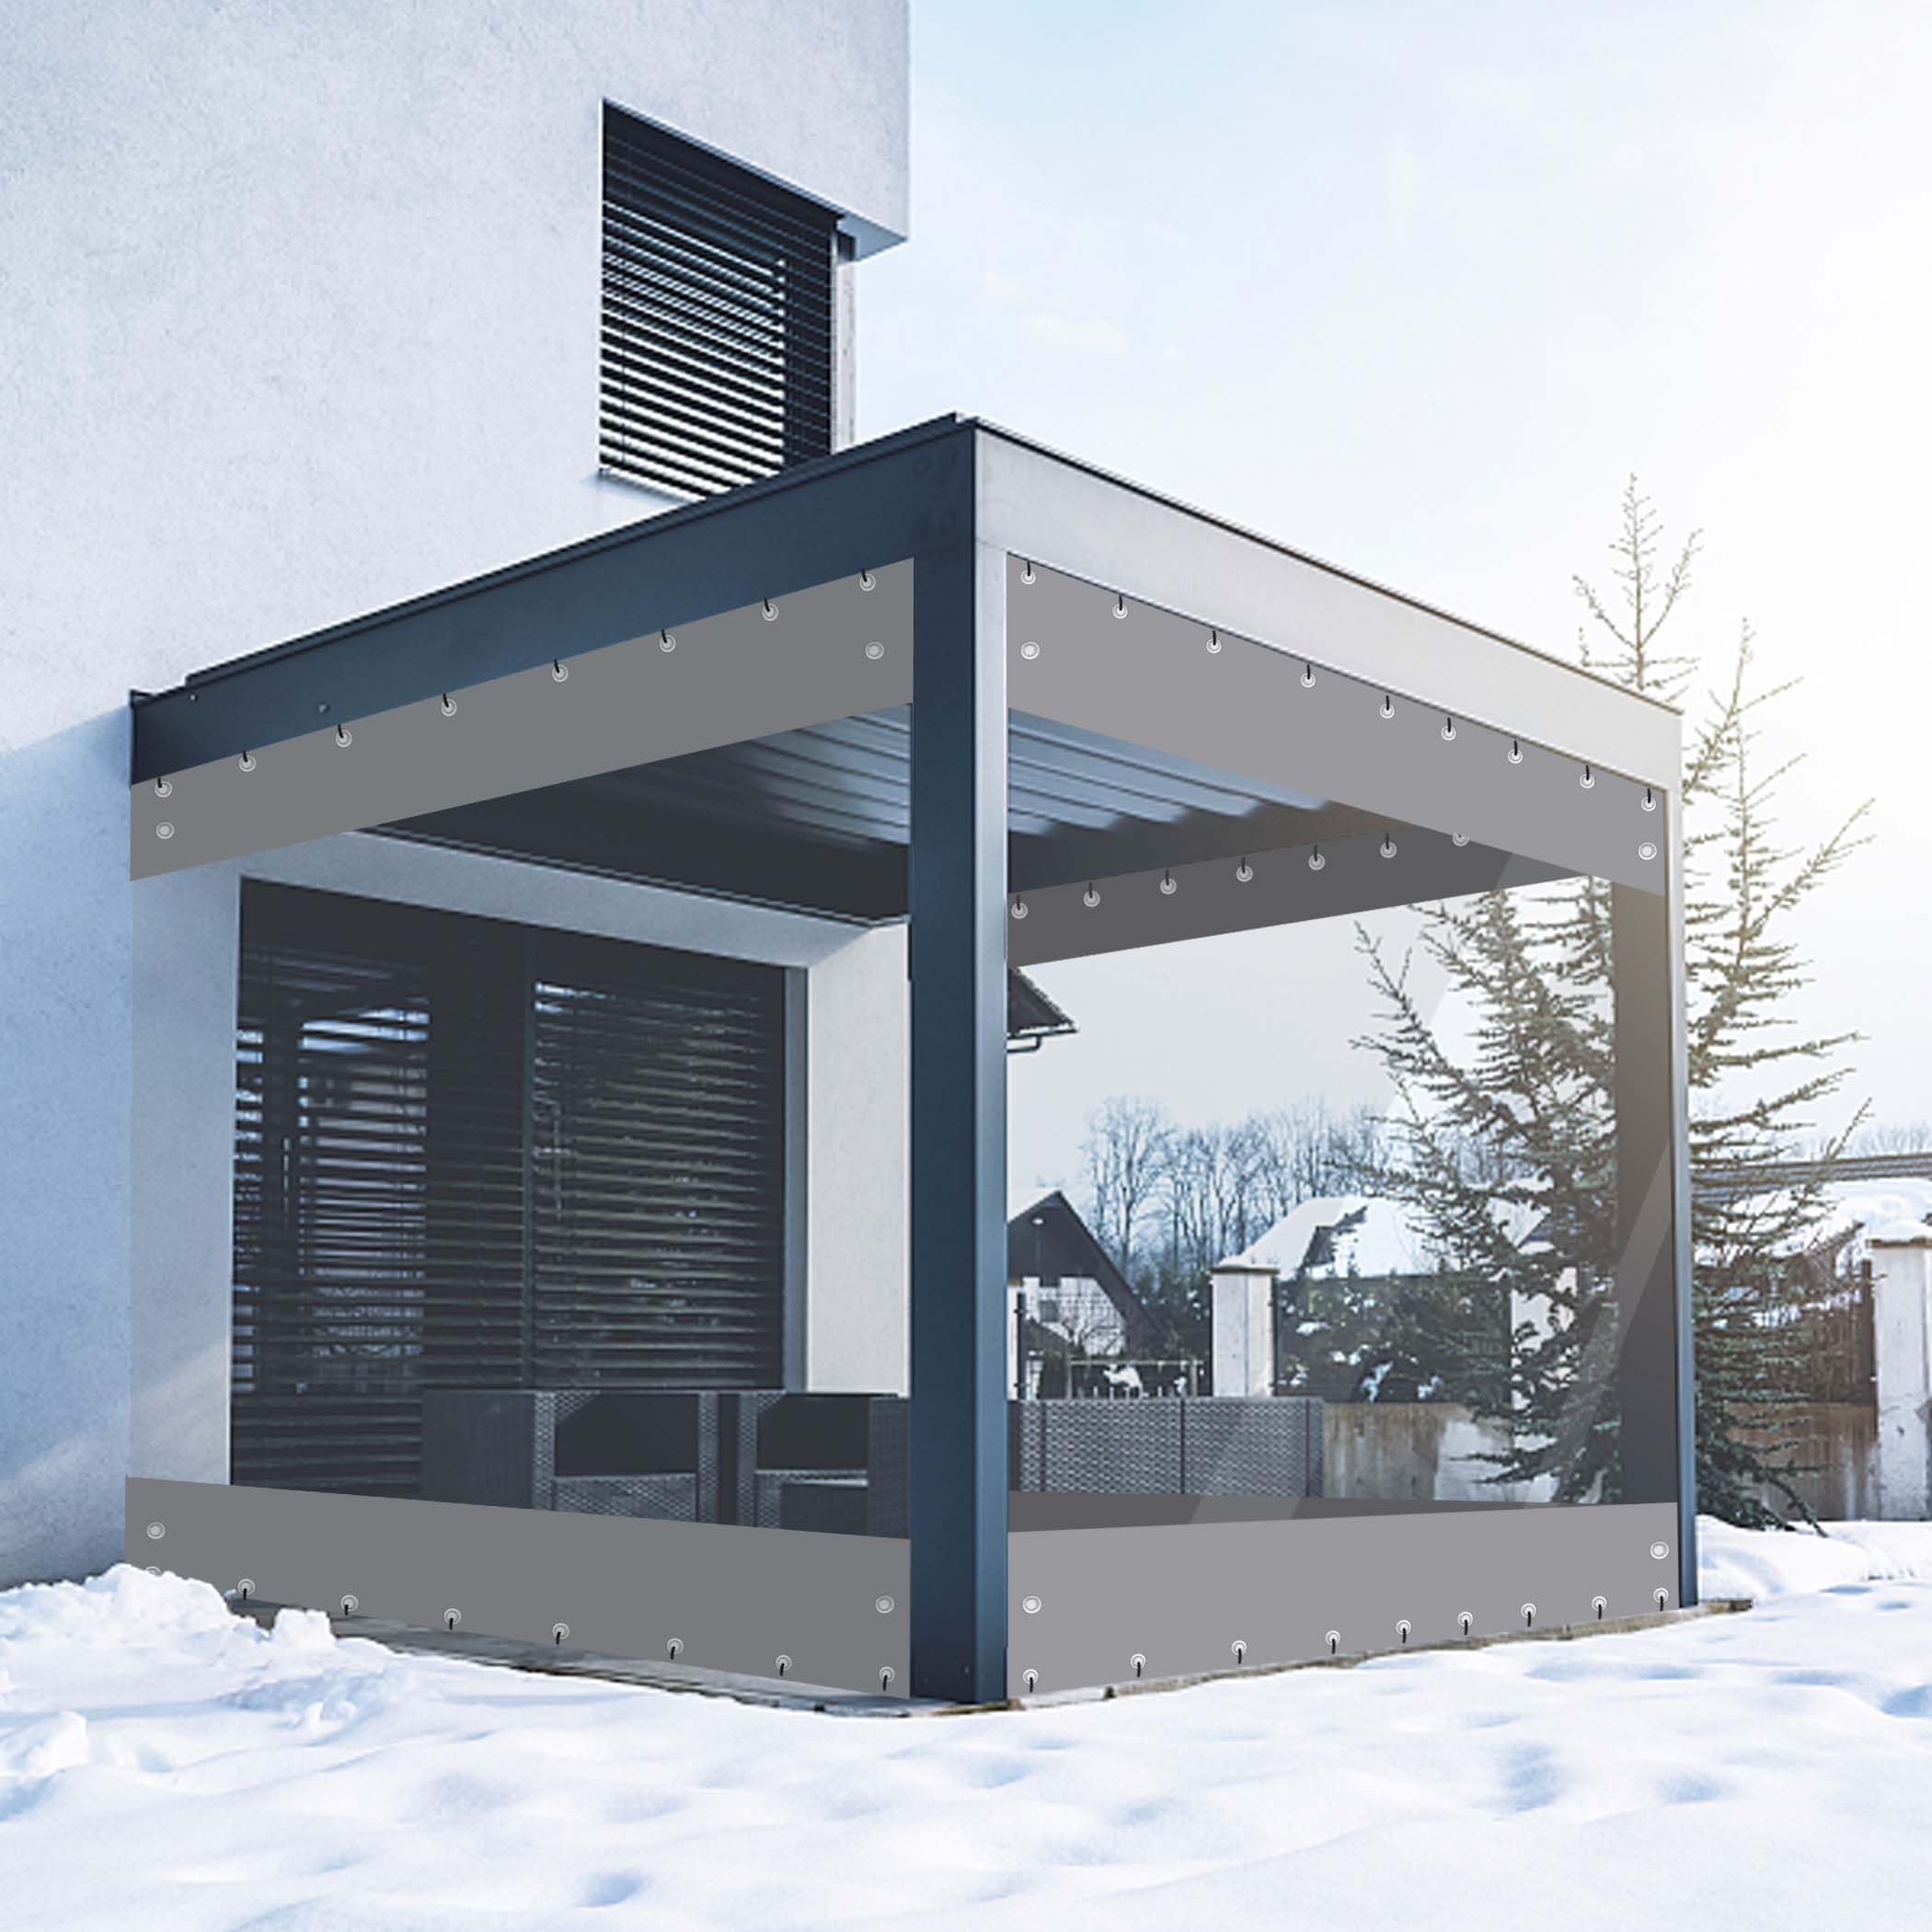
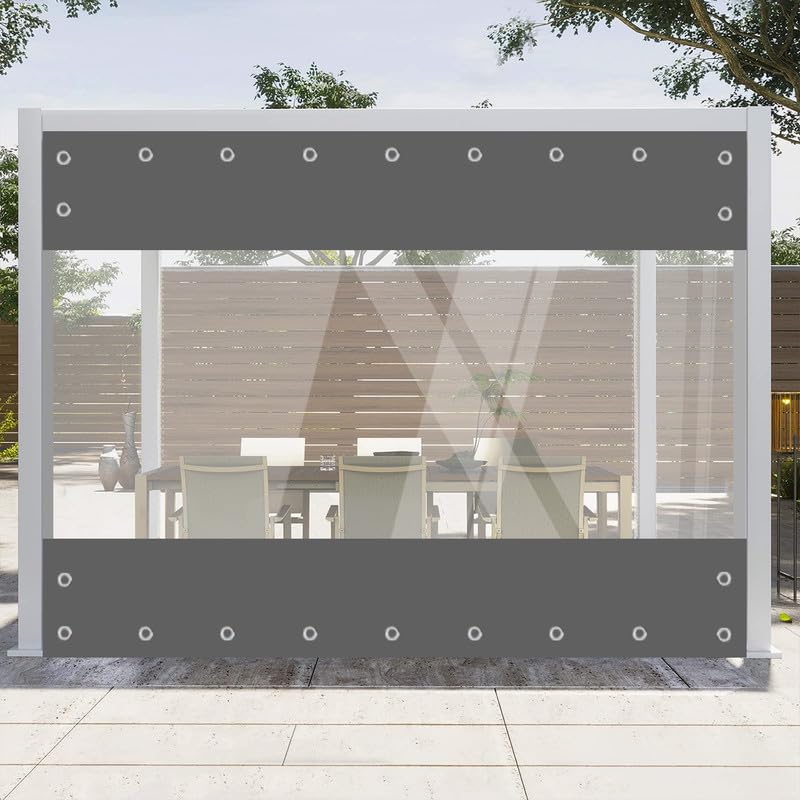
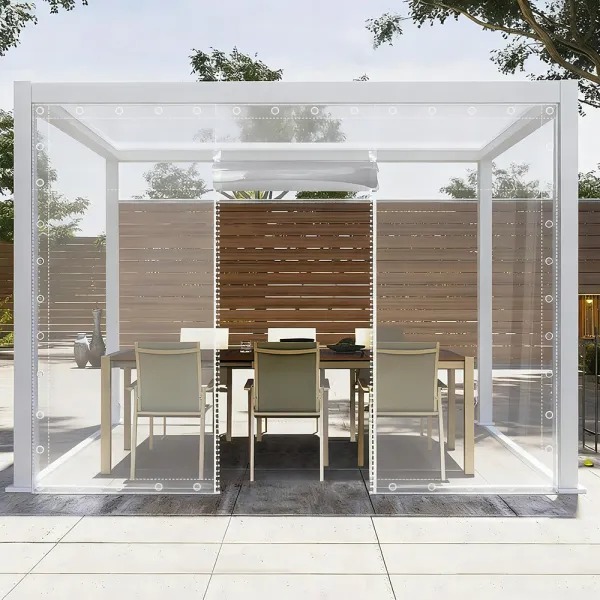
Knowing how to measure insulated outdoor curtains before ordering helps you plan useful coverage at a porch, patio, pergola, or gazebo opening. A close fit can reduce avoidable gaps and improve privacy, while the right finished length makes the panel easier to operate around a deck, threshold, or walkway. Curtains remain a flexible fabric layer, not a sealed exterior wall, so plan around the structure and the weather your space actually sees.
Start by comparing the current options in the Snowcity Insulated Outdoor Curtains for Winter collection. Then record each opening separately; posts, trim, and mounting surfaces can make two apparently similar bays measure differently.
1. Measure the finished mounting width
Measure the span where the rod, track, or other mounting hardware will actually run. This is often wider than the clear gap between posts, especially when the hardware can extend past the opening to help cover the sides or give panels a place to stack when open. Record the width in one unit, and note brackets, lights, downspouts, railings, or doors that limit where fabric can travel.
For a wide opening, measure left, center, and right rather than assuming it is square. Use the largest relevant measurement when planning coverage, and decide in advance whether a single panel or paired panels will give you a more practical entry and closing routine.
2. Choose enough total panel width
Total curtain width is not the same as opening width. Fabric needs room to gather, and two panels need enough extra material to meet and overlap at the center. Snowcity's Measurement Method recommends measuring the full pole length and using a 1.5–2 fullness ratio where appropriate. The preferred amount within that range depends on the header style, the look you want, and how easily you need the panels to move.
Also plan the edges. If the curtain needs to reach a post, wall, or side attachment point, include that distance rather than stopping exactly at the visible opening. A small center overlap and deliberate side coverage can reduce direct gaps, but neither replaces sound mounting or makes an open structure weatherproof.
3. Measure finished height and floor clearance
Measure from the point where the curtain will hang—such as the underside of the rod, track, ring, or hook—to the finished deck, patio, or threshold. Include the effect of grommets, rings, or hooks, since they change where the fabric begins. Check the height at more than one point on sloped pavers or uneven ground.
Plan a practical clearance so the hem does not drag in standing water, ice, dirt, or a walkway. A curtain that stops too high may leave more of the lower opening exposed; a curtain that drags can be harder to keep clean and safely secure. Test the intended path around doors, stairs, and gates before choosing the finished length.
4. Plan overlap, access, and wind management
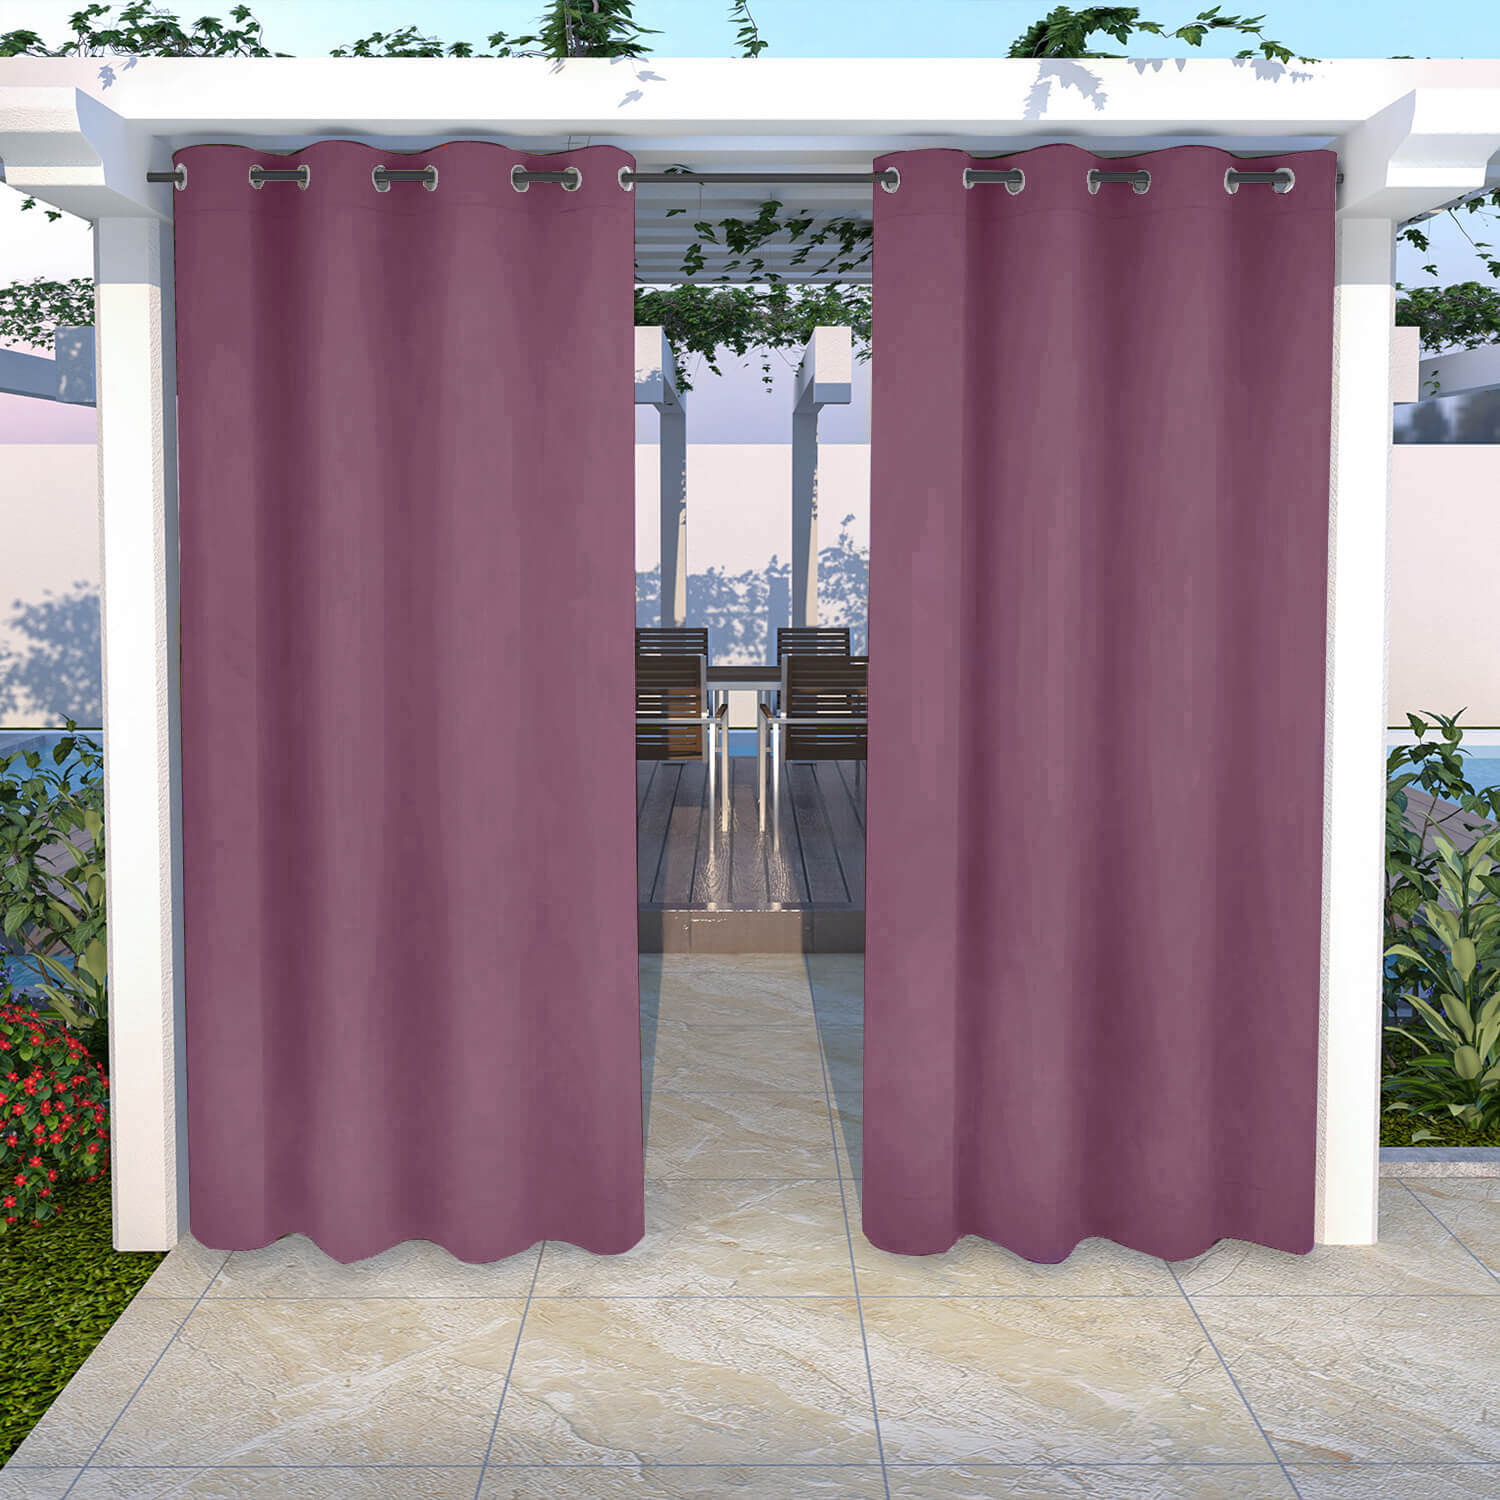
Mark where panels will meet when closed and where they will stack when open. A center-opening pair is convenient for many spaces, but only if the overlap and open-stack area do not block an entry. Where the opening faces changing wind, select a compatible restraint or tie-back only after confirming the mounting surface, fabric option, and required access route.
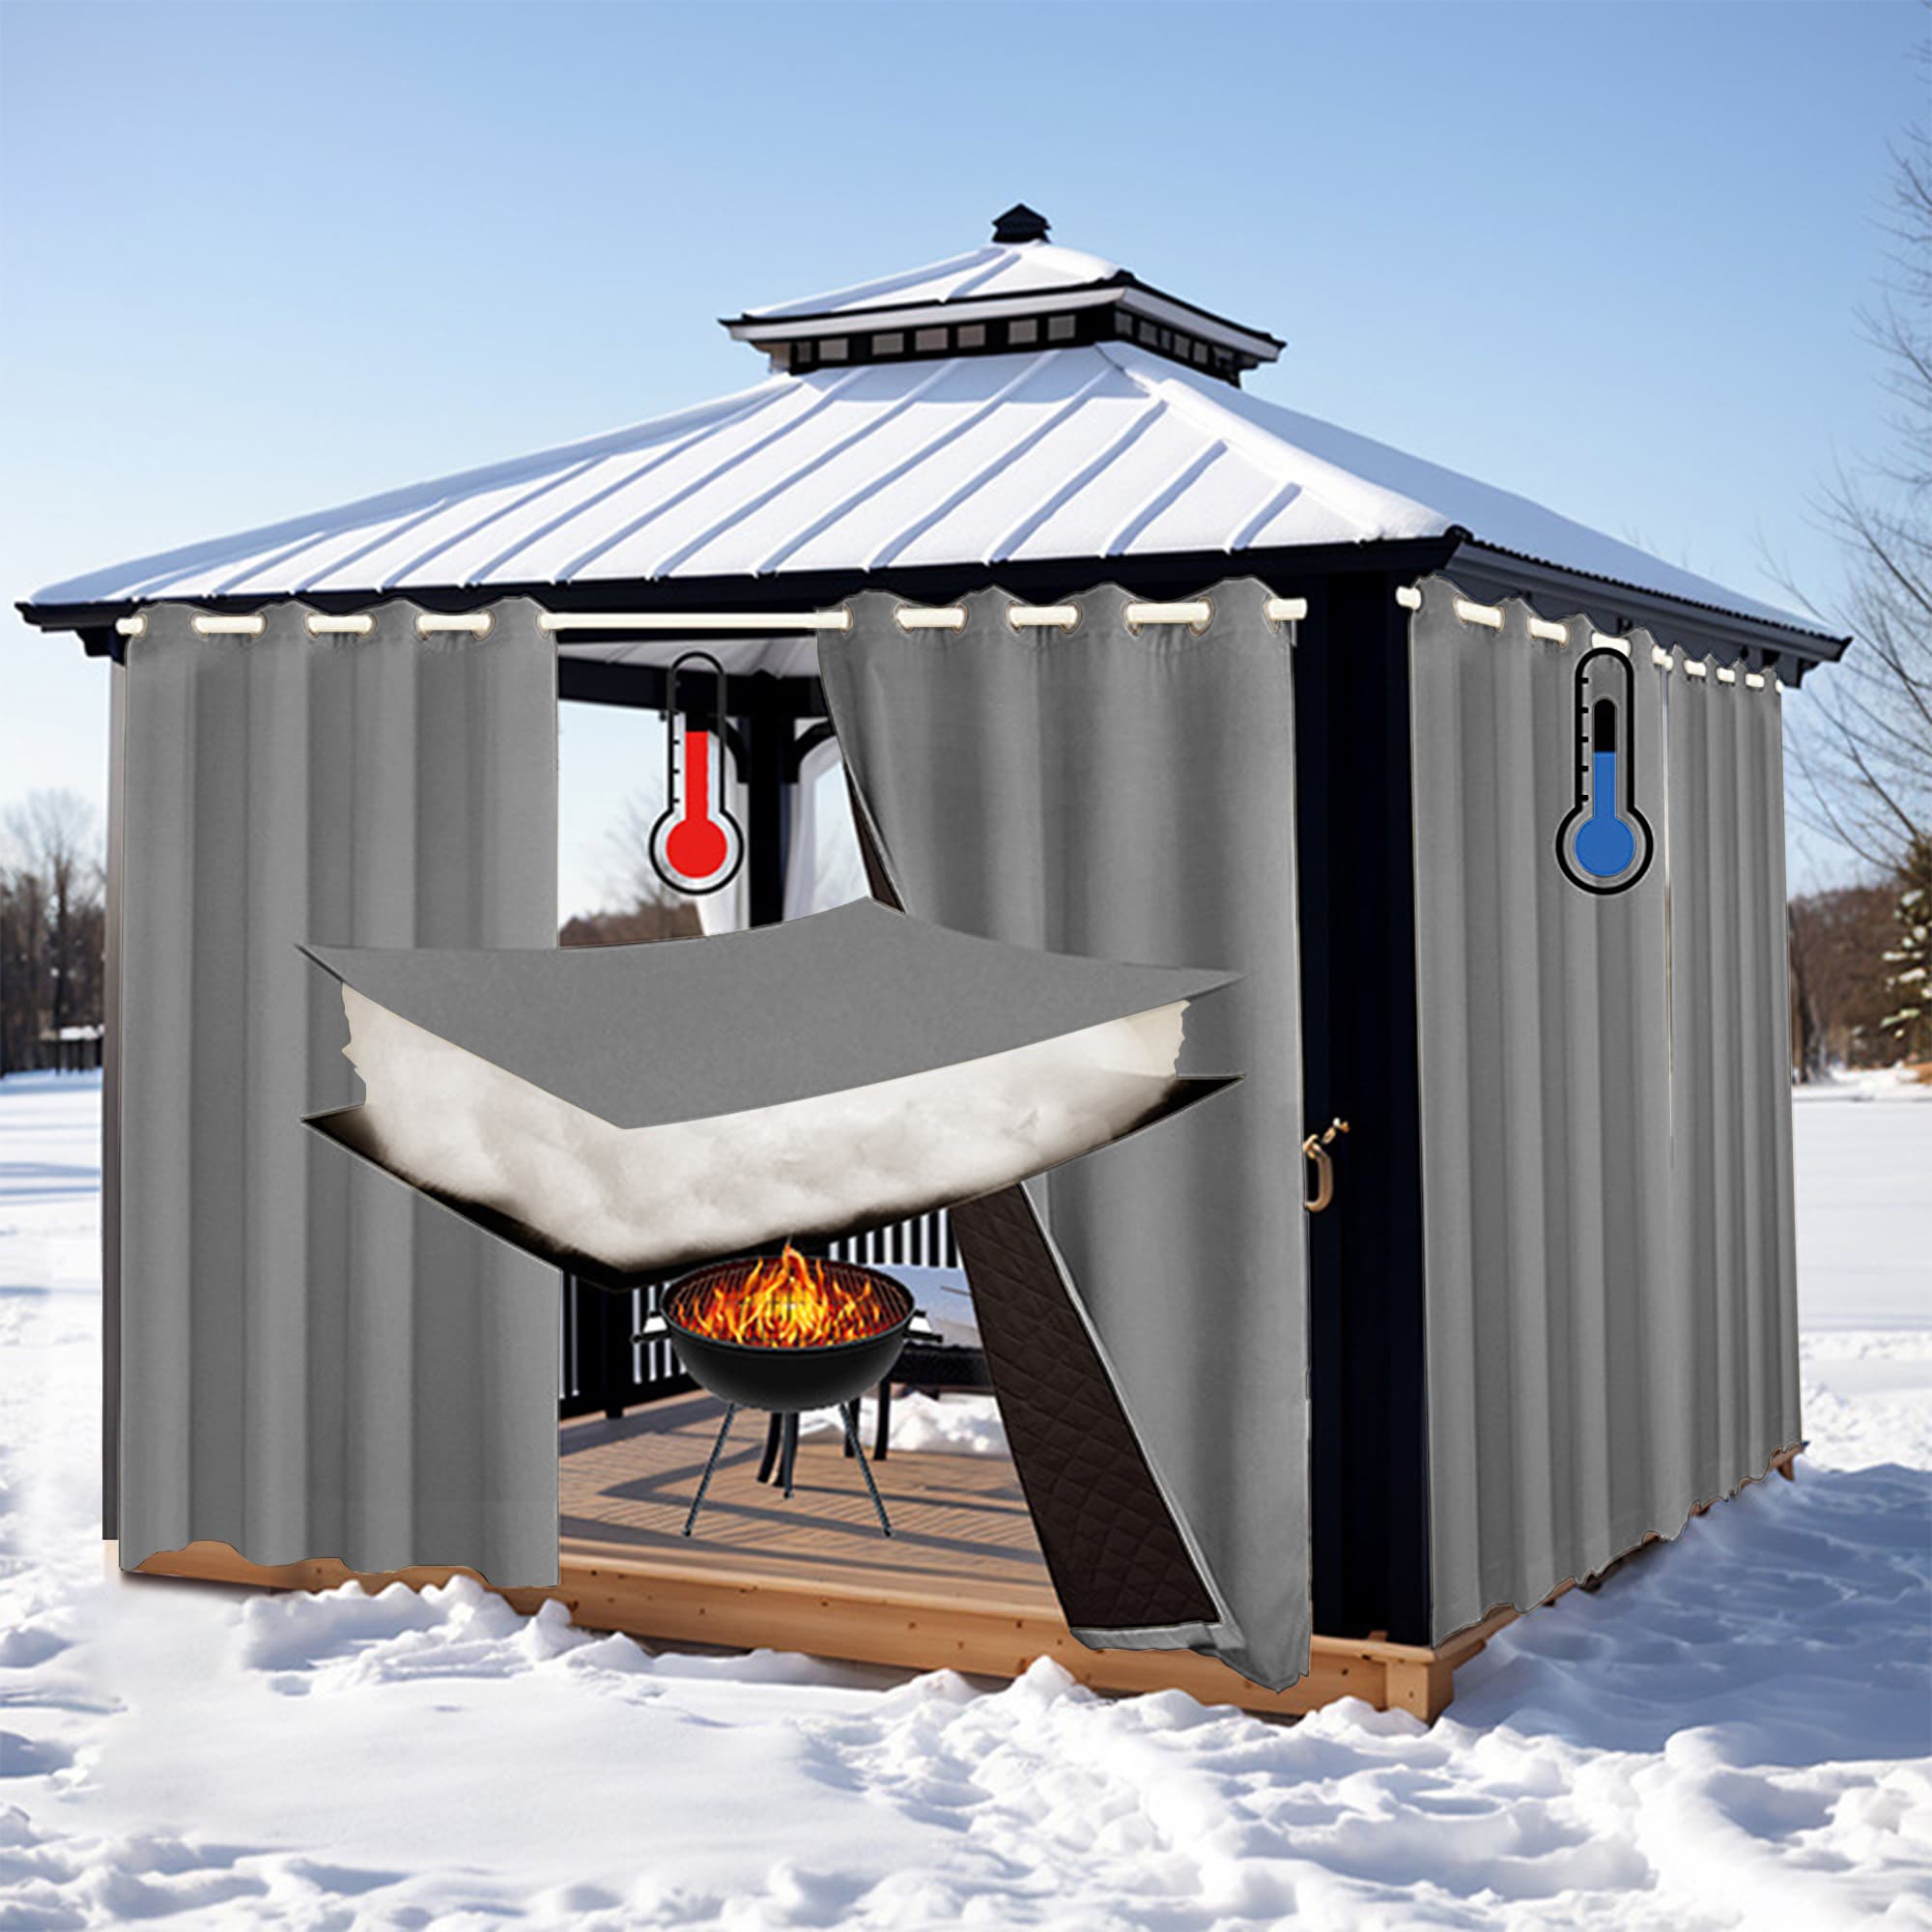
Keep fabric and hardware clear of heaters, grills, flames, and ventilation zones. If severe weather is expected, follow the current product and hardware guidance and secure or draw back the panels as appropriate. Accurate measurements make everyday use easier; they do not eliminate the need for safe installation and realistic weather expectations.
5. Decide between standard and custom sizing
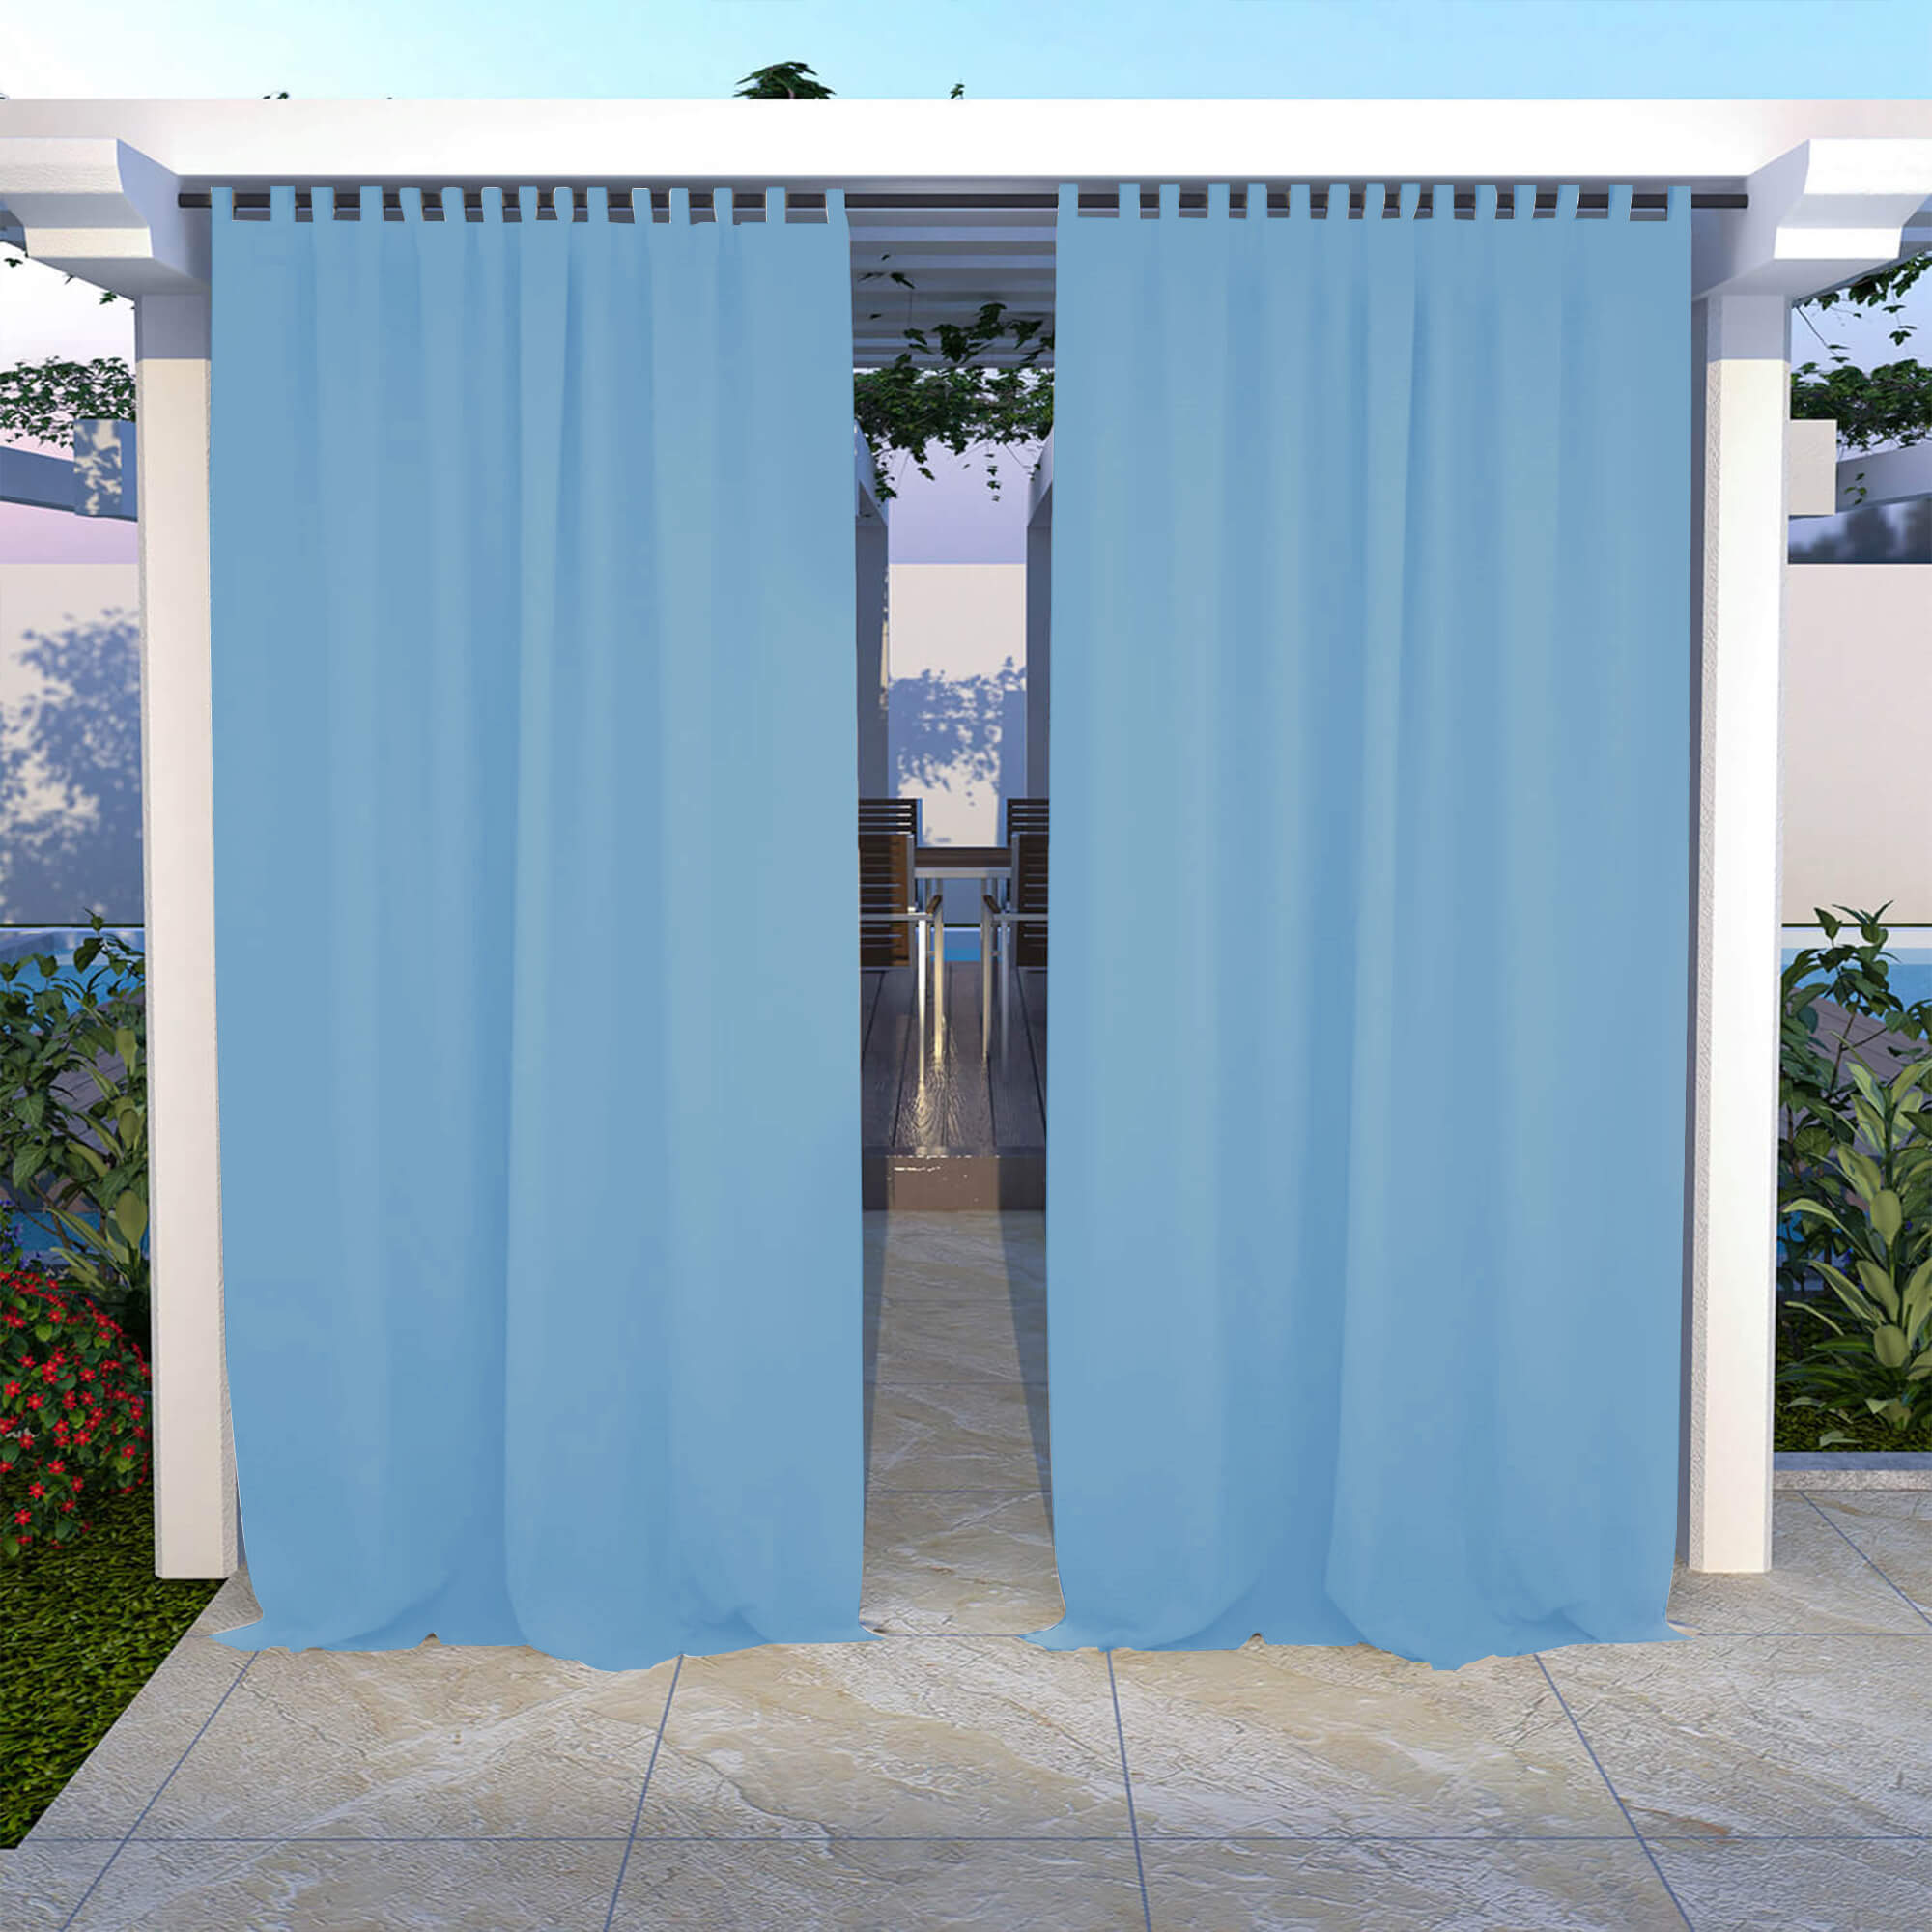
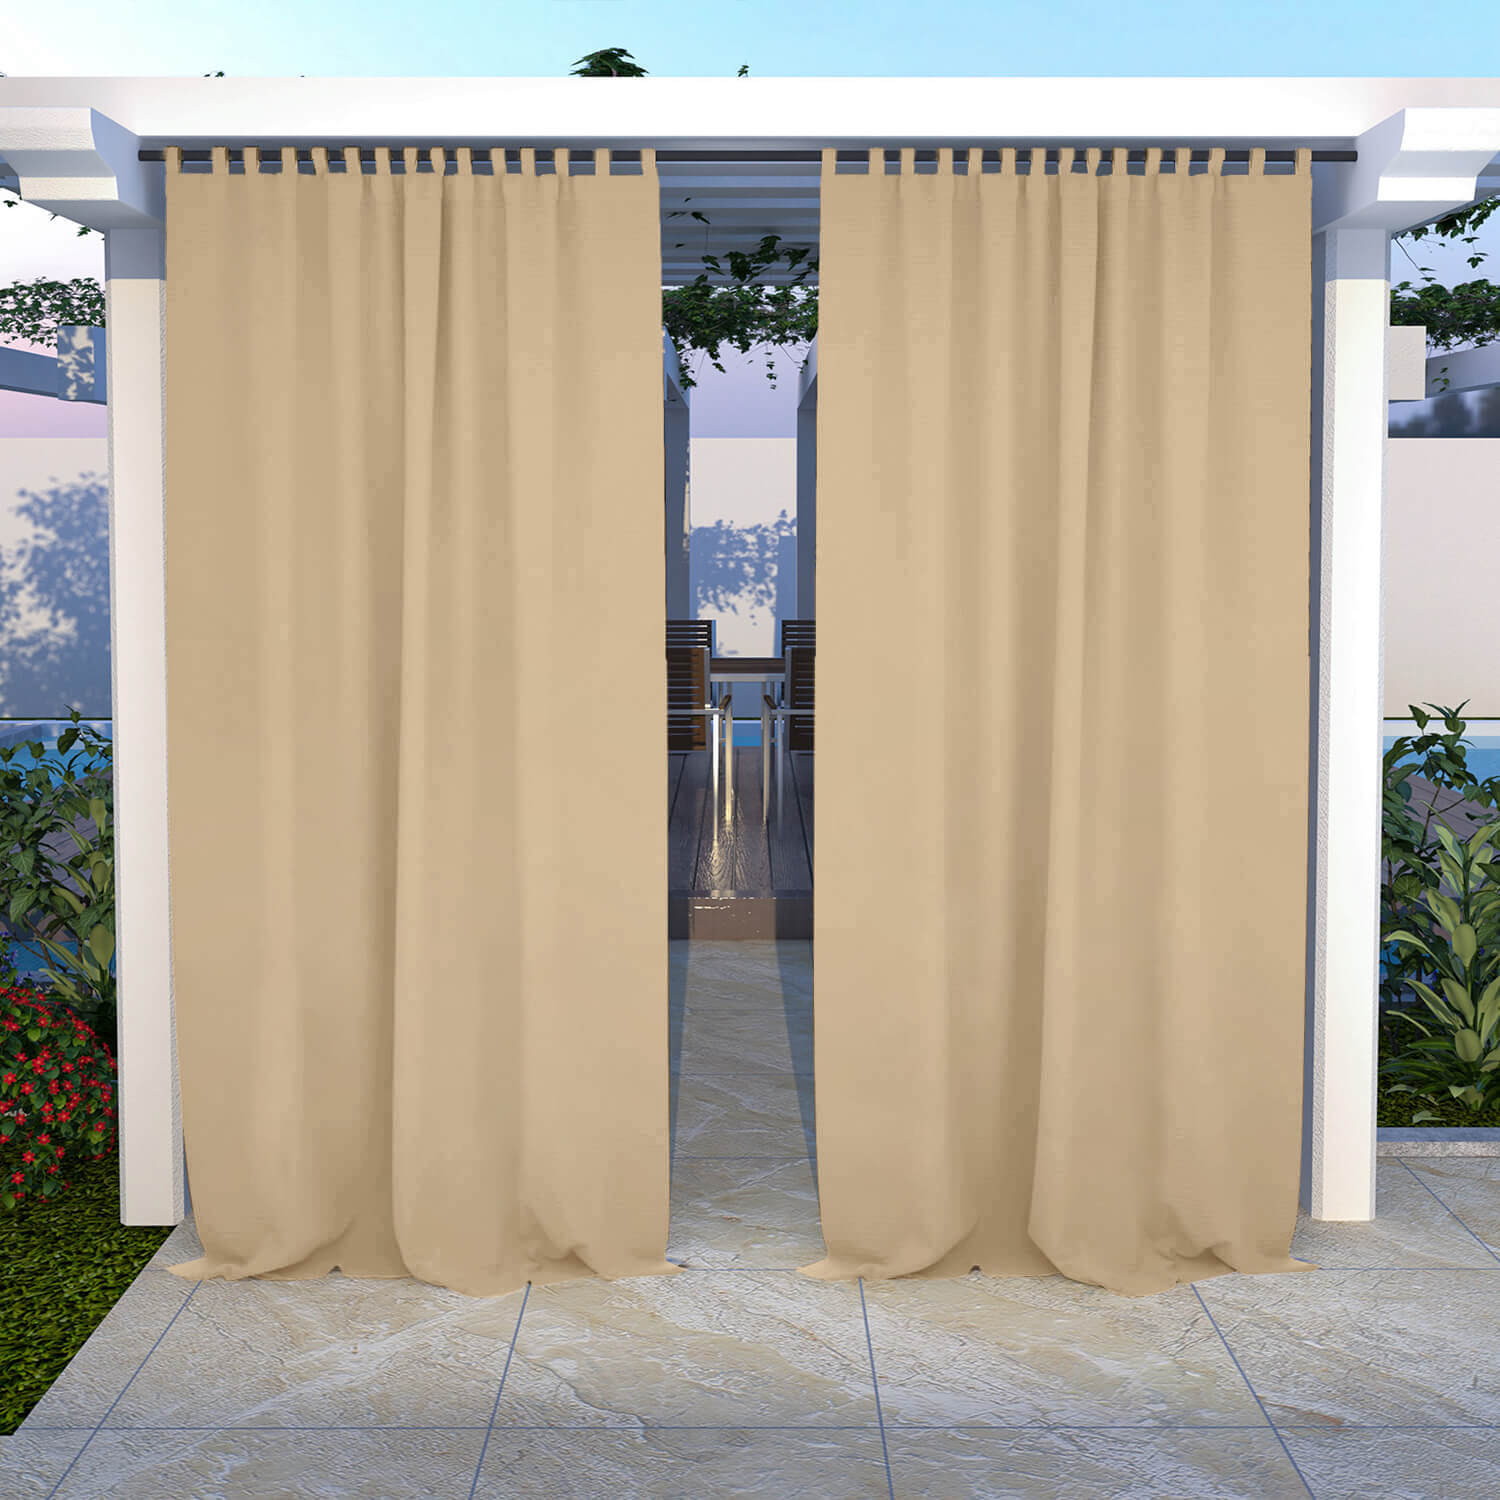
After you have the mounting width, finished height, panel count, and overlap plan, compare them with the available standard options on the live Light Beige Insulated Outdoor Curtain product page. Standard sizing can be a practical fit when the combined panel width covers the planned span and the finished length works with your hardware and floor clearance.
Consider the product's custom-size contact option when a standard arrangement would leave an important gap, create excessive extra fabric, or conflict with an unusual height, trim detail, or access requirement. Share the finished mounting width, hanging height, header preference, and any lower attachment needs so the discussion starts from the installed dimensions rather than a rough room measurement.
Quick measuring checklist
- Measure the installed hardware span, not only the empty opening.
- Record height from the true hanging point to the finished surface.
- Allow total width for gathering, center overlap, and side coverage.
- Note doors, steps, rails, trim, and the place where open panels will stack.
- Compare the completed plan with current standard options before asking about a custom size.
Frequently asked questions
Should I measure the opening or the rod?
Measure the actual span where the curtain will hang. If the rod or track extends beyond the posts or opening, include that full installed span because it determines the width the panels need to cover.
How much extra width do insulated outdoor curtains need?
Use enough total width for the desired fullness plus the overlap and side coverage in your layout. Snowcity's Measurement Method uses a 1.5–2 fullness ratio where appropriate; the right choice depends on your hardware, header style, and access needs.
How should I choose the curtain length outdoors?
Measure from the real hanging point to the finished surface, accounting for rings, hooks, or grommets. Leave sensible clearance so the hem does not drag in water, dirt, or a traffic path, while still covering the area you intend to manage.
Measure your opening and select a Snowcity standard or custom size. Review the Insulated Outdoor Curtains for Winter collection, then match the panel plan to your mounting surface, access route, and current product options.
Comment