How to Secure Clear Vinyl Curtains in Windy Weather
Oct 05,2026 | Snowcity
Windy conditions call for careful planning, not a promise that any curtain will solve every weather problem. A clear vinyl panel can be a practical part of an opening plan when it is measured correctly, mounted to a suitable surface, and checked regularly. For severe weather, follow local safety guidance and remove or secure items as appropriate for the specific site.
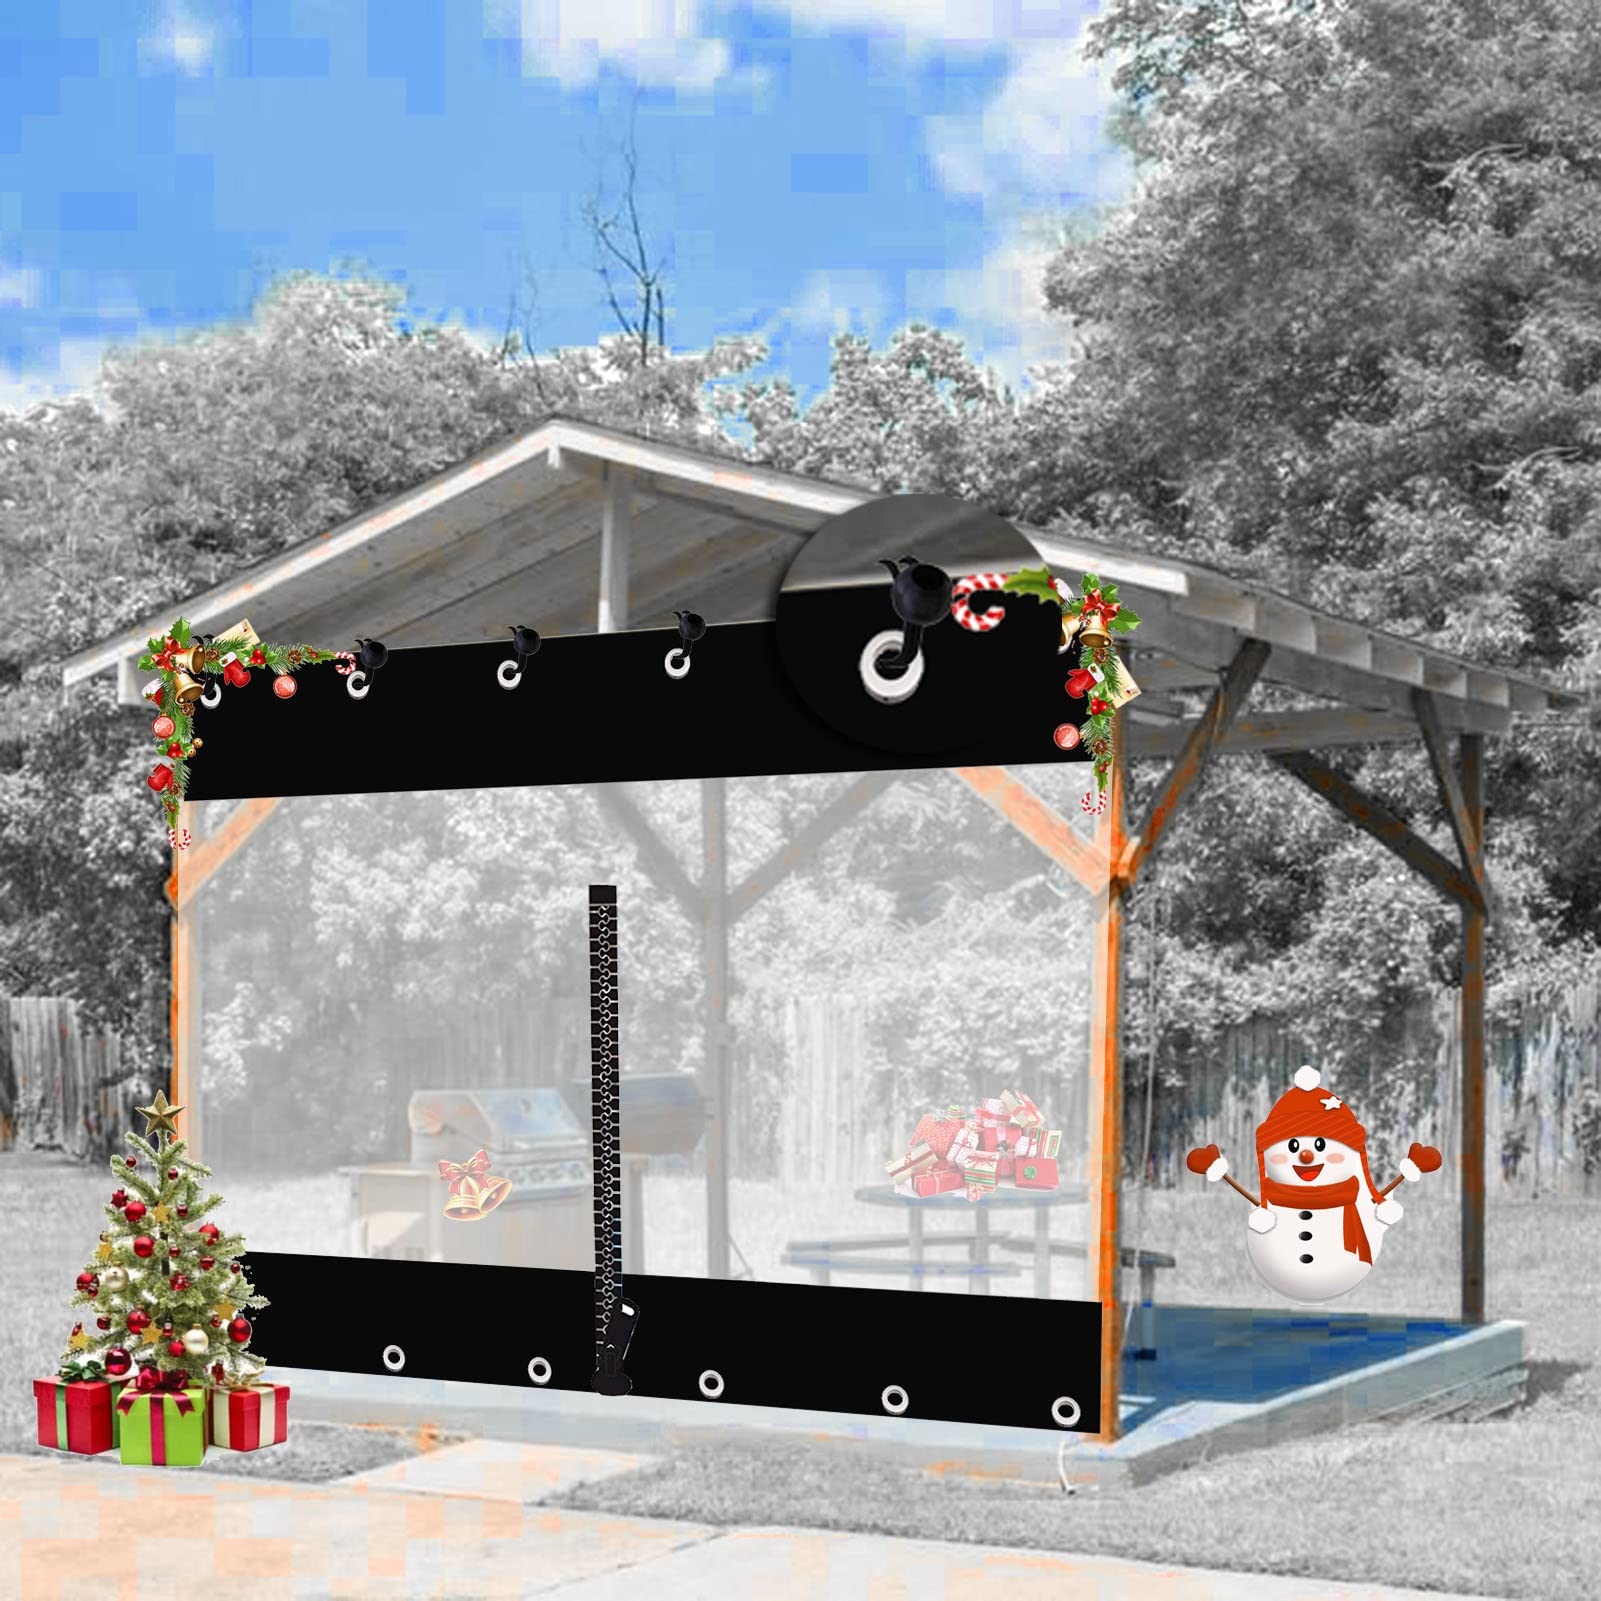
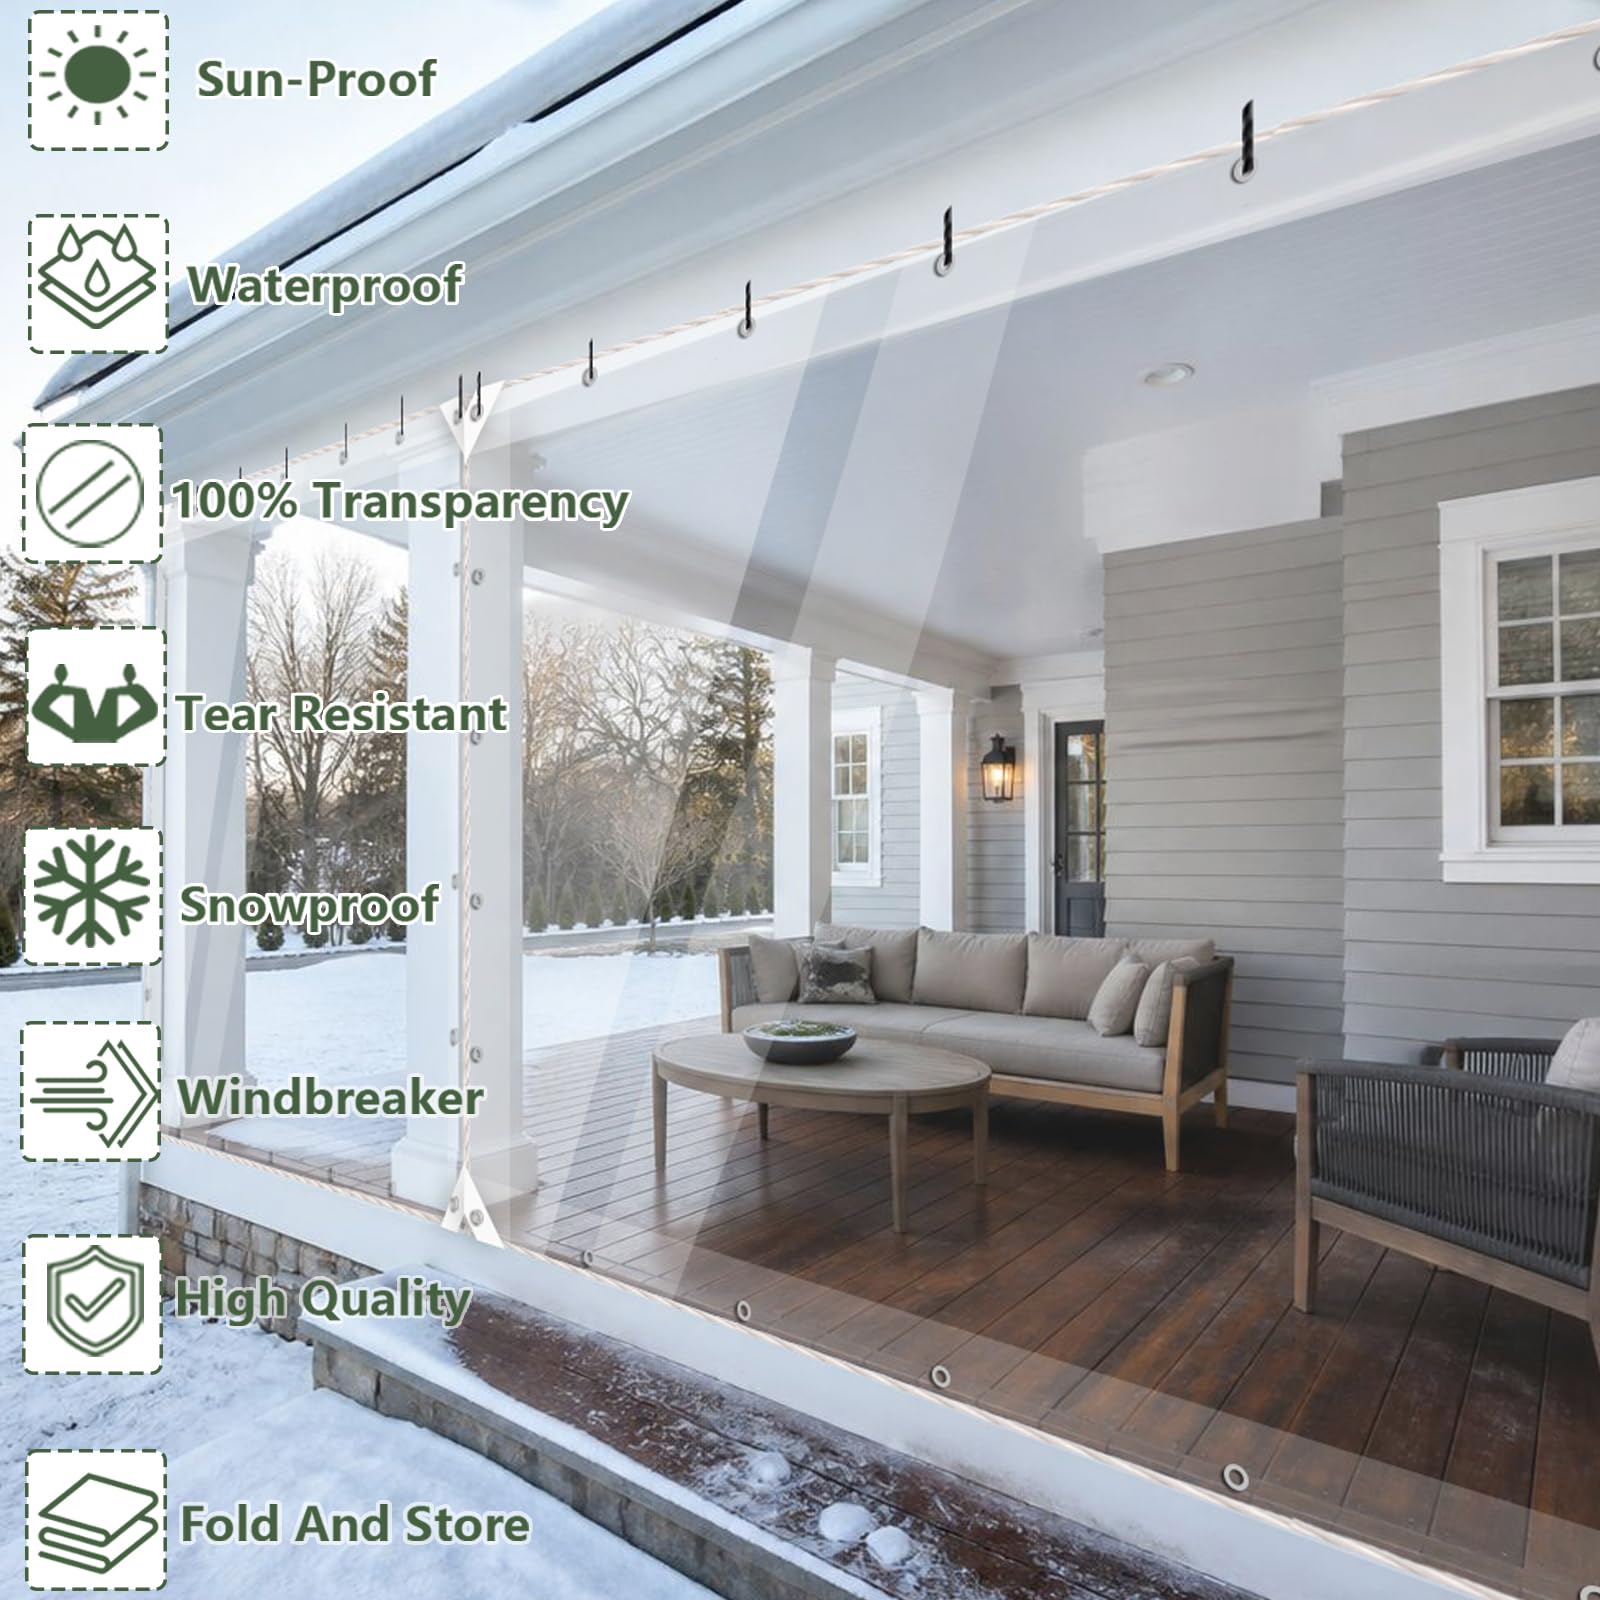
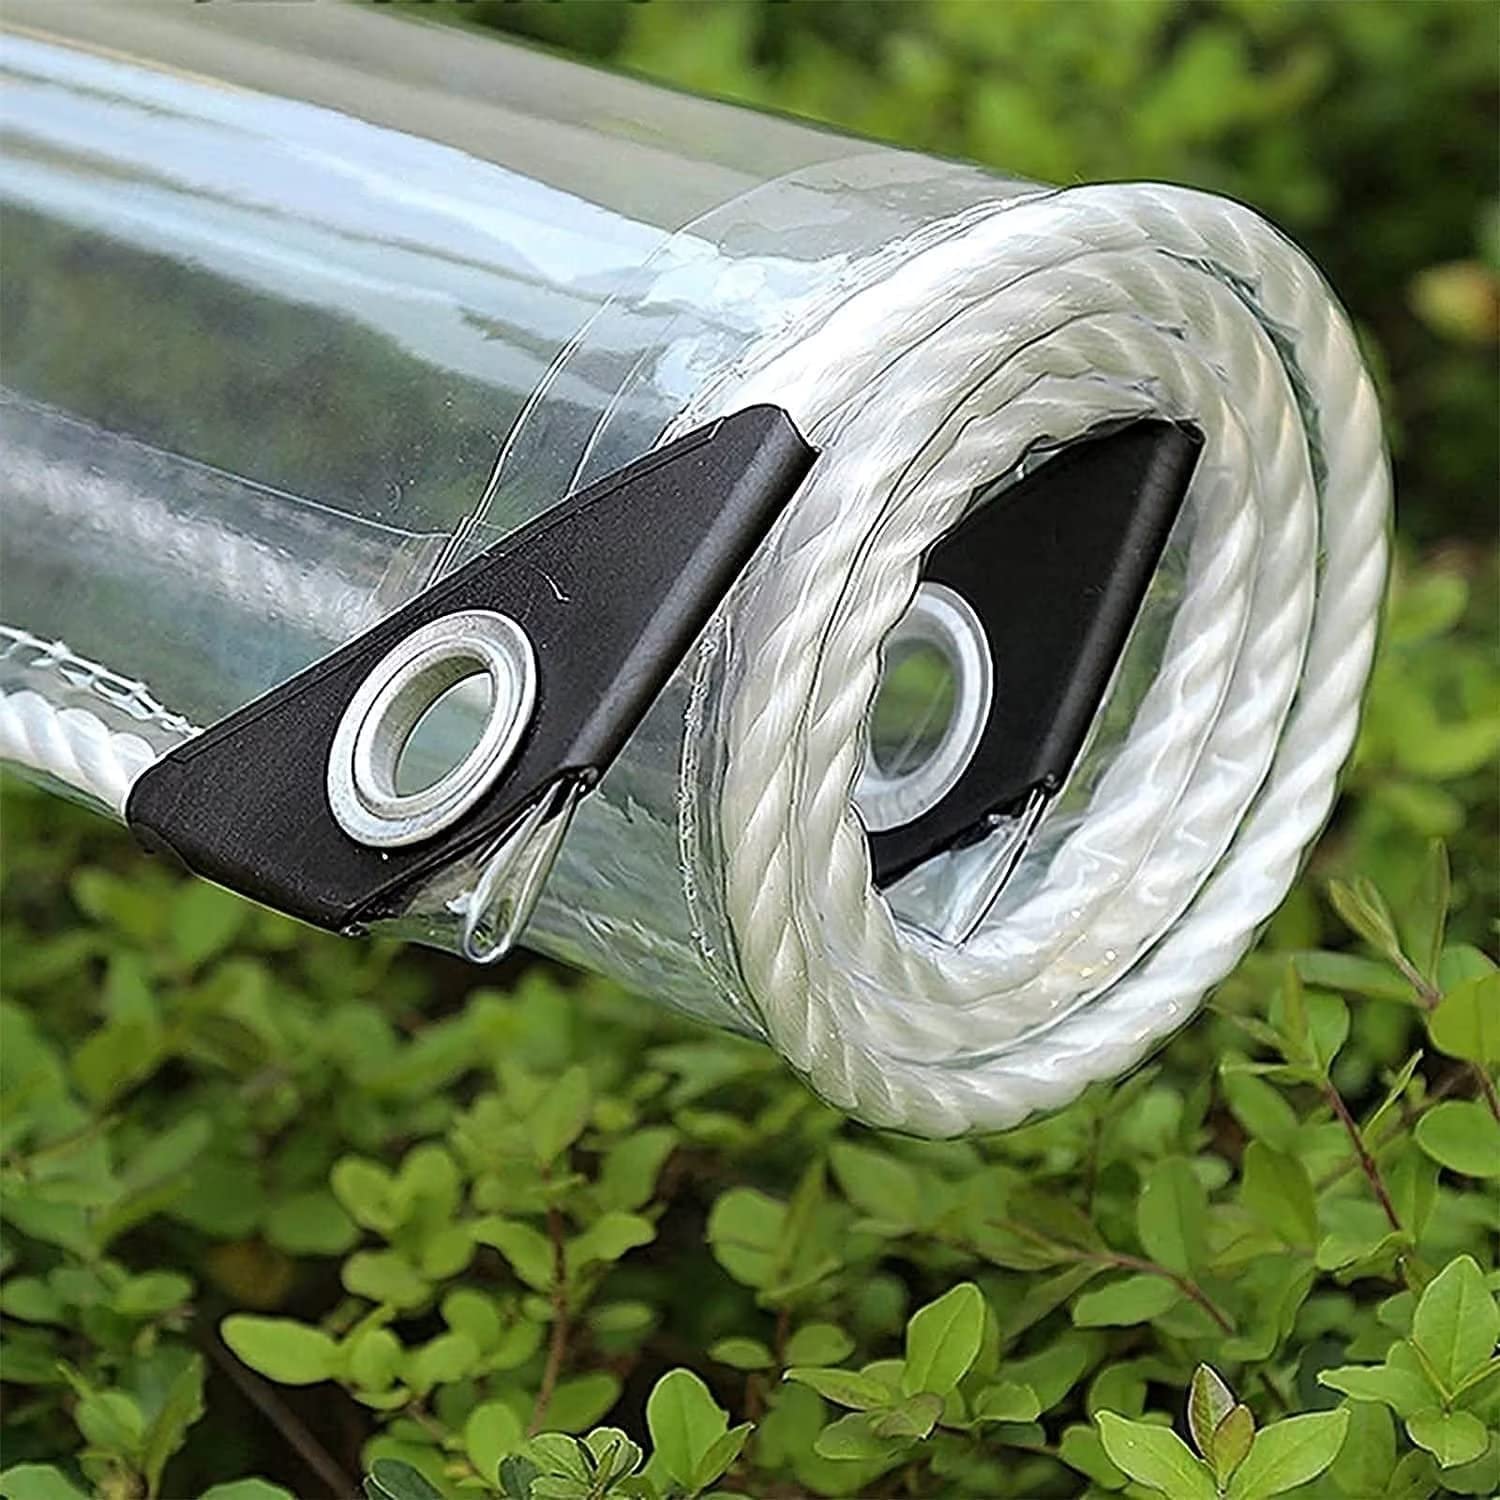
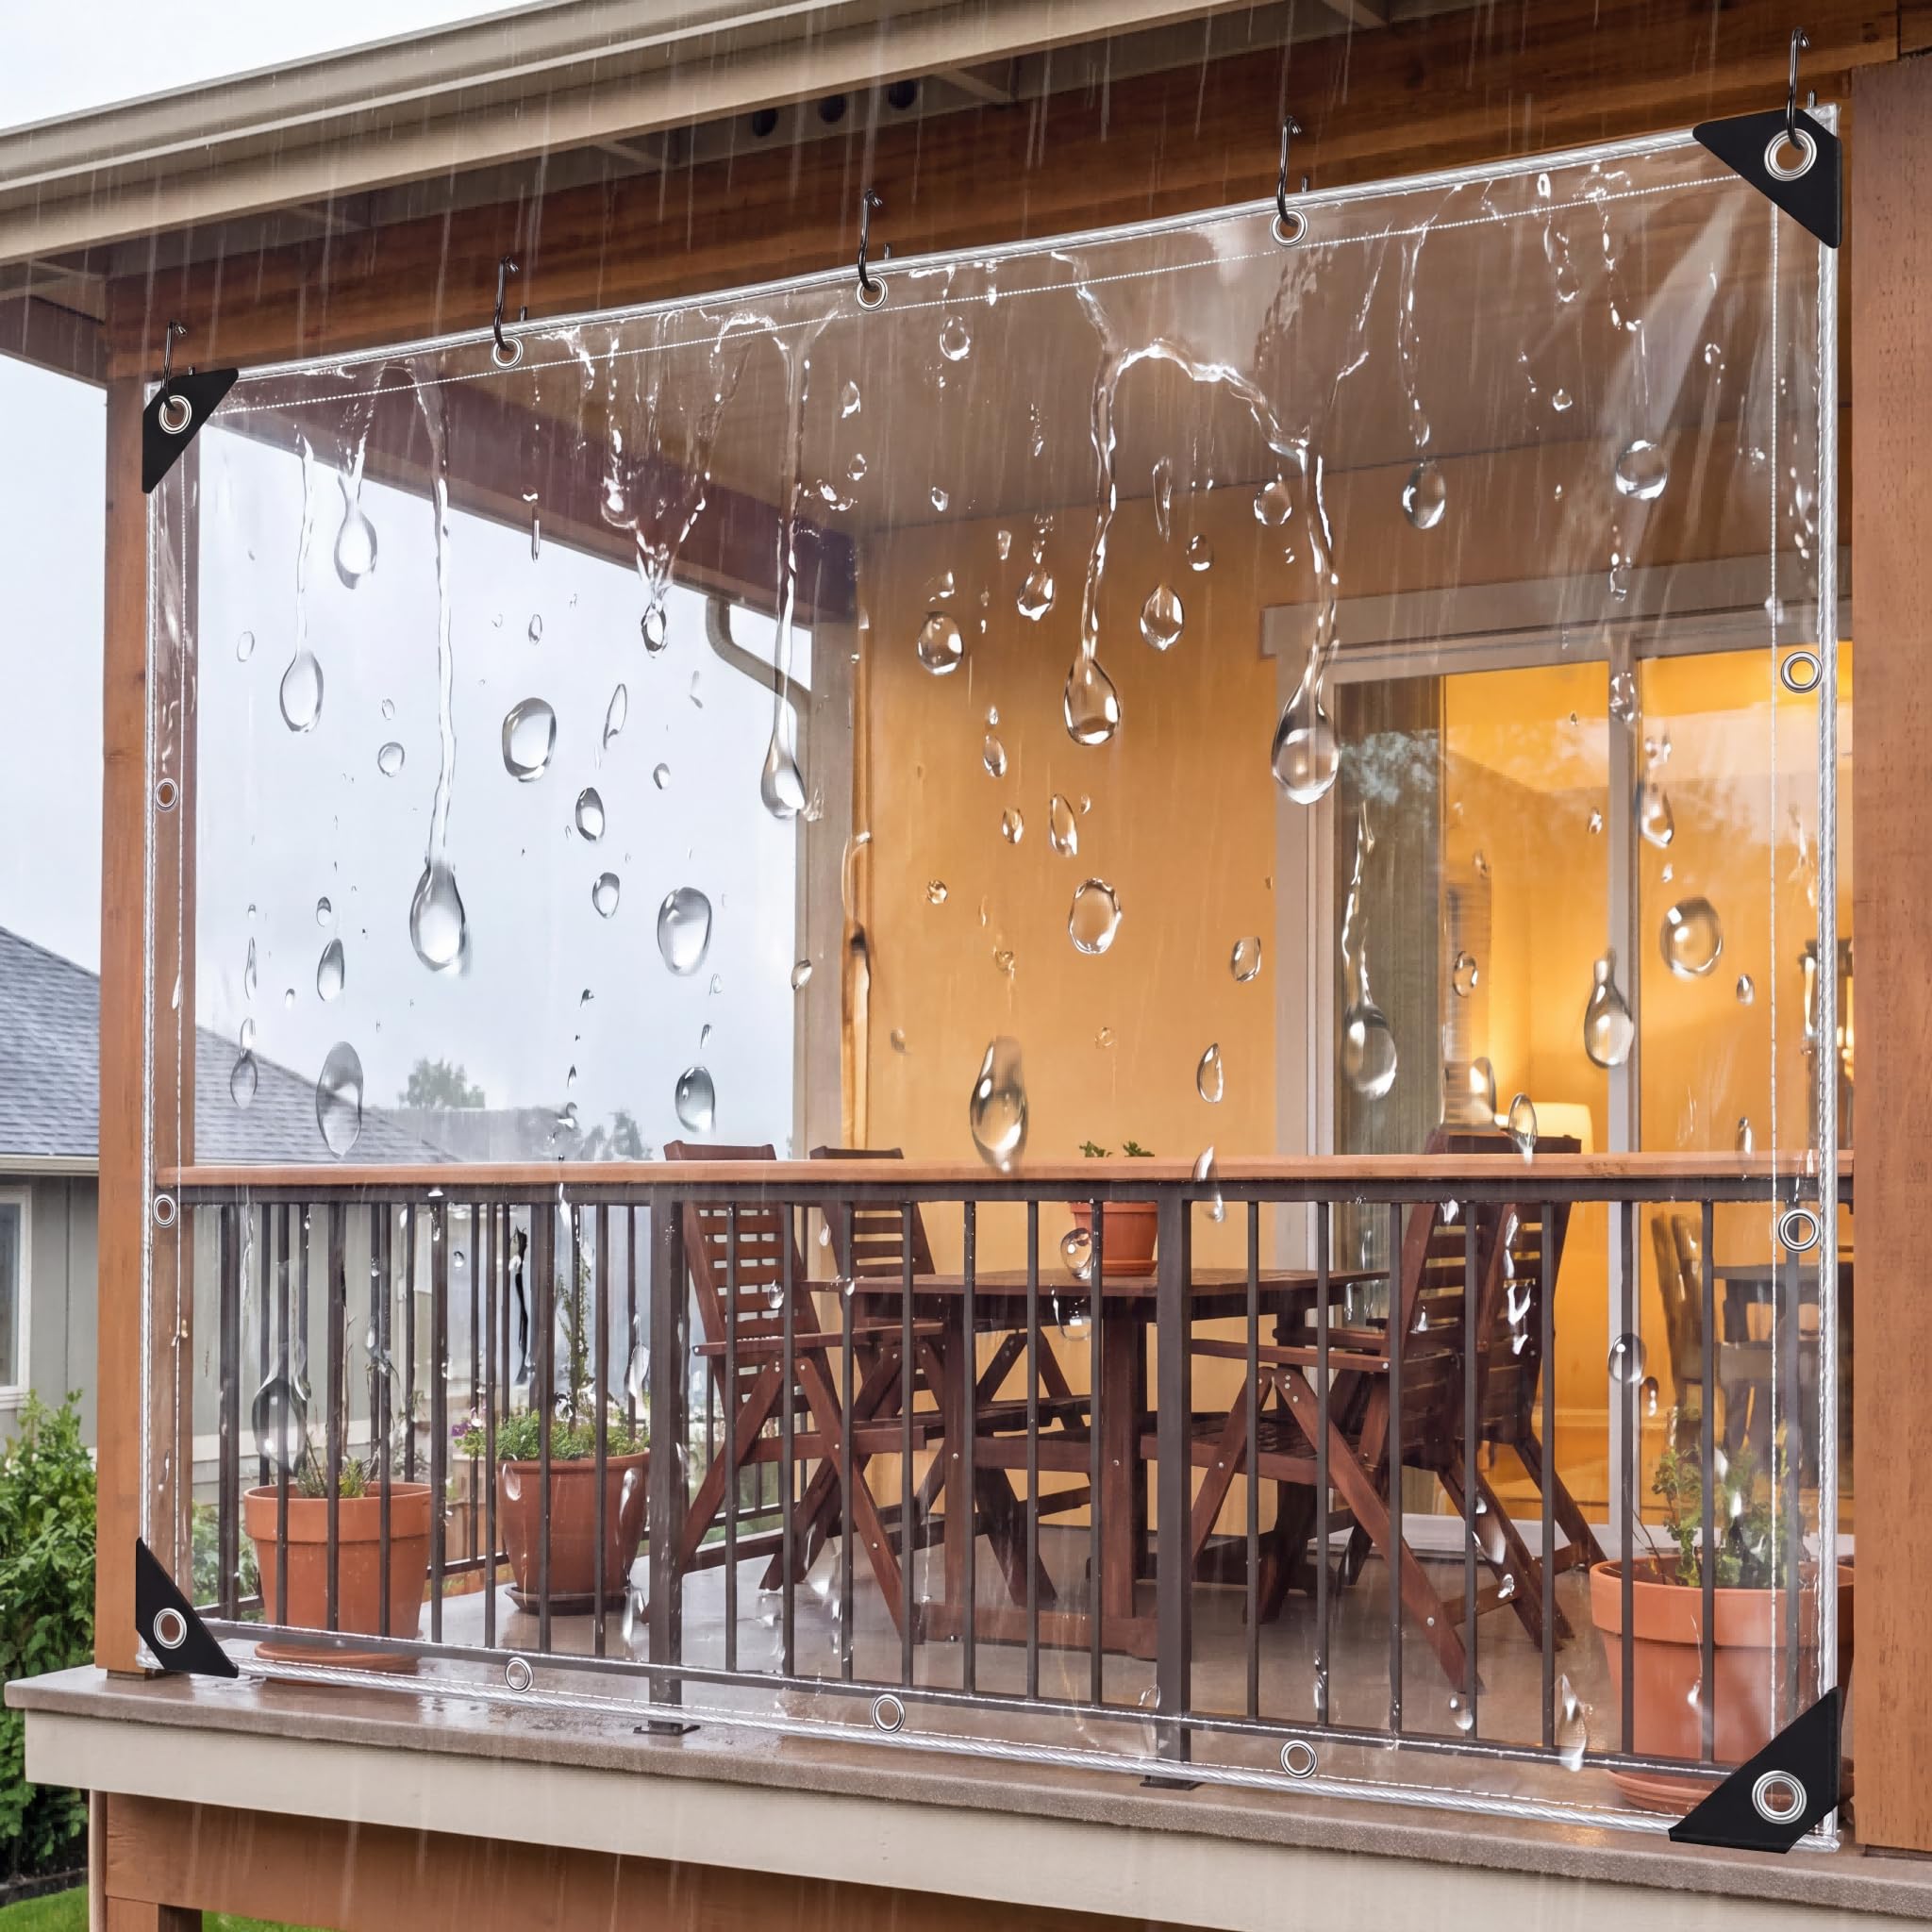
Start with the Snowcity Outdoor Clear Vinyl Curtains collection to compare current options. For a fixed opening, the current standard clear-panel curtain lists multiple size selections and Custom Size support, plus a 20oz clear PVC center panel, reinforced vinyl at the top and bottom, and anti-rust metal grommets. Confirm the current product details, your opening, and the mounting surface before ordering.
Assess the exposure first
Look at how air moves through the specific opening. A sheltered porch, open patio, gazebo, and garage opening can all experience wind differently. Note corners, gaps, nearby walls, railings, rooflines, and doorways that may channel gusts. Also identify obstacles such as light fixtures, trim, latches, and sharp edges before deciding where the panel can sit.
Check the condition of the header, posts, frame, or other proposed mounting surface. The panel and its fasteners should be supported by material that is appropriate for the hardware and the actual installation. If the location is structurally uncertain or the setup has a safety-critical load, consult a qualified local installer. This is practical planning guidance, not engineering advice.
Use suitable mounting points
The standard clear-panel page lists anti-rust metal grommets, which provide established attachment locations. Select fasteners that match the mounting material, and confirm that each point is sound before relying on it. Start with a level top edge and work from the center outward so you can correct alignment before the panel is fully attached.
Avoid concentrating force at one corner or one improvised attachment point. Let the panel hang naturally as you position it, rather than pulling it aggressively to compensate for an opening that is out of square. If the opening needs a different fit, remeasure and review the listed size choices or Custom Size option before continuing.
Distribute attachment points across the panel
After the top edge is aligned, work along the sides and lower edge in stages. Pause to check that the panel remains even and that the grommets and hardware are not being twisted. Regularly spaced, appropriate attachment points can help keep the setup orderly; they do not make a panel windproof or eliminate the need for weather-aware decisions.
Keep clearance around nearby doors, gates, and walkways. Do not allow the panel to catch on sharp hardware, rough masonry, or an active door swing. For several panels in one opening, review their overlap and access paths before treating the project as complete.
Inspect after changing weather
Recheck the mounting surface, fasteners, grommets, and panel edges after a change in weather and before the next use. Look for loosened hardware, rubbing points, trapped water, or material that has shifted. Make small corrections while the attachment points are accessible, and follow local warnings when conditions are expected to become severe.
Thoughtful preparation starts with an accurate opening measurement and a realistic plan for the site. Start with a clear-panel fit for your opening.
Comment