How to Install Clear Vinyl Outdoor Curtains
Oct 04,2026 | Snowcity
Installing clear vinyl outdoor curtains is primarily a layout-and-fastening project. A careful plan helps you position the panel cleanly, leave room for normal use of the space, and avoid asking the material or the mounting surface to do more than it reasonably can.
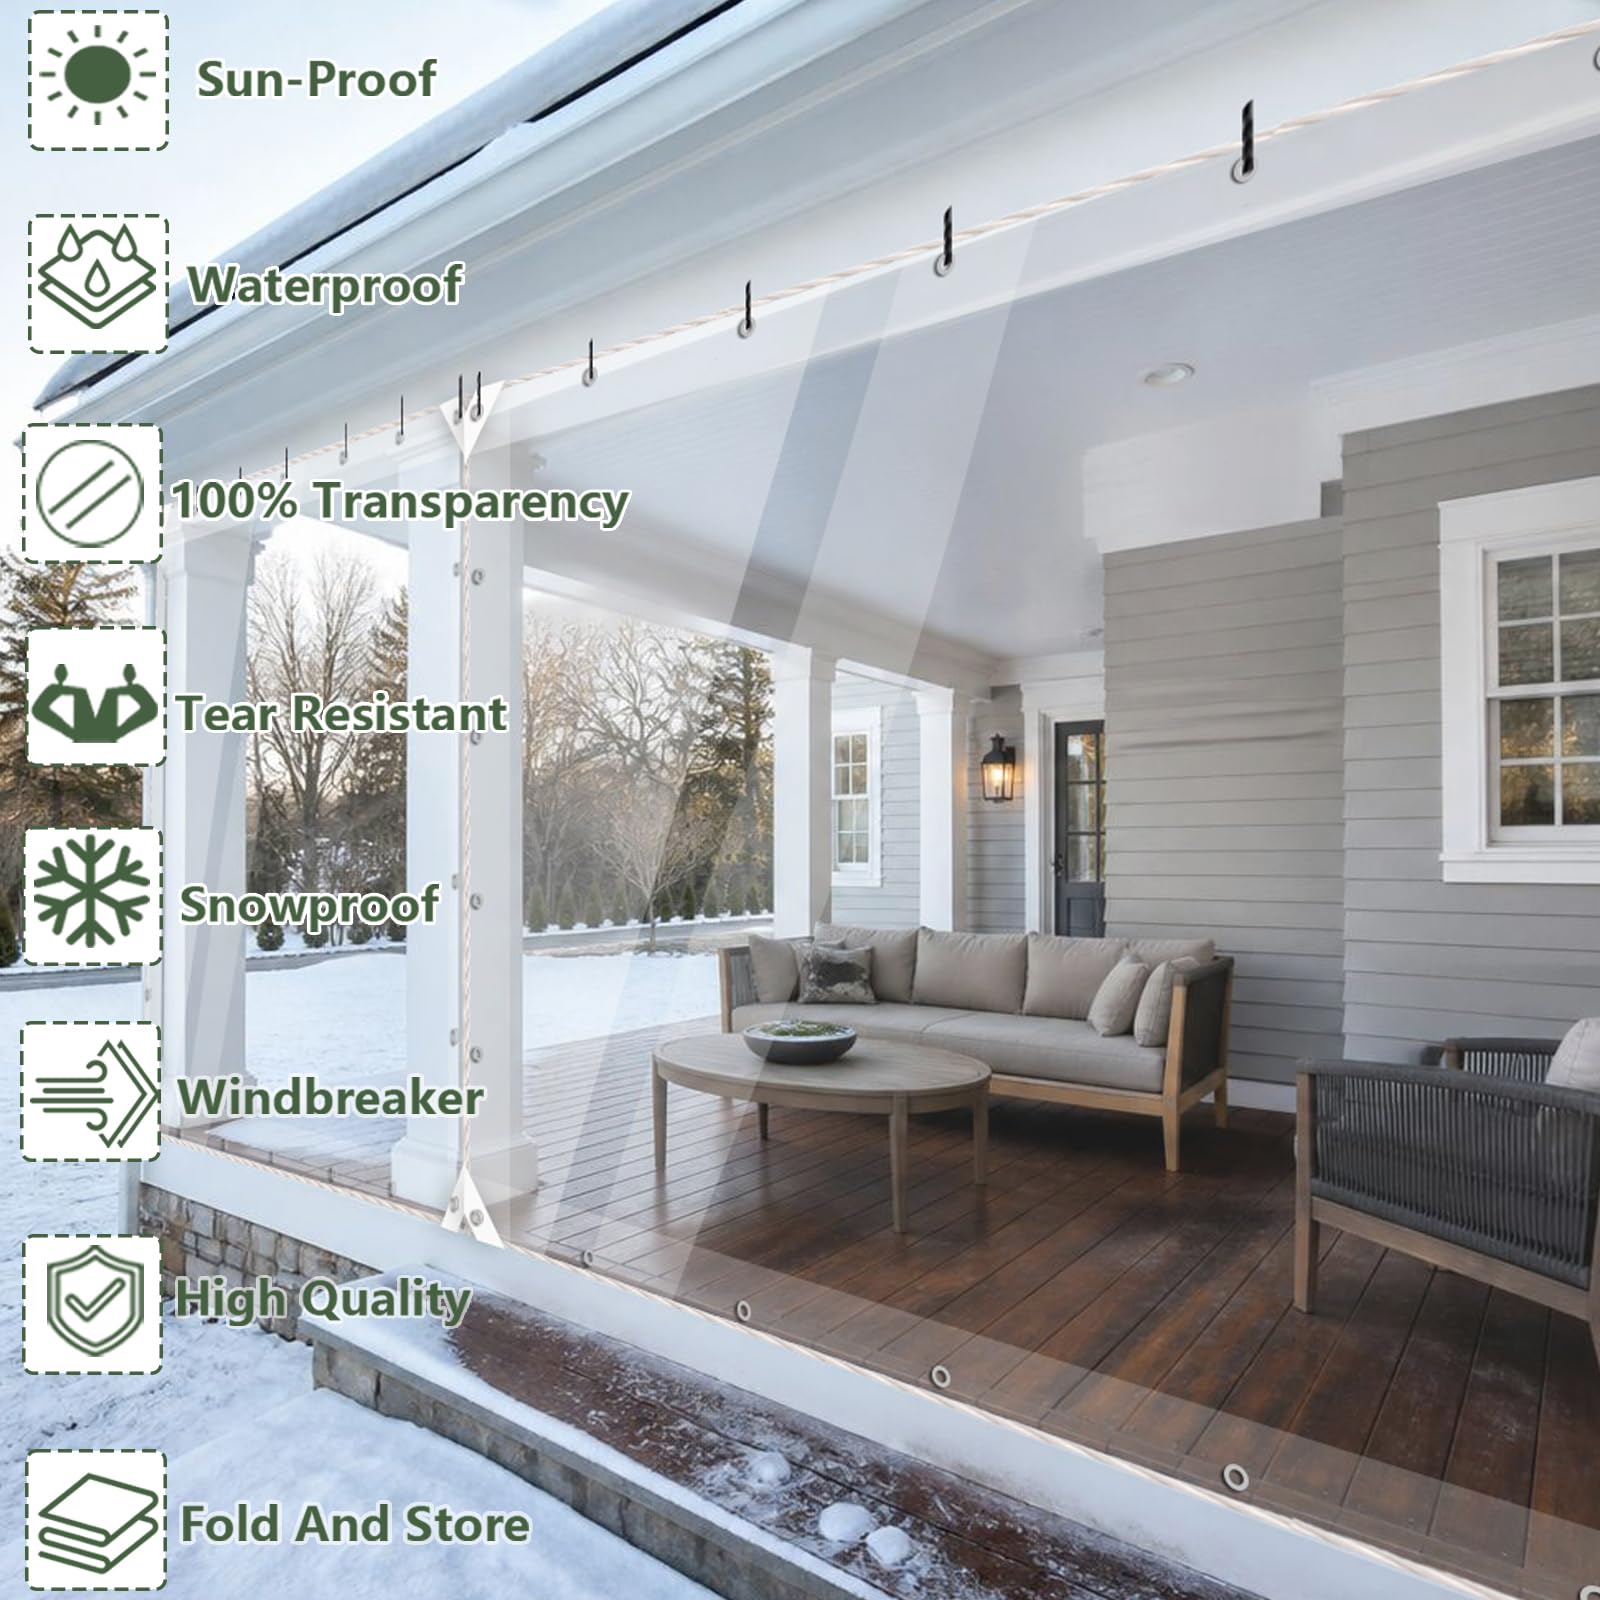
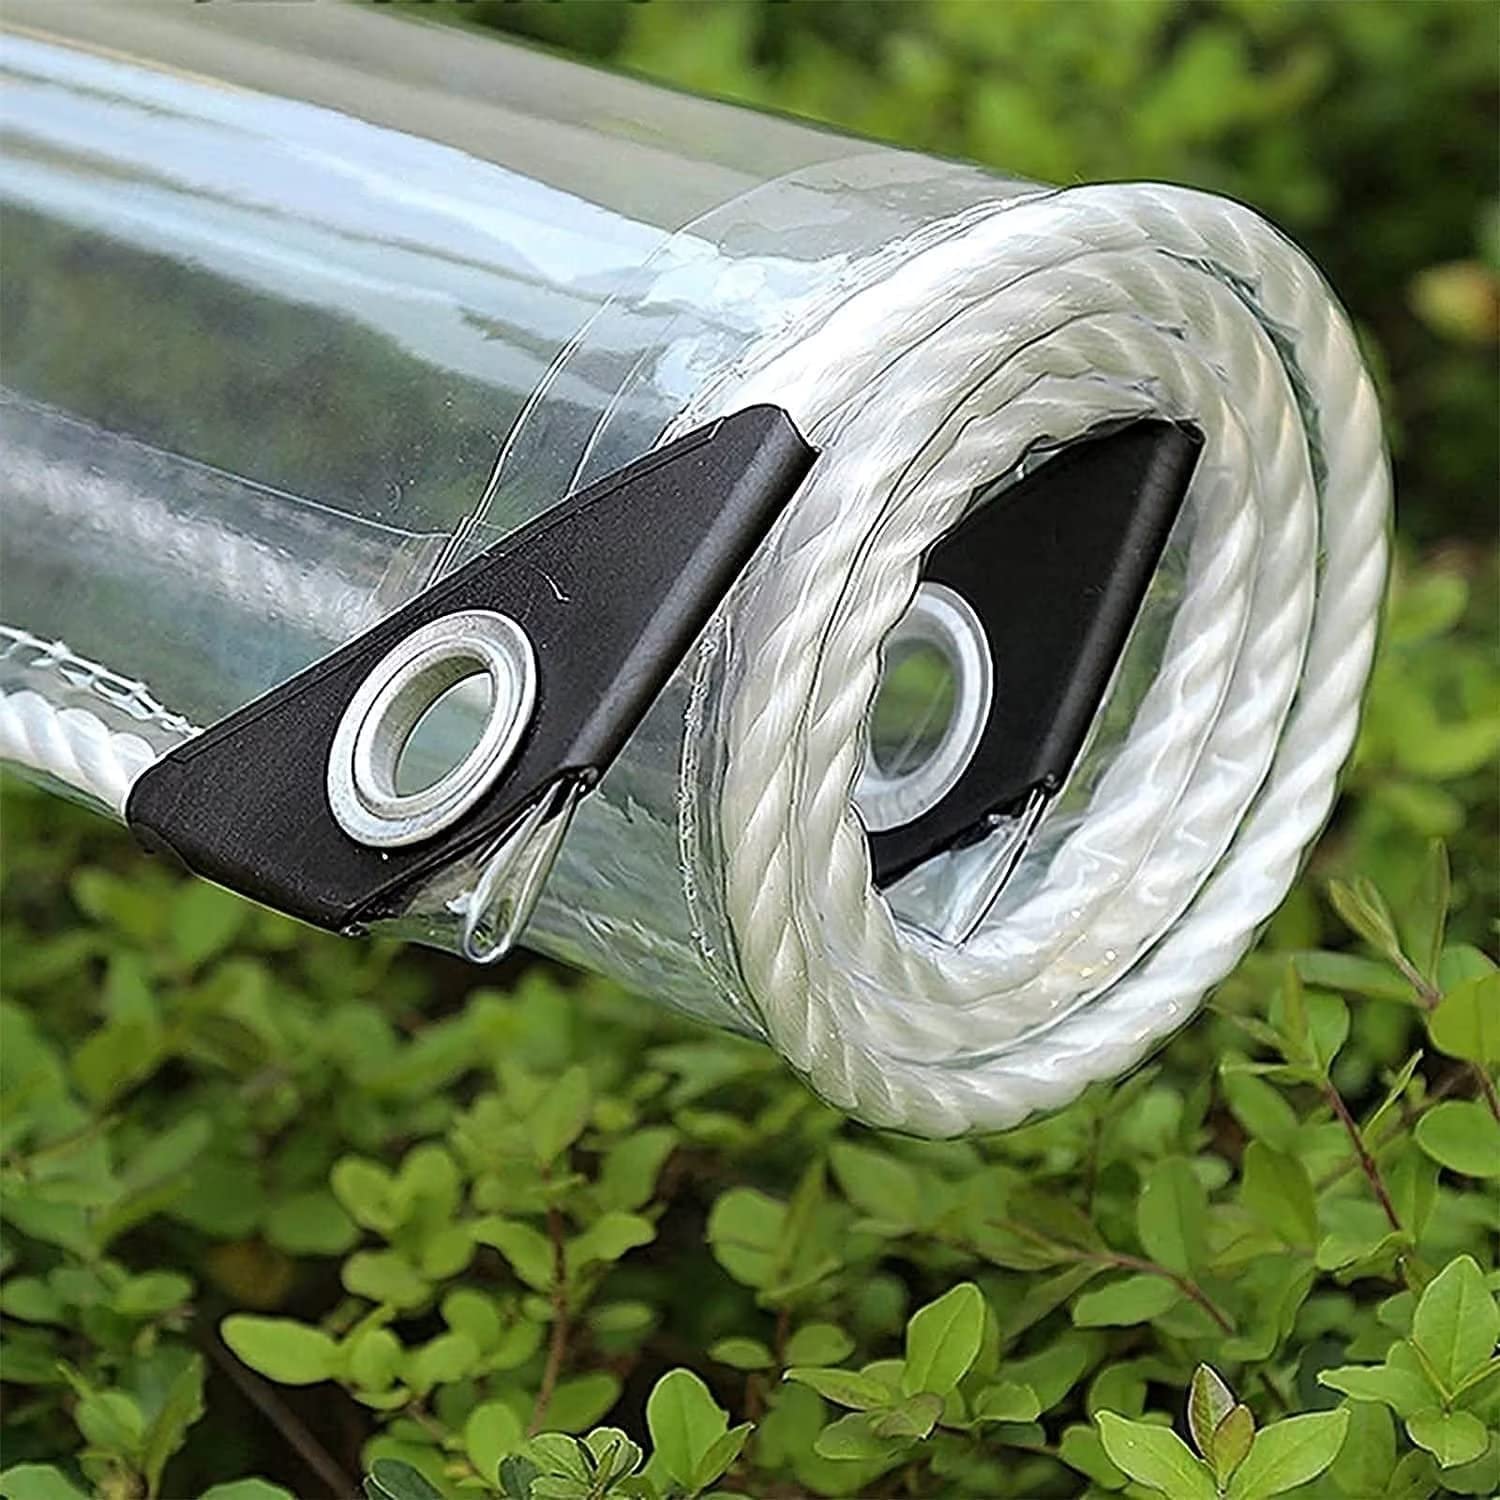
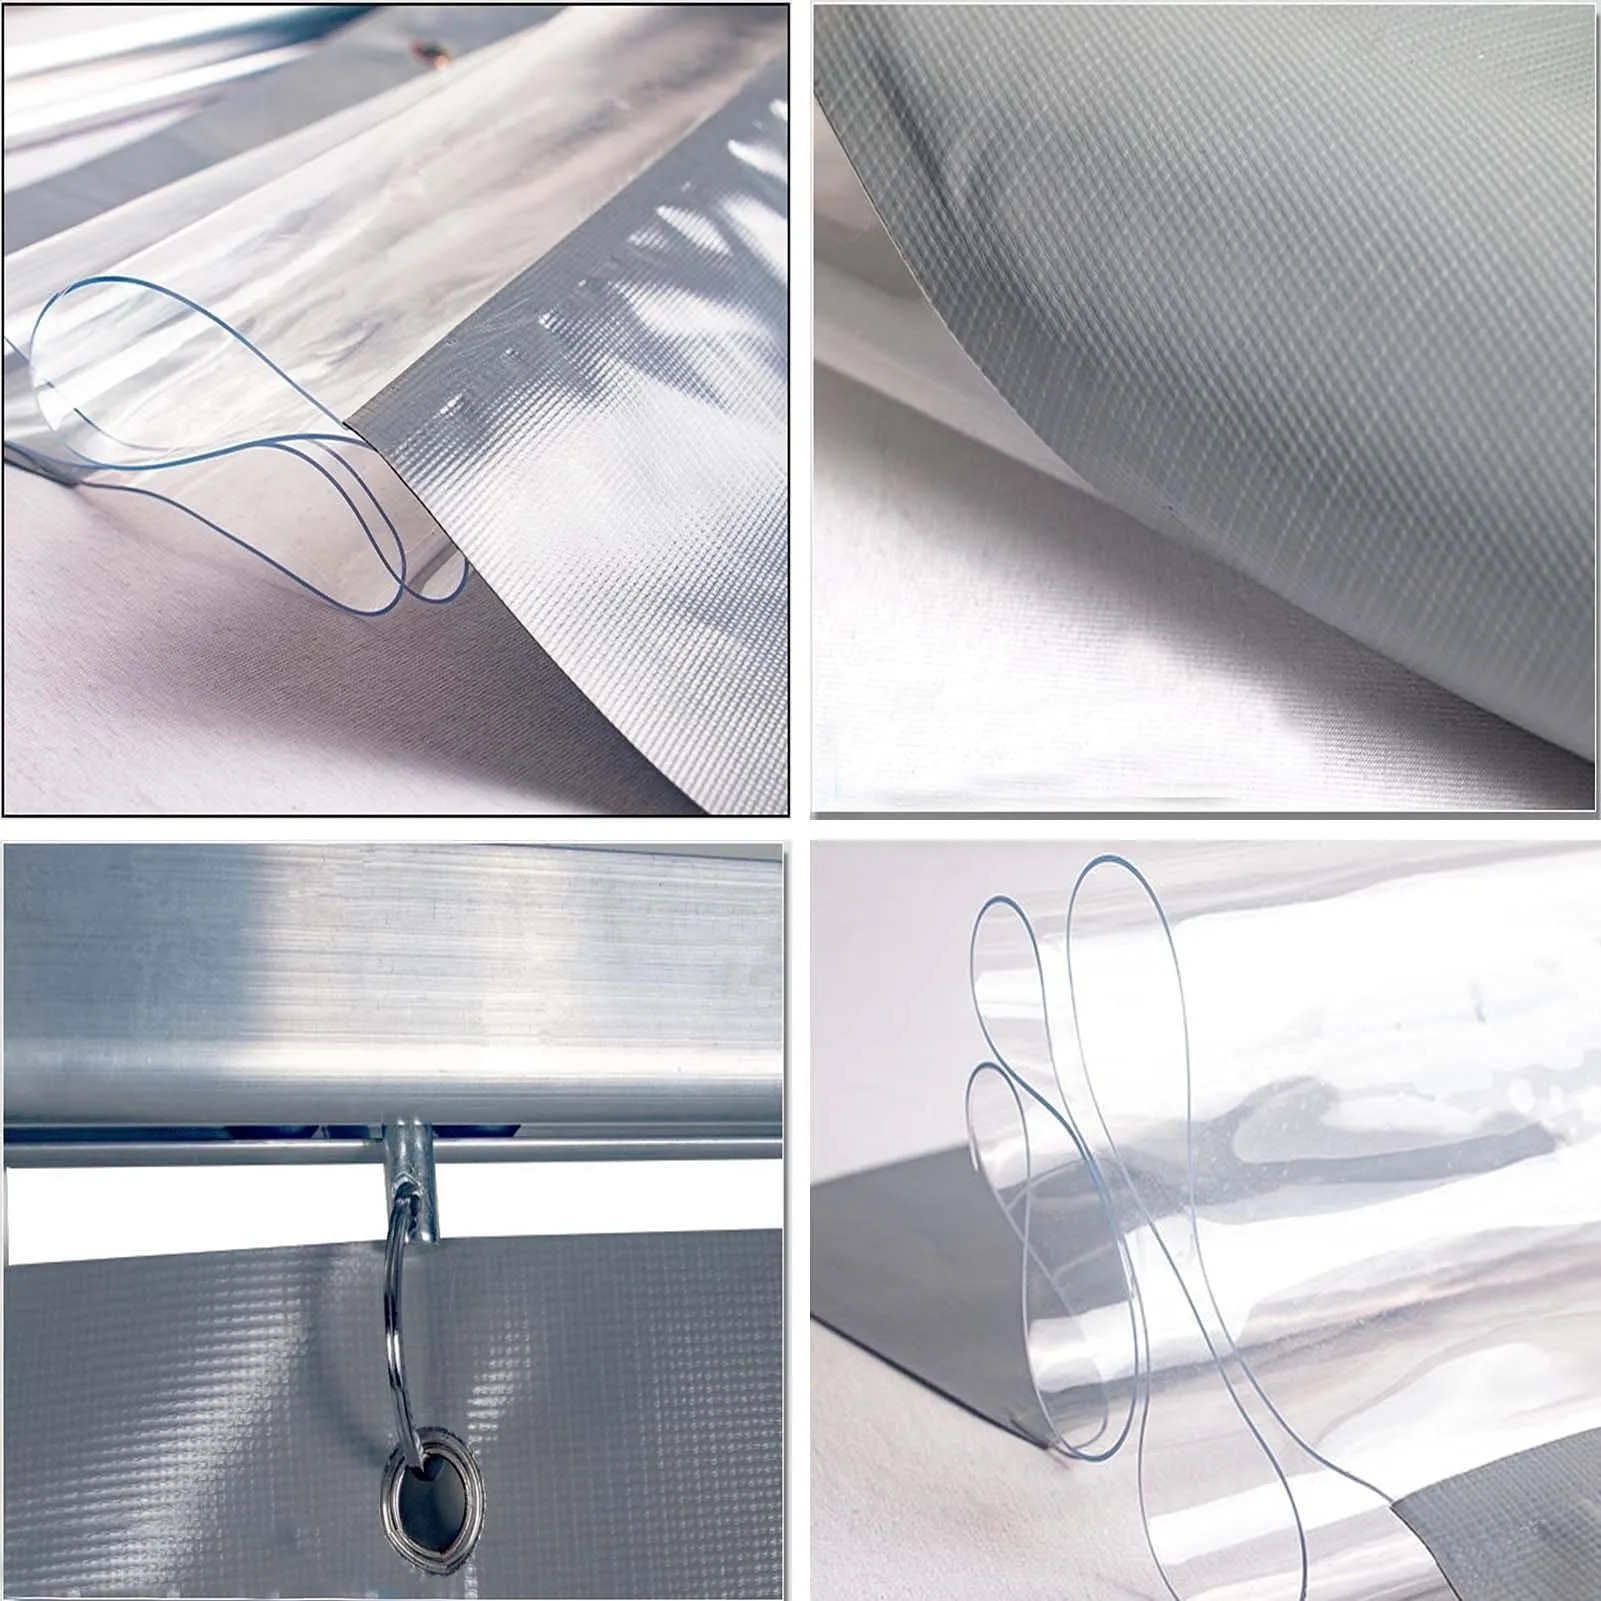
Before ordering or starting installation, review the Snowcity Outdoor Clear Vinyl Curtains collection to compare the available styles. For a fixed opening, the current standard clear-panel curtain offers listed size selections and a Custom Size option; its product page also describes a clear PVC center panel, reinforced vinyl at the top and bottom, and metal grommets. Confirm the product details and your opening before you begin.

1. Inspect the mounting surface
Start by looking at the frame, beam, header, posts, or other surface that will carry the panel. Measure the usable width and height at more than one point, especially on older porches, patios, gazebos, and garage openings where surfaces may not be perfectly square. Note trim, light fixtures, rails, gutters, and doors that could affect where the panel sits.
Choose a sound mounting surface that is appropriate for the hardware you plan to use. If the location has structural uncertainty, unusual exposure, or a safety-critical load, consult a qualified local installer. Hardware selection is planning guidance, not engineering advice.
2. Plan the panel position and hardware
Lay out the intended top edge before making any holes. The standard clear-panel product page lists metal grommets, which can help establish regular fastening points. Match the fastener type and length to the actual mounting material, and use a straight reference line so the panel begins level.
Consider how the area needs to function after installation. Leave clearance for a walkway, latch, or access point where needed. For drainage, avoid creating a low pocket where water could collect against the panel or frame. A small helper can make this stage easier by holding the panel in place while you confirm alignment.
3. Align the top edge before working downward
With the panel supported, fasten the top center area first, then check both ends before continuing. Work outward from the center with the panel hanging naturally rather than pulling it aggressively in one direction. This approach makes it easier to spot a crooked start before every mounting point is in place.
Keep the clear center panel clean during handling. Place it on a smooth, dry surface when it is not being held up, and avoid dragging it across rough concrete, sharp hardware, or unfinished wood.
4. Fasten progressively and check the edges
After the top edge is secure, move down the sides in stages. Pause periodically to check that the panel is hanging evenly and that the edges have not shifted. Use the existing grommet locations as guides rather than forcing the material to fit an uneven opening.
At the bottom, confirm that the panel has the intended clearance and that it does not interfere with a threshold, door swing, or routine cleaning. If the project includes several panels, check overlap and access between panels before treating the installation as finished.
5. Test movement, drainage, and day-to-day use
Open and close nearby doors, walk through the area, and look for places where the panel rubs against sharp edges. After a light rinse or rainfall, observe how water moves around the opening instead of assuming every installation will behave the same way. Make small adjustments while the hardware is still easy to reach.
A thoughtful installation begins with accurate measurements, a suitable mounting surface, and a practical access plan. Shop panels after confirming your mounting plan.
Comment