Winter Gazebo Curtains: How to Measure Each Open Side
Nov 18,2026 | Snowcity
A gazebo can have several open sides, and each one deserves its own measurement. Treating the structure as a single rectangle can leave an entry too tight, a corner panel too short, or a finished layout that is difficult to use. For winter gazebo curtains, the most useful starting point is a simple opening-by-opening plan: measure the usable width, measure the drop, and note where each panel will mount and stack.
This guide is about planning a panel layout, not predicting a specific comfort result. Conditions, mounting surfaces, gaps, and local weather all affect how an outdoor setup performs. A careful measurement record gives you a clearer way to compare options before ordering.
Start with a sketch of every open side
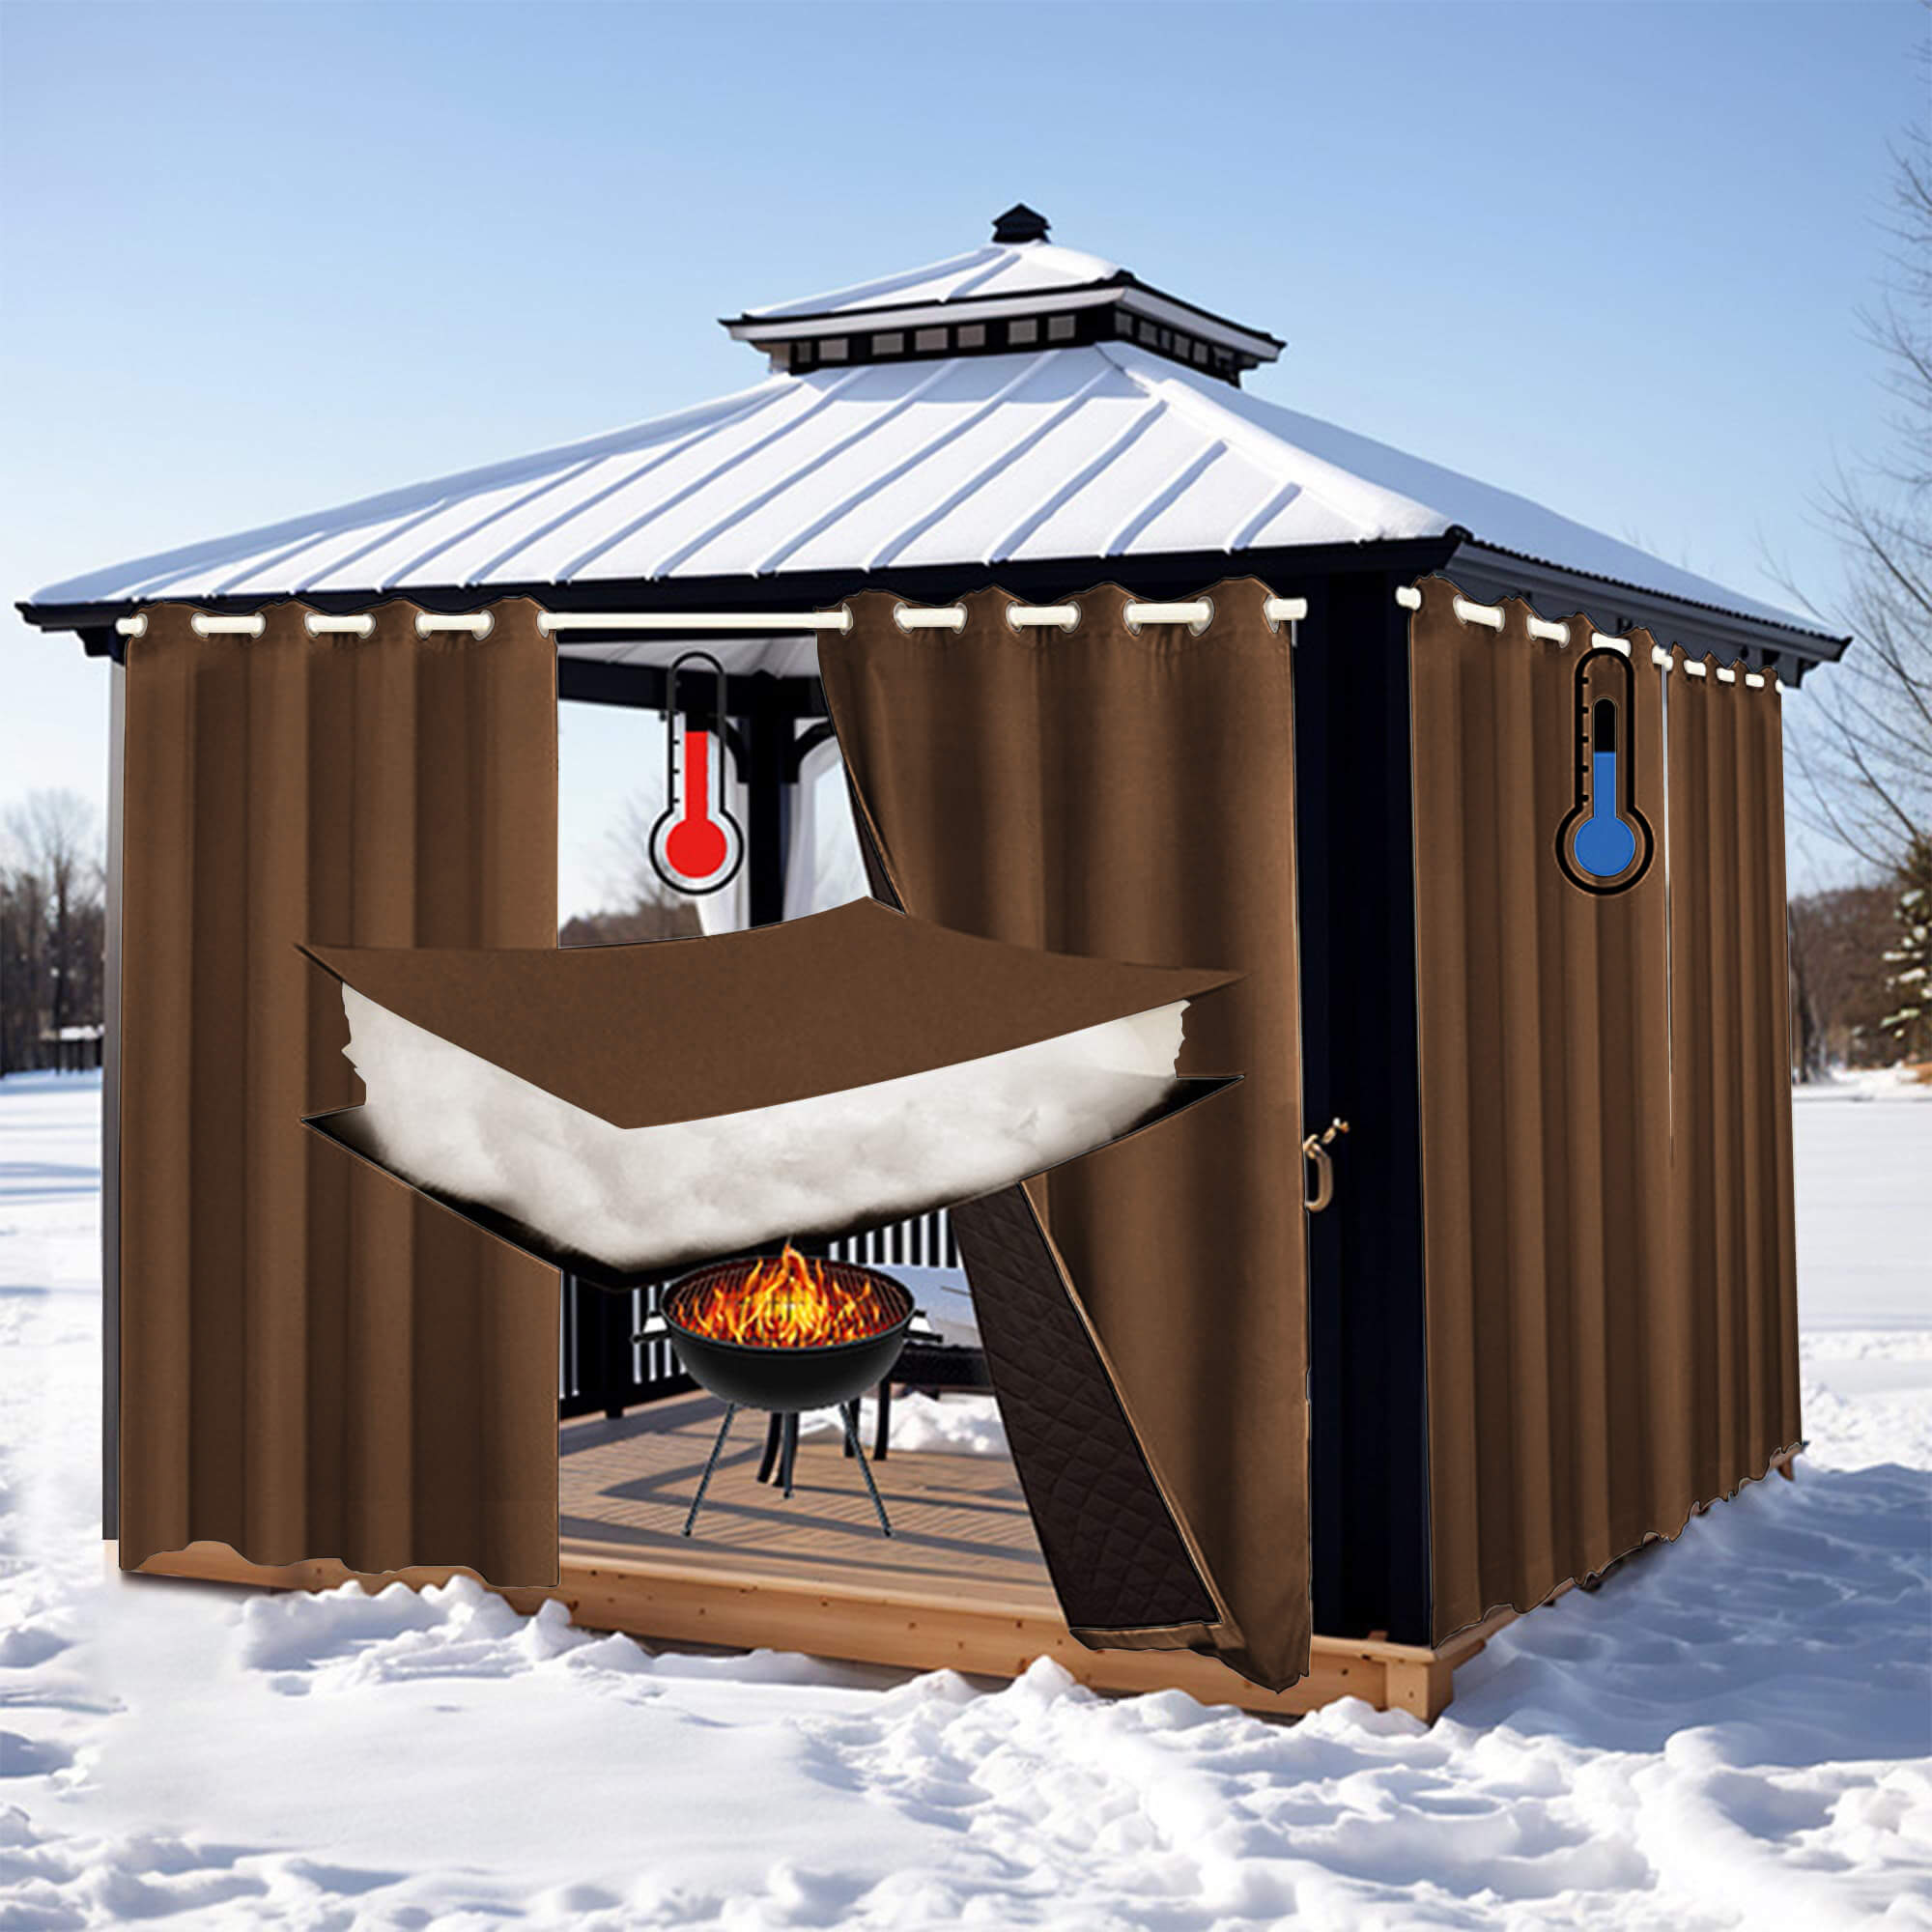
Stand inside the gazebo and label each side: front, left, right, rear, and any smaller return or angled section. On a simple square structure, the openings may look alike, but posts, railings, steps, and a preferred entrance often make their usable widths different. A quick hand sketch is enough. Add the direction of travel for each entrance and mark any spot where a panel cannot hang freely.
For each opening, record:
- the clear width between the two points that will actually support the panel;
- the vertical distance from the planned mounting line to the intended lower edge;
- the location of posts, rails, lights, hooks, or hardware that may interrupt the run; and
- whether that side needs to stay accessible more often than the others.
Measure width at the mounting line
Use a tape measure at the height where the top edge will be supported, rather than only at the floor. A gazebo can be slightly out of square, and posts can flare or be trimmed differently near the roof. Write down the full mounting width for each opening. If a post sits inside the opening, decide whether the panel will stop at the post, cover its face, or use a separate short panel beside it.
Then decide how panels will meet. A pair of panels that meets in the middle needs a different layout from one panel that draws to a side. When two panels meet, plan a modest overlap at the meeting point; when a panel closes against a post, allow room for the edge treatment and the way it will sit against that post. The appropriate allowance depends on the actual product construction and hardware, so confirm those details before placing an order.
Measure the drop, then check the surface below
Take the vertical measurement from the installed hardware line to the surface where you want the panel to end. Measure more than one point if the deck, pavers, or ground slopes. Use the shortest practical measurement as a reference when a single panel must clear an uneven surface, and note any place where a panel may brush a step or railing.
It also helps to separate the curtain measurement from the structural measurement. Roof height is not necessarily the mounting height, and the distance to the floor is not automatically the desired finished drop. A clear record of both avoids confusing the two later.
Plan access before you divide the widths
Choose your everyday entrance before assigning panels. A frequently used entrance may work best with two meeting panels or a layout that stacks away from the walking path. A less-used side may be simpler as one continuous span. Think through where the panels will rest when open, whether they will cover a light switch or rail, and whether a person can pass without catching the fabric.
Corner conditions deserve their own notes. Two perpendicular panels can meet at a post, turn around a post, or stop independently. Do not assume that the panel width from one side can be carried through the corner unchanged. Measure and plan each face separately.
A practical measurement checklist
| Check | What to record | Why it matters |
|---|---|---|
| Opening width | Clear mounting width for every side | Helps determine the number and arrangement of panels |
| Mounting height | Distance from planned support line to finished lower edge | Keeps the drop measurement tied to the actual installation point |
| Overlap and returns | Where panels meet or finish at posts | Prevents a layout from being planned edge-to-edge without room to close |
| Access route | Daily entry, steps, and the preferred opening direction | Helps keep the layout usable after installation |
| Hardware notes | Existing rod, track, hooks, posts, and obstructions | Lets you compare compatible product and mounting options |
Compare product options after the measurements are complete
Terms such as thermal insulated blackout curtains are often used for indoor window treatments, so they are not a substitute for checking an outdoor product's current options and installation details. For a gazebo, start with the opening measurements, intended mounting method, and access needs. Then compare the available panel choices against that record.
At the time of this guide's review, the Snowcity Insulated Outdoor Curtains for Winter - Raven Black page listed three top-style choices, several standard sizes, and a Custom Size option. Those selections can change, so use the live product page to confirm the current style, size, and customization details that apply to your order.
Before you order
Put your sketch, opening widths, vertical measurements, and access notes in one place. Recheck the widest and shortest points, confirm how each panel will meet its neighbor, and verify the mounting hardware you plan to use. This small planning step makes it easier to compare current options without guessing from a single overall gazebo dimension.
When your measurements are ready, explore Snowcity insulated outdoor curtains, compare the current panel options, and confirm every dimension before ordering.
FAQ
What should I measure before ordering winter gazebo curtains?
Measure each open side at the planned mounting line, the vertical drop to the intended lower edge, any posts or railings that affect the run, and the access path you want to preserve.
How do panel fit, overlap, and mounting affect a gazebo layout?
They determine how panels meet, where they stack when open, and whether the layout can accommodate posts, corners, and an entry. Record them before choosing a panel arrangement.
Which product claims should I verify on the current product page?
Verify the available top styles, sizes, customization choices, hardware requirements, price, and any product-specific feature information directly on the live page.
Comment