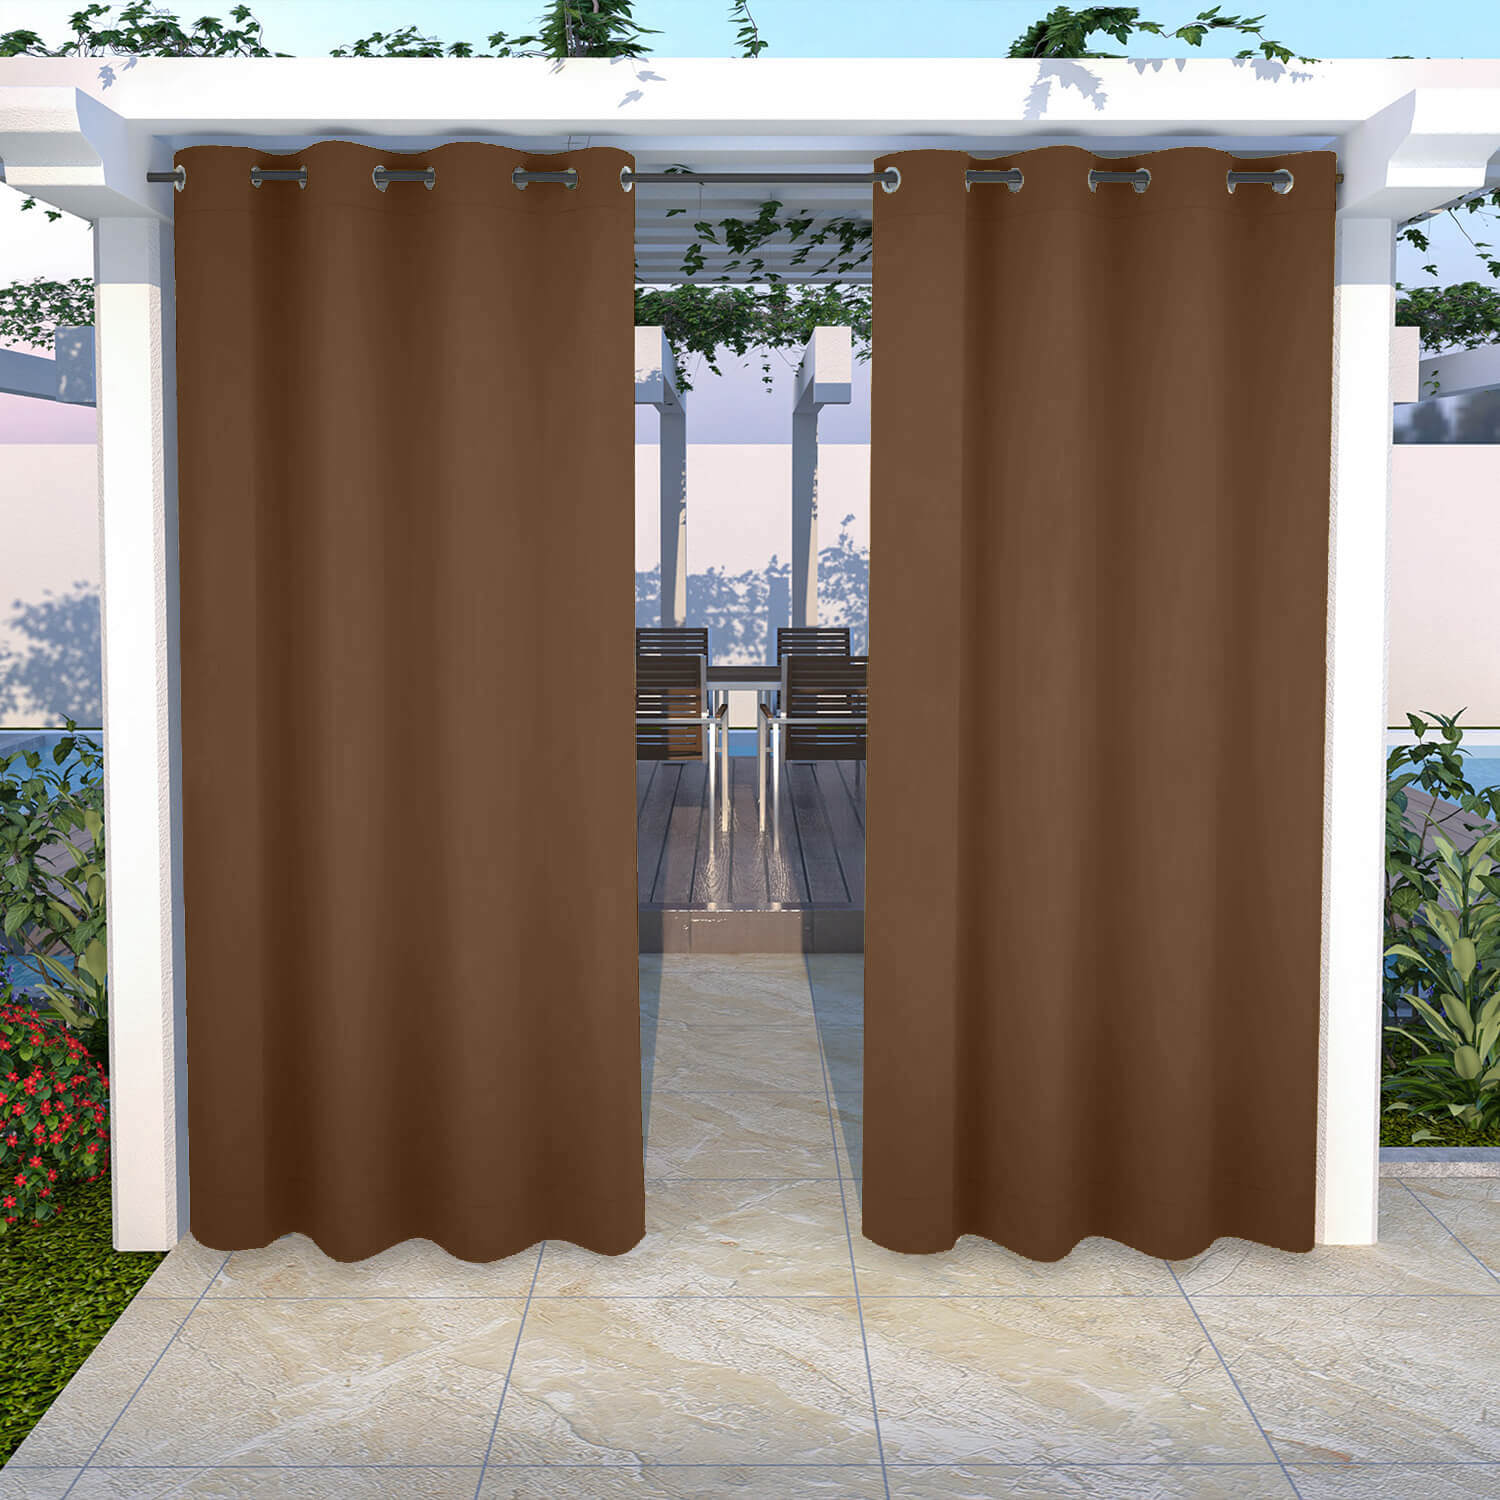
Clear Vinyl Curtains for Carports and Covered Outdoor Areas
Oct 26,2026 | Snowcity

A carport, covered patio, or roofed outdoor work area can have a wide opening without a conventional exterior wall. When considering a clear vinyl curtain for that kind of space, start with the everyday layout: the finished opening, vehicle or foot-traffic routes, posts and beams, drainage paths, and the times when the panel may need to be moved or removed. A practical plan is more useful than assuming one panel arrangement will suit every covered area.
The Snowcity Outdoor Clear Vinyl Curtains collection is a useful place to compare current clear-panel styles after those site details are documented. For a covered area that calls for a fixed clear panel rather than a dedicated entry treatment, the current standard panel page provides product details to review alongside the measured opening.
Measure the finished opening and the usable route
Measure width and height from the intended attachment points, not only from the widest visible span. Posts, trim, brackets, lights, rails, and uneven concrete can all change the usable dimensions. Take several measurements when the opening is not square, and record the narrowest practical route for a vehicle, bicycle, cart, or person who needs to pass through.
For a carport, leave room for normal vehicle movement and door swing. For a covered seating or work area, mark the paths used for furniture, bins, tools, and deliveries. A curtain should not obstruct a required exit, vehicle access, drains, vents, or equipment. Confirm any landlord, association, building, or local requirements that apply to the attachment surface and the proposed layout before ordering or installing hardware.
What the current standard clear-panel listing shows
The current Snowcity clear vinyl outdoor curtain panel lists multiple size selections and a Custom Size option. Its specification table identifies a 20oz clear PVC center panel, 24oz colored coated reinforced vinyl at the top and bottom, and anti-rust metal grommets. The page also lists one clear panel curtain and a rolling strip among the package contents.
Those details are a starting point for comparison, not a substitute for a site assessment. Review the exact selected variant before ordering, then compare its dimensions and attachment details with the opening you measured. If the space has an unusual width, height, or obstruction, use the current Custom Size option as a point to review with the seller rather than estimating a fit from a standard size.
Map posts, attachment points, and drainage first
Covered spaces often have structural posts or roof supports that divide what looks like one broad opening into smaller sections. Sketch these elements and mark where a panel could be attached without interfering with existing doors, gates, lights, or utilities. Inspect the condition and material of the planned mounting surface; if the fastener choice, structural loading, or attachment method is uncertain, consult a qualified local professional.
Next, identify where rainwater normally travels. Keep drains, slopes, and runoff routes clear. A clear vinyl curtain is not a substitute for correcting a drainage problem, and it should not be treated as a guarantee of weather performance, security, vehicle protection, temperature control, privacy, UV protection, or durability. Results can vary with the opening, installation, selected variant, and local conditions.
Plan for traffic and temporary removal
Before choosing a configuration, decide how the space must function on an ordinary day. A panel that works for a rarely used storage side may be impractical across an active carport lane or a route used for mowing equipment. Note whether the panel will stay in position for a season, be adjusted for different activities, or need to be taken down for maintenance.
The standard product page describes metal grommets, so their location and the proposed attachment points should be part of the installation plan. Check that there is enough clearance to handle the panel without dragging it across sharp edges, exhaust areas, moving vehicle parts, or standing water. Follow the current product information and any care guidance supplied with the selected item.
Covered-area planning checklist
- Opening dimensions: Measure the finished width and height at the intended attachment points.
- Traffic route: Keep enough practical clearance for people, vehicles, carts, and door swings.
- Fixed obstacles: Mark posts, rails, lights, handles, vents, and utility equipment.
- Attachment surface: Check its condition and seek qualified advice when the installation method is uncertain.
- Drainage: Keep runoff paths and drains open; do not use a panel to solve an existing drainage issue.
- Variant review: Confirm the currently selected size, specifications, and Custom Size details before placing an order.
A practical next step
For a carport or covered outdoor area, begin with a measured drawing that includes the opening, traffic path, supports, and drainage. Then compare the drawing with the current standard clear-panel listing and the selected variant details. This makes it easier to decide whether the panel arrangement, size, and attachment plan are appropriate for the particular space.
Check clear panel options for covered outdoor areas. Visit the Outdoor Clear Vinyl Curtains collection to compare current styles and review the selected product page before ordering.
Comment