Planning a Clear Vinyl Patio Enclosure Before You Buy
Oct 23,2026 | Snowcity
Planning a clear vinyl patio enclosure starts with the opening itself, not with a product size. A simple sketch, a few careful measurements, and a realistic plan for access can make it easier to choose panels that suit the way you use the space.
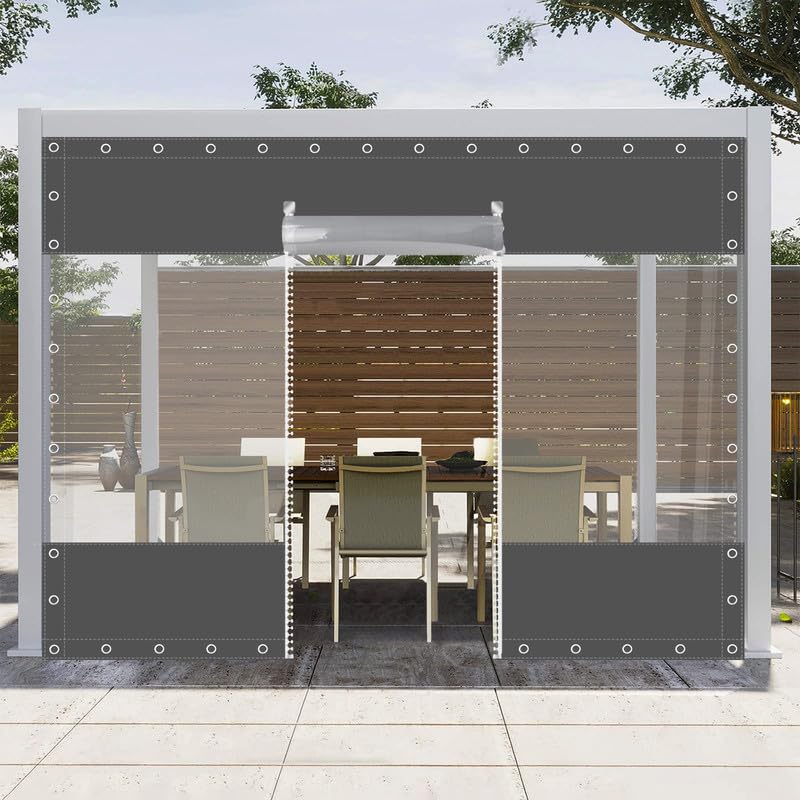
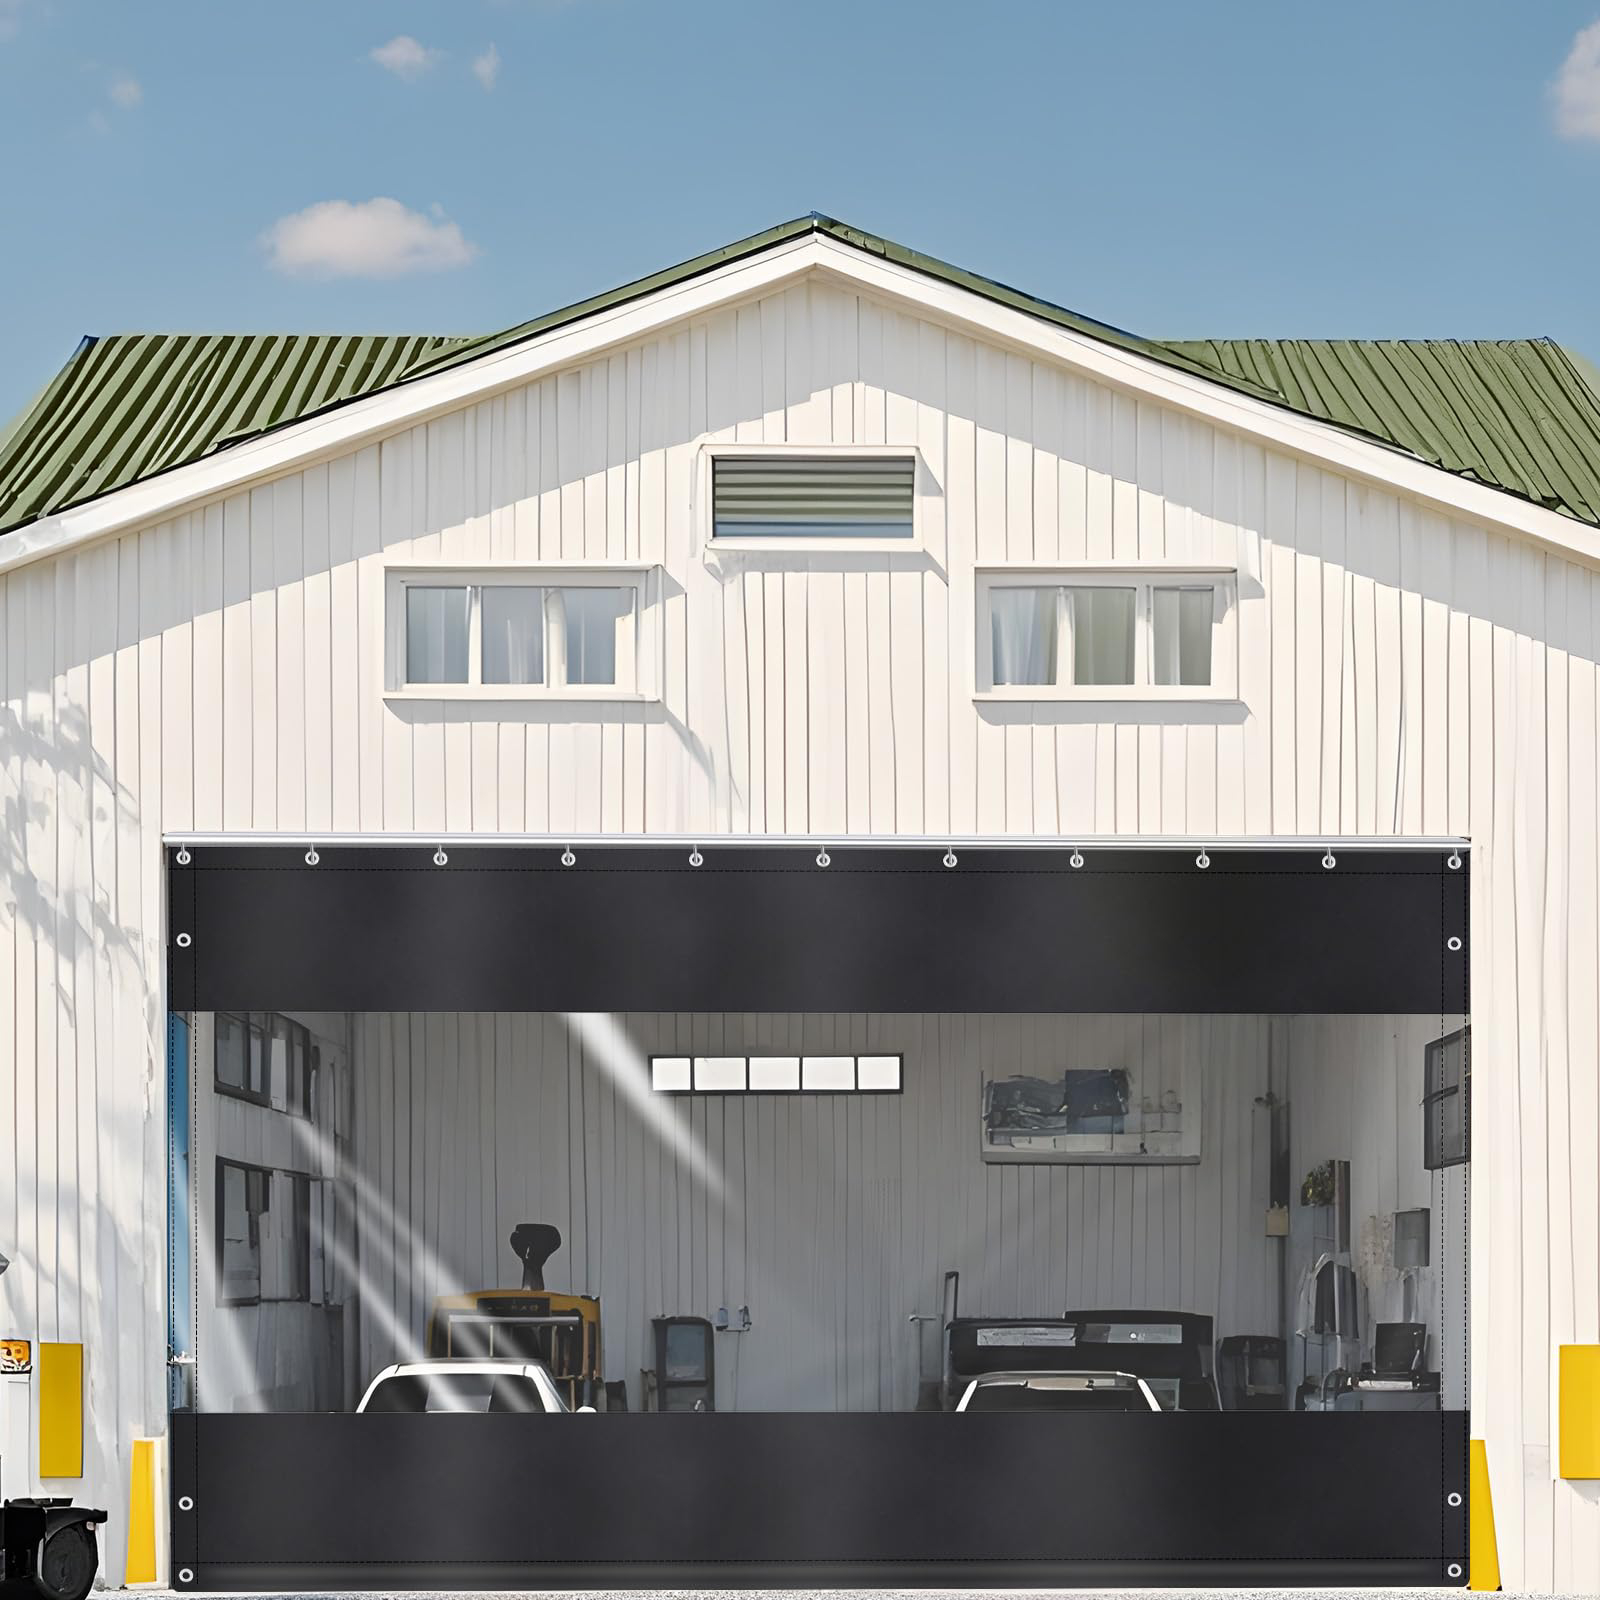
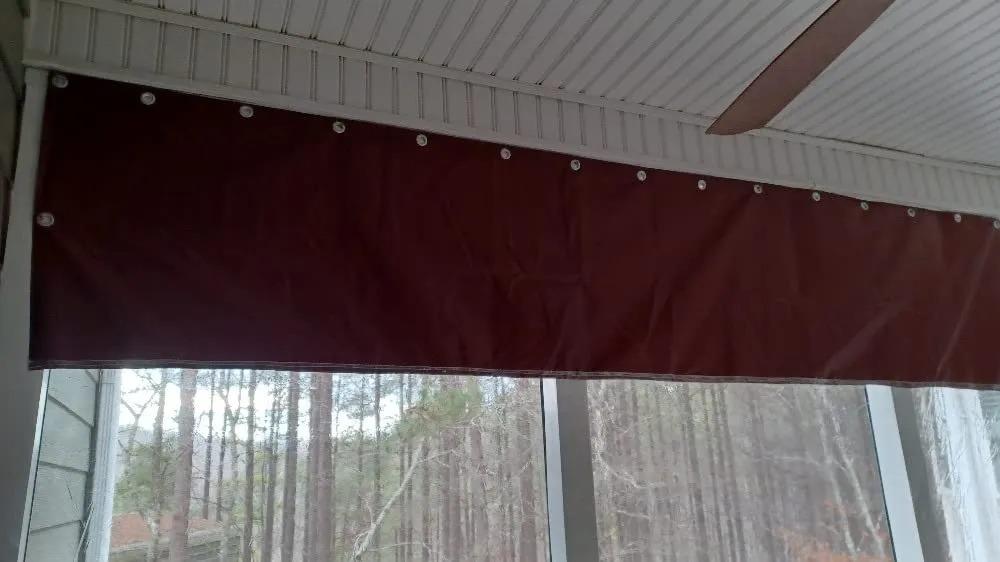
For an overview of available options, browse the Snowcity Outdoor Clear Vinyl Curtains collection. The standard clear vinyl outdoor curtain panel currently offers multiple listed sizes and Custom Size support. Its product page lists a 20 oz clear PVC center panel, reinforced vinyl at the top and bottom, and metal grommets. Treat those details as a starting point for your layout, then confirm the current product information before ordering.
Define the opening and the goal
Start by identifying the exact span you want to cover. Is it one side of a patio, an opening under a pergola, or a series of bays on a porch? Note the finished width and height, but also look for posts, trim, railings, lights, downspouts, and uneven surfaces that could affect where a panel can sit.
Then write down what you want the enclosure to do. You may want to keep a view open, create a more defined edge around a covered area, or make a seasonal setup easier to manage. Naming the goal helps you decide whether clear panels are appropriate and which openings need to remain accessible.
Map entry, exits, and drainage before measuring
Walk through the patio as you normally would. Mark doors, steps, walkways, grills, utility access, and any route people use to enter or leave. A panel layout should not block an intended exit or force people around a corner without a planned opening.
Also observe where water travels during a normal rain and where it collects after the surface is wet. Plan the panel edges and any overlap so they do not interfere with existing drainage paths. If the patio has a roof, gutters, screens, or a slope, include those elements on the sketch. The goal is not to promise a sealed structure; it is to make room for the conditions already present at the site.
Inventory the mounting surfaces
Before selecting a panel, identify the material that would receive the mounting hardware: wood framing, metal, masonry, or another surface. Check that the surface is sound and that there is a practical attachment point along the span. The hardware, fasteners, and installation method should be chosen for the specific surface and local conditions, following the relevant manufacturer guidance.
Do not assume an existing trim board, screen frame, or decorative beam is suitable for a load. When the structure or attachment method is uncertain, ask a qualified installer or building professional for advice. Readers should also check property rules and local requirements before making changes to an outdoor area.
Measure in more than one place
Measure the width at the top, center, and bottom of the opening. Measure the height on both sides and at the center. Record the smallest and largest results rather than relying on one number, especially on older patios where posts or floors may not be perfectly square.
On your sketch, indicate where the panel will begin and end, where its grommets may align with the mounting surface, and whether the lower edge needs clearance above a threshold or floor. If you are considering more than one panel, label each bay separately. This makes it easier to compare standard dimensions with your opening and to decide whether Custom Size support is worth exploring.
Choose an access approach deliberately
A patio enclosure plan should account for how people, pets, and everyday items move through the space. A fixed clear panel can be a straightforward choice for an area that is not used as a passage, while a frequently used route may need a different access arrangement. Think about the direction of travel, the space available to move a panel aside, and whether an opening must remain clear for maintenance or emergencies.
Keep the plan practical: test the route with the furniture and equipment you already use. A small adjustment to the panel boundary can be more useful than trying to make one piece solve every need.
Make a final planning checklist
- Sketch each opening, including posts, trim, doors, and obstacles.
- Record width and height measurements in several locations.
- Note drainage paths, thresholds, and areas that need to stay accessible.
- Confirm the mounting surface and the appropriate installation guidance.
- Review property rules and local requirements before installation.
- Recheck current panel details, dimensions, and customization options before ordering.
Start planning with Snowcity clear vinyl panels.
Comment